Loading ...
Loading ...
Loading ...
5
> Before Start > Part Names > Initial Setup > Playback
Advanced Setup | Supplementary Information | Others
En
13.
Play/pause ( ) button: Play or pause tracks. Press
and hold to lock operations on this unit. To unlock, press
and hold again.
14.
Skip ( ) button: Skip to the beginning of the track or
to the previous track. Press and hold to rewind the track
quickly.
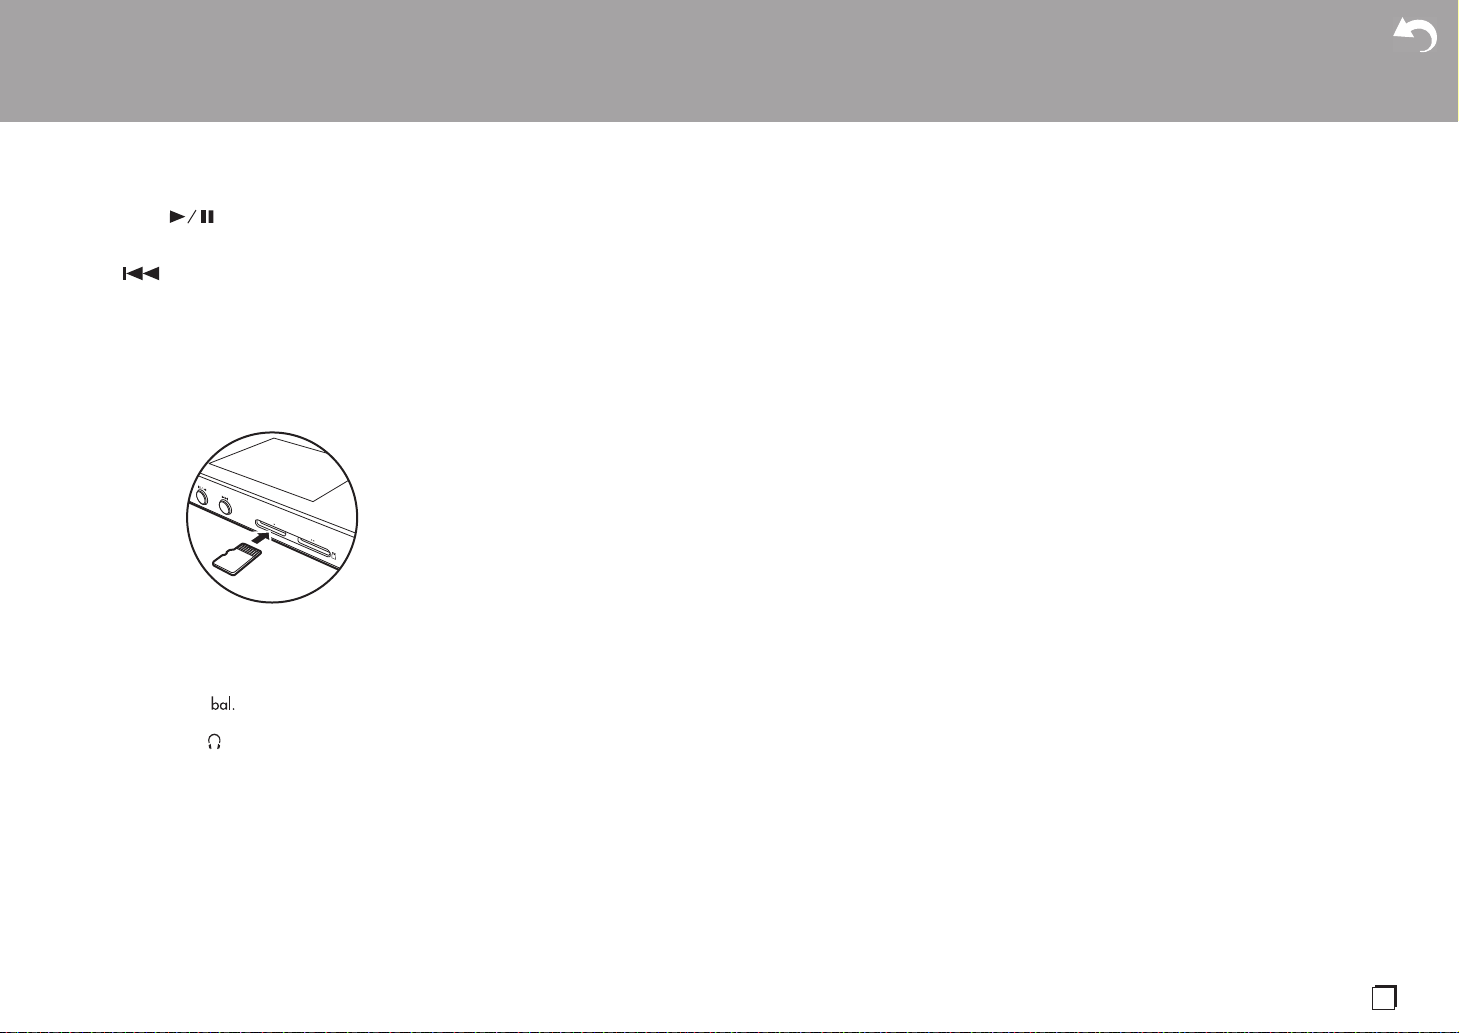
15.
micro SD card slot 1
16.
micro SD card slot 2
0 When inserting the micro SD card into the card slot,
insert with the contacts facing up and push in
completely so the card clicks into place.
0 To remove the micro SD card, first unmount it (P32).
After unmounting, push the micro SD card in until you
hear a click and then pull straight out. The micro SD
card may spring out so take care not to lose it.
17.
Headphone jack ( ): Connect headphones
compatible with balanced output. (2.5 mm/4-conductor)
18.
Headphone jack ( ): Connect regular headphones. (3.5
mm/3-conductor)
0 This unit is compatible with headphone sets with
control buttons, but not all headphones are
guaranteed to work.
0 This unit does not support simultaneous use of the
balanced headphone jack and the headphone jack.
Using both jacks at the same time may result in
damage.
19.
Charging lamp: This lights white when charging starts. It
turns off when recharging finishes. If the unit is in a state
that prevents charging, it flashes white. Try charging
again after waiting a while.
20.
Power button (Í): Press and hold the power button to
turn the power on. To turn the power off, press and hold
the power button so the "Power Off?" screen is
displayed. You can turn the power off by tapping "Yes".
To turn the display on or off, just press the button.
0 If operation becomes unstable, you can shutdown the
unit by pressing and holding the power button for 10 or
more seconds. Refer to "If operation becomes
unstable" (P32) for details.
21.
Volume (+/-) keys: Press the keys up or down to adjust
the volume.
22.
micro USB port: To charge the unit (P6) or transfer music
files (P8, P13), connect the supplied micro USB cable.
Loading ...
Loading ...
Loading ...