Loading ...
Loading ...
Loading ...
9
ADJUSTING THE BURNER MINIMUM FLAME HEIGHT:
NOTE: This adjustment can only be performed by the installer or an authorised service personnel.
The minimum burner flame is factory adjusted for the gas type stated on the gas type label adjacent to the gas
connection and should not require adjustment. Adjustment may be required if the hotplate has been converted
from Natural gas to Universal LPG or vice versa.
GAS CONVERSION INSTRUCTIONS:
The manufacturers servicing instructions detail how authorised personnel may convert the hotplate from Natural
gas to Universal LPG or from Universal LPG to Natural gas. Contact the manufacturer or agent as required.
ADJUSTED FOR NATURAL GAS 1.0kPa
ADJUSTED FOR ULPG 2.75KPa
NOZZLES
DIAMETER
mm
Gas consumption,
MJ/h
NOZZLES
DIAMETER
mm
Gas consumption,
MJ/h
WOK 1.70 13.0 WOK 0.98 13.0
Rapid 1.40 9.5 Rapid 0.90 10.0
SEMI RAPID 1.10 6.0 SEMI RAPID 0.77 6.75
AUXILIARY 0.90 4.5 AUXILIARY 0.55 4.0
Replacement of the nozzles must be performed
by a qualified person. Once the nozzles have
been replaced this label must to be affixed to the
name plate of the appliances.
Replacement of the nozzles must be performed
by a qualified person. Once the nozzles have
been replaced this label must to be affixed to the
name plate of the appliances.
Natural Gas regulator is to be fitted and adjusted
Change the NG regulator to LPG by a qualified
person.
Start Using Your Appliance
GHS604A-G2CI, GHS604B-G2CI
GH614AS-G2CI, GH614BS-G2CI
10
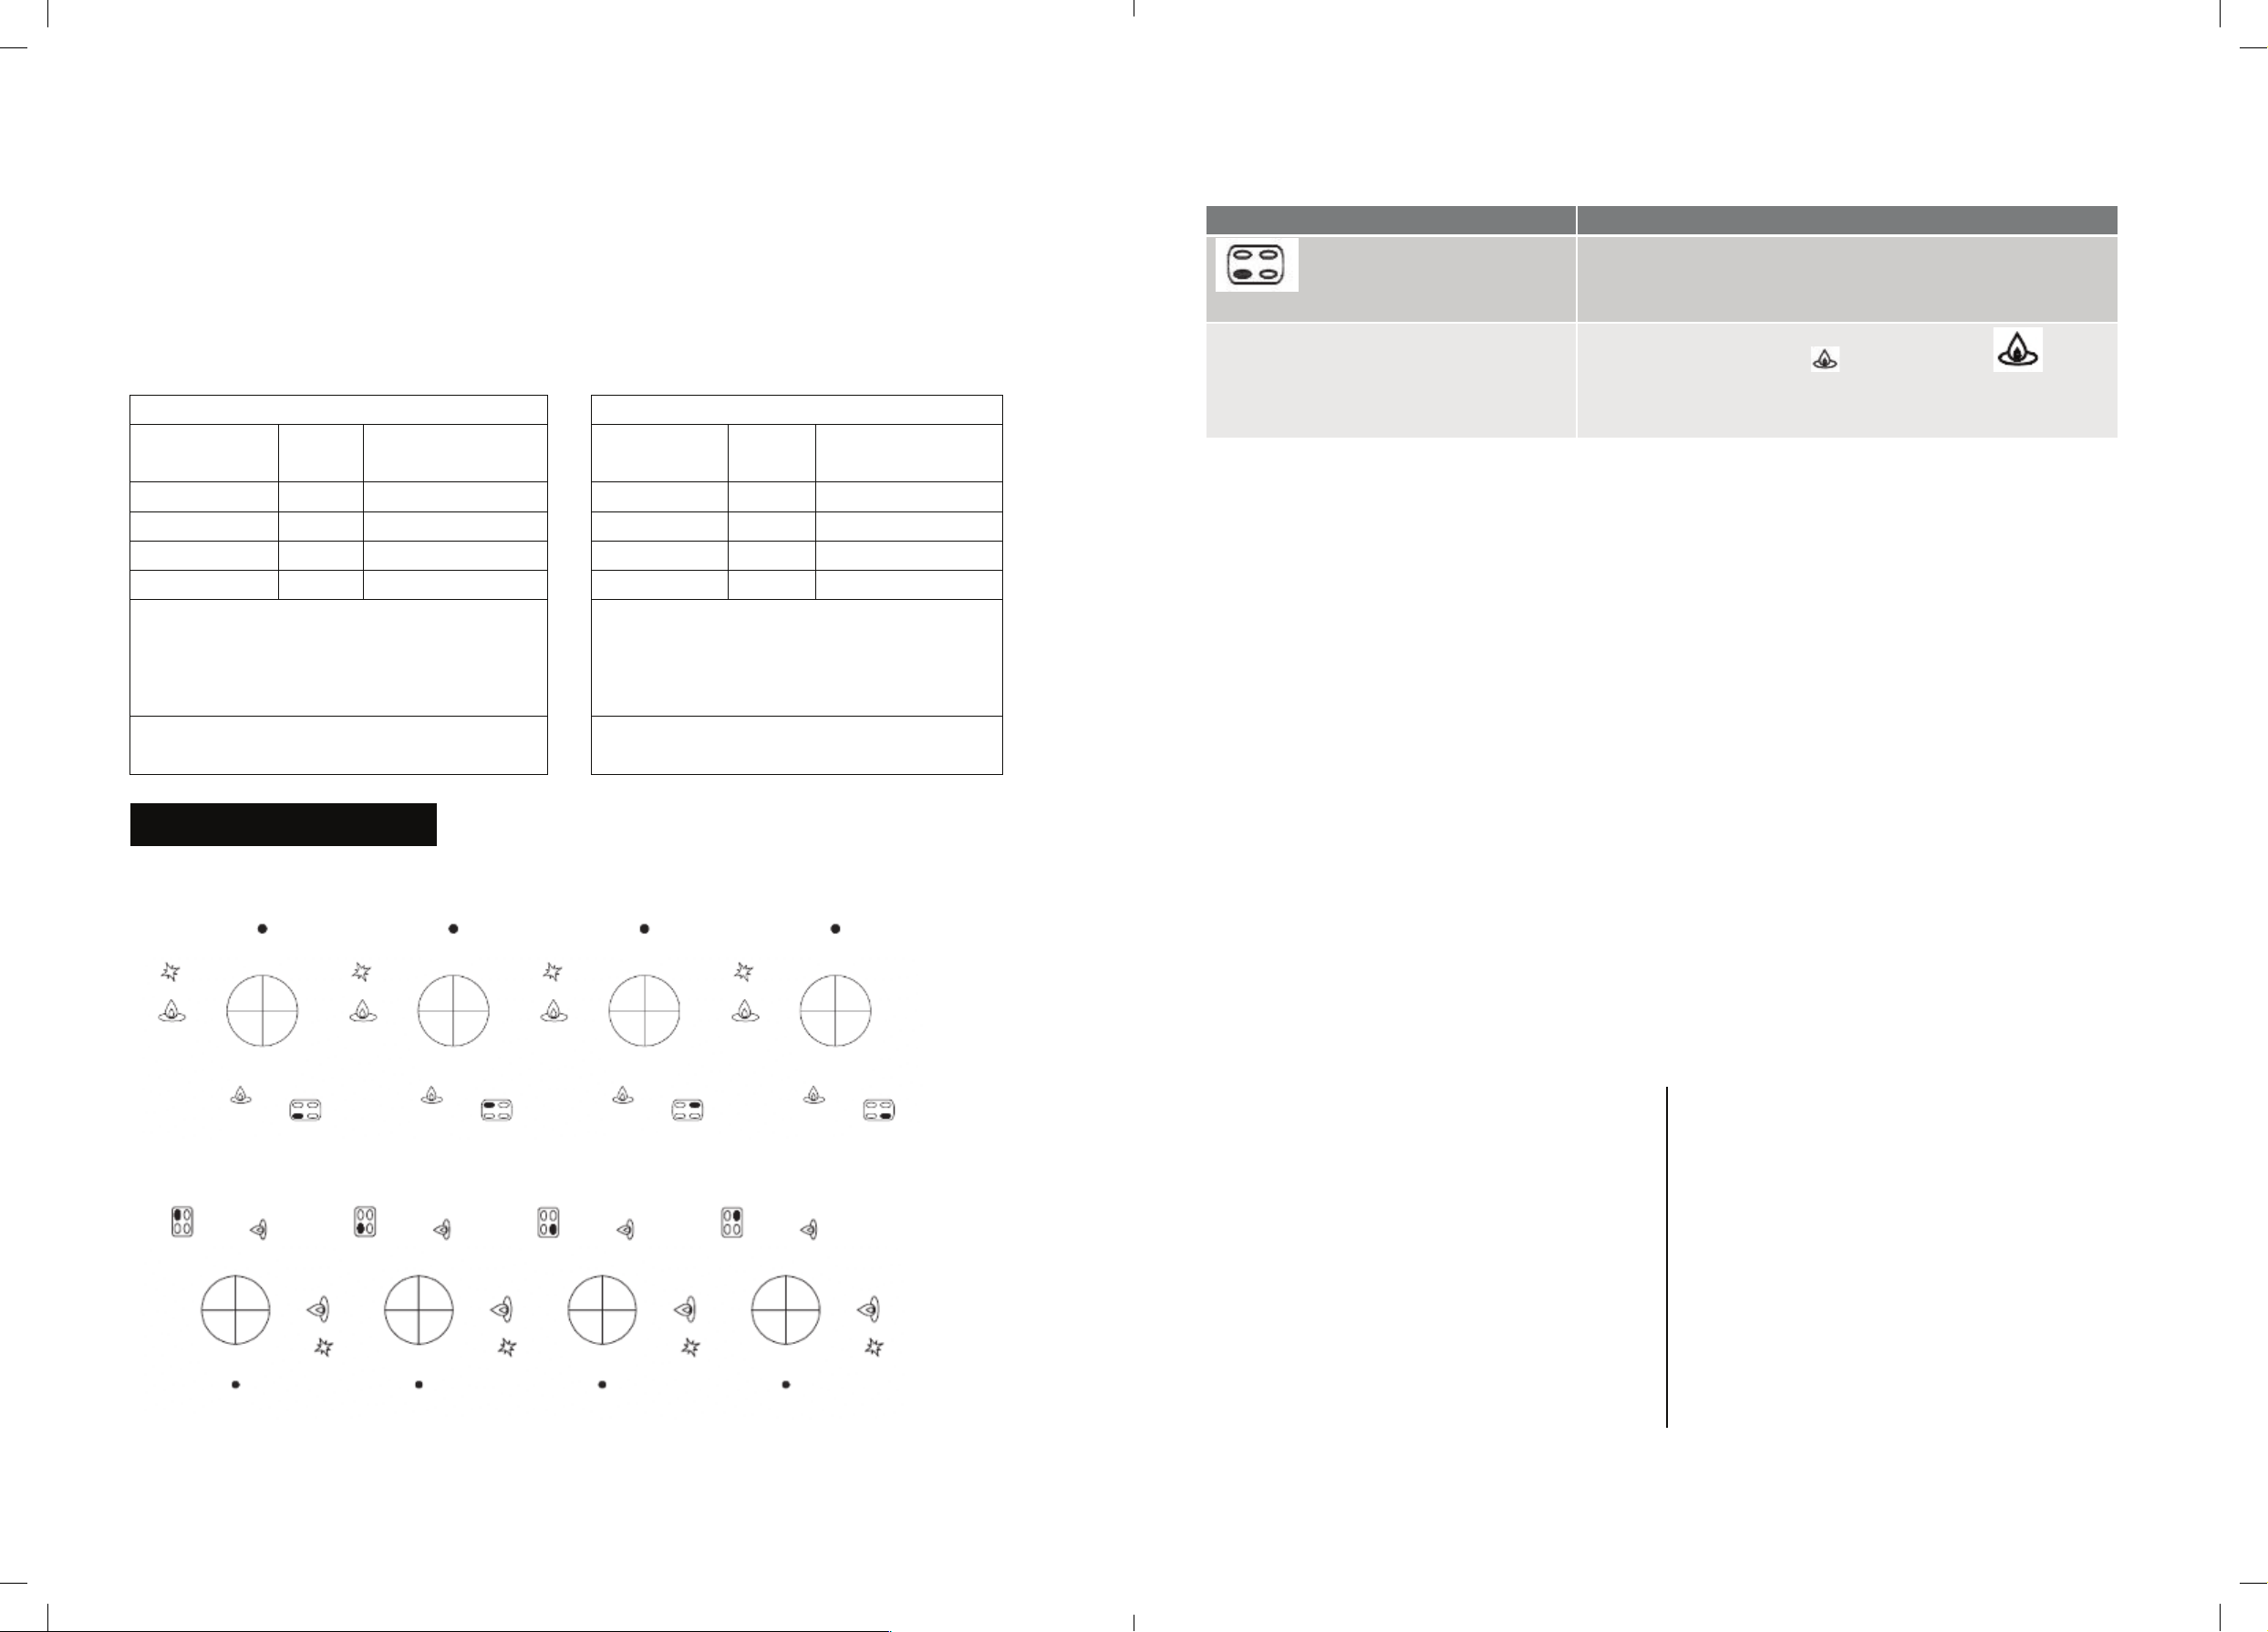
Description Explanation
Zone indicators
These show which zone is under control.
Flame power
Flame power of the zones, is the lowest and
is the highest.
The hotplates are fitted with mains powered electronic spark ignitors, so must be connected to mains power
supply (i.e. nominal 220~240 V ac) to operate. If power is not available, the hotplate will still work but the burners
will have to be lit with a match or similar.
Depressing the gas control knob of any burner will activate the spark ignition for all burners. To light the burner,
turn the gas control knob to the High Flame setting of the burner to be lit, while at the same time depressing the
gas control knob to activate the spark ignition.
Once the burner is alight continue to depress the gas control knob for 5 – 10 seconds to allow the flame
safeguard to activate. If when you release the gas control knob, the burner flame goes out the flame safeguard
has not heated up enough so repeat the ignition procedure after waiting 1 minute for gas to disperse. If problems
with burner lighting persist, refer to the TROUBLESHOOTING section of these instructions.
If power is not available, light a match or similar, then turn the gas control knob for the burner to be lit, to the
High Flame setting. Once again if problems with burner lighting persist, refer to the TROUBLESHOOTING
section of these instructions.
When burner lights, adjust desired flame height. On finishing, turn control knob to off position marked with a
black DOT.
BURNER AND UTENSIL CHOICE
The maximum utensil (pan) diameters in millimeters
(mm) for each burner are:
1. For Natural Gas hotplates
Auxiliary (small) and Semi-Rapid (medium) =
195 mm
Rapid (large) = 230 mm
Triple ring (wok) = 270 mm
2. For Universal LPG hotplates
Auxiliary (small), Semi-Rapid (medium) and
Rapid (large) = 195 mm
Triple ring (wok) = 230 mm
The minimum utensil (pan) diameters in millimeters
(mm) for each burner are:
Auxiliary (small) = 80 mm
and Semi-Rapid (medium) = 140 mm
Rapid (large) and Triple ring (wok) = 195 mm
For best efficiency and to ensure utensil handle does
not overheat, place the utensil centrally on the burner
and adjust the flame height so all the flame remains
under the utensil.
Loading ...
Loading ...