Loading ...
Loading ...
Loading ...
(2) Pork, fish (5) Game, mushrooms
(3) Fruit, vegetables (6) Poultry, beef / veal
The figures indicate the storage time in months for several
types of frozen food in each case. Storage times given are
guide times.
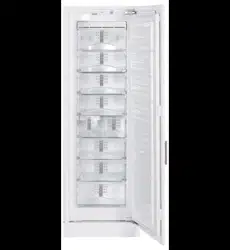
5.13 Cold storage accumulators
The cold storage accumulators prevent the temperature from
rising too fast in the event of power failure.
5.13.1 Using cold storage accumulators
u
Place the frozen cold
storage accumulators on the
frozen food in the upper
front area of the freezer
compartment.
5.14 IceMaker*
The IceMaker is in the fifth drawer from the top. The drawer is
“marked” IceMaker.
Make certain that the following conditions are met:
-
The appliance is level.
-
The appliance is connected.
-
The IceMaker is connected to the water supply.
5.14.1 Switching on the IceMaker*
Fig. 6
u
Pull out the drawer.
u
Press the On/Off button
Fig. 6 (1)
so that the LED
Fig. 6 (2)
shines.
u
Push in the drawer.
w
The IceMaker symbol
Fig. 2 (12)
shines.
Note
u
The IceMaker produces ice cubes only if the drawer is fully
closed.
5.14.2 Producing ice cubes*
The production capacity depends on the freezer temperature.
The lower the temperature, the more ice cubes can be
produced in a specific period.
The ice cubes drop from the IceMaker into the drawer. When a
certain filling level has been reached, no further ice cubes are
produced. The IceMaker does not fill the drawer right up to the
brim.
If large quantities of ice cubes are needed, the complete
IceMaker drawer can be exchanged for the adjacent drawer.
When the drawer is closed, the IceMaker automatically re-
commences production.
Once the IceMaker has been switched on for the first time, it
may take up to 24 hours until the first ice cubes are produced.
Note
When the appliance is used for the first time and if it has been
out of use for a long time, particles may collect in the IceMaker
and/or water conduit.
u
Therefore do not use or consume the ice cubes made in the
first 24 hours.
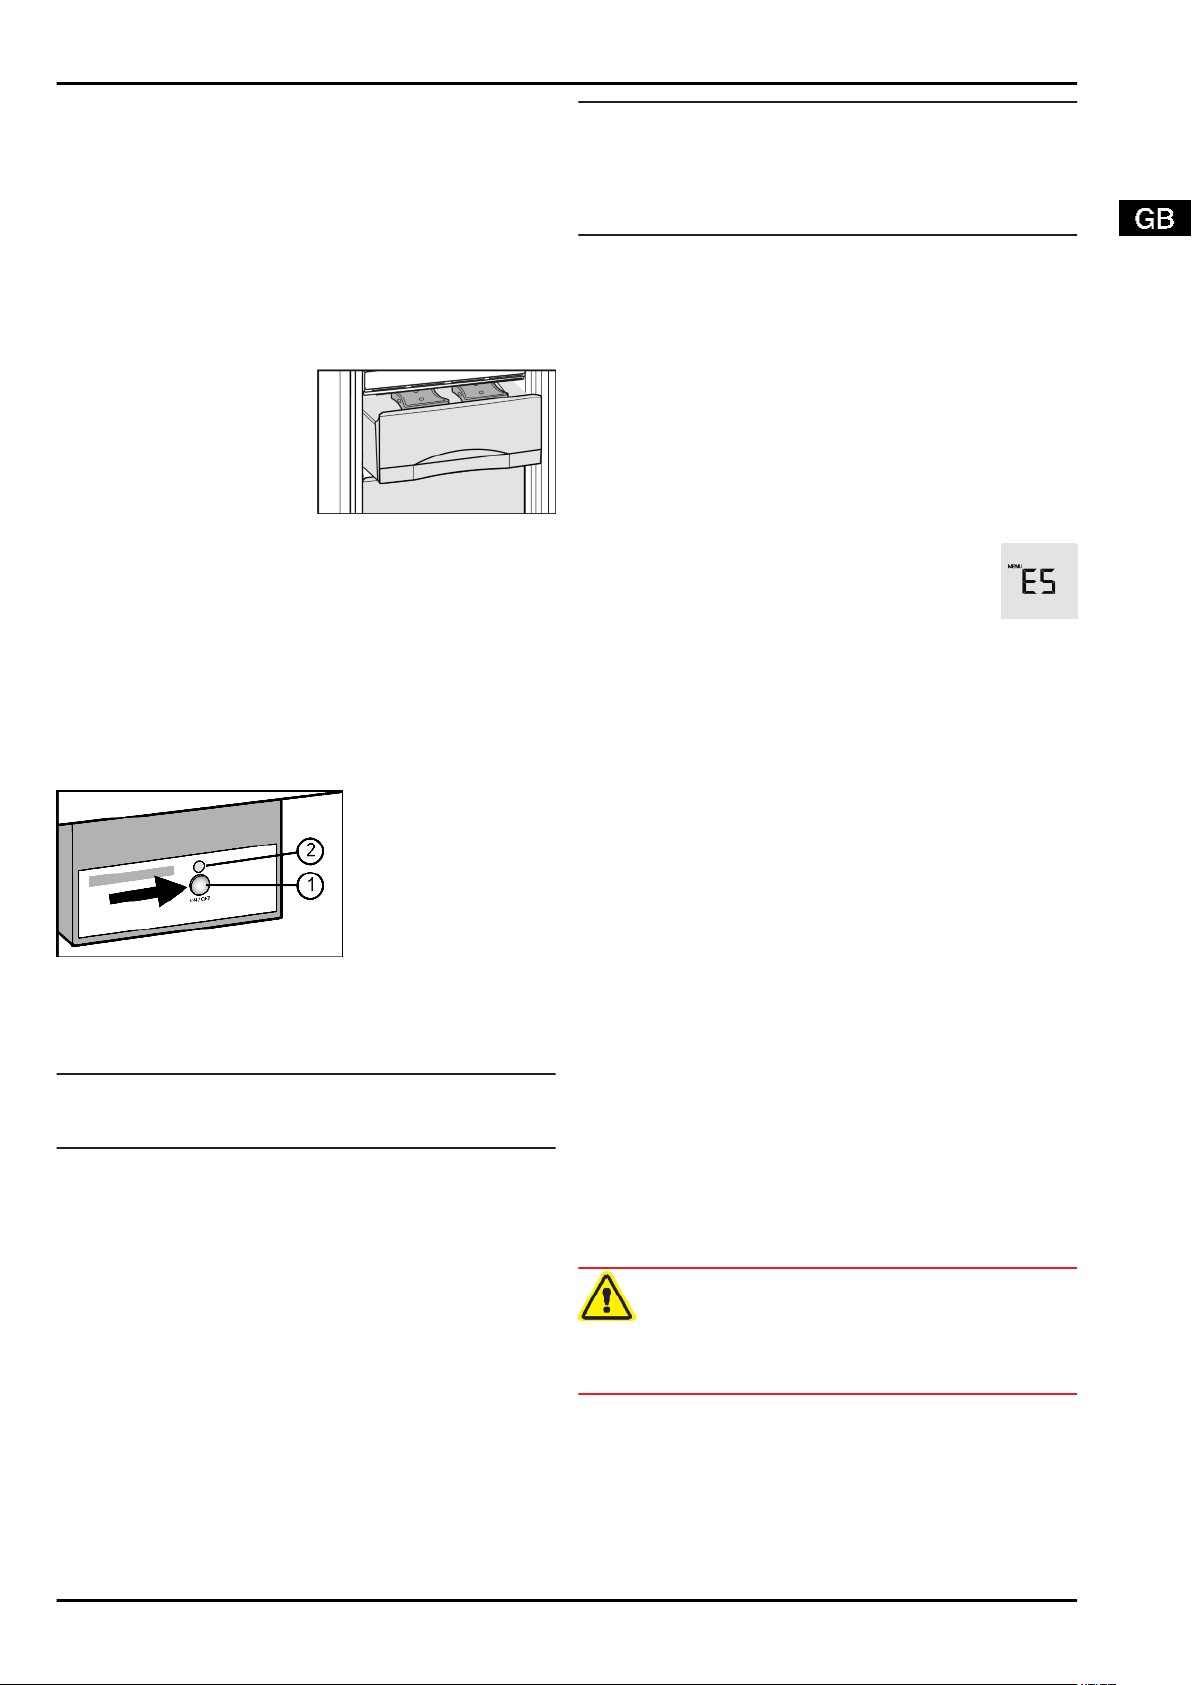
5.14.3 Setting the water intake time*
The opening time of the IceMaker valve can be set if, for
example, the water pressure in the pipe is too low or too high.
The water intake time can be set in stages from E1 (short intake
time) to E8 (long intake time). The intake is preset at E3.
u
To activate the setting mode: press the SuperFrost button
Fig. 2 (5)
for about 5 s.
w
The display indicates c.
w
Themenu symbol
Fig. 2 (9)
shines.
u
Using the Up setting button
Fig. 2 (3)
or Down setting button
Fig. 2 (4)
select E.
u
To confirm: briefly press the SuperFrost button
Fig. 2 (5)
.
u
To increase the water intake time: press the Up
setting button
Fig. 2 (3)
.
u
To reduce the water intake time: press the Down
setting button
Fig. 2 (4)
.
u
To confirm: press the SuperFrost button
Fig. 2 (5)
.
u
To deactivate the setting mode: press the On/Off button
Fig. 2 (1)
.
-or-
u
Wait for 5 minutes.
w
The temperature is indicated again in the temperature
display.
5.14.4 Switching off the IceMaker*
When the IceMaker is switched off, the IceMaker drawer can
also be used for freezing and storing food.
u
Press the On/Off button for about 1 second until the LED
goes out.
w
The IceMaker symbol
Fig. 2 (12)
goes out.
u
Clean the IceMaker.
w
This ensures that no water or ice remains in the IceMaker.
6 Maintenance
6.1 Defrosting with NoFrost
The NoFrost system automatically defrosts the appliance.
The moisture condenses on the evaporator, is periodically
defrosted and evaporates.
u
The appliance does not have to be manually defrosted.
6.2 Cleaning the appliance
WARNING
Risk of injury and damage as a result of hot steam!
Hot steam can lead to burns and can damage the surfaces.
u
Do not use any steam cleaners!
Maintenance
* Depending on model and options 7
Loading ...
Loading ...
Loading ...