Loading ...
Loading ...
Loading ...
5
Installation Instructions
Before Using Your Appliance:
• Remove the exterior and interior packing.
• Before connecting the unit to a power source, let it stand for approximately 2
hours. This will reduce the possibility of a malfunction in the cooling system from
handling during transportation.
• Remove the shelves and clean them and the interior surfaces of the unit with
lukewarm water using a soft cloth.
Installing the Refrigerator:
• Place the unit on a floor that is strong enough to support it when the appliance is
fully loaded. To level the unit, adjust the two leveling legs at the front.
• Your appliance can be installed either free-standing, recessed or built into an
enclosure. When installing as a free-standing unit, allow at least 2” (51mm) of
space at the sides, top and rear of the unit to allow for proper air circulation to cool
the compressor and condenser. Even when built in, the unit requires at least 2” of
clearance at the back, 1/8” (3mm) at both sides and 1/16” (1.6mm) at the top.
Take care that the air vents at the front of the appliance are never covered or
blocked in any way.
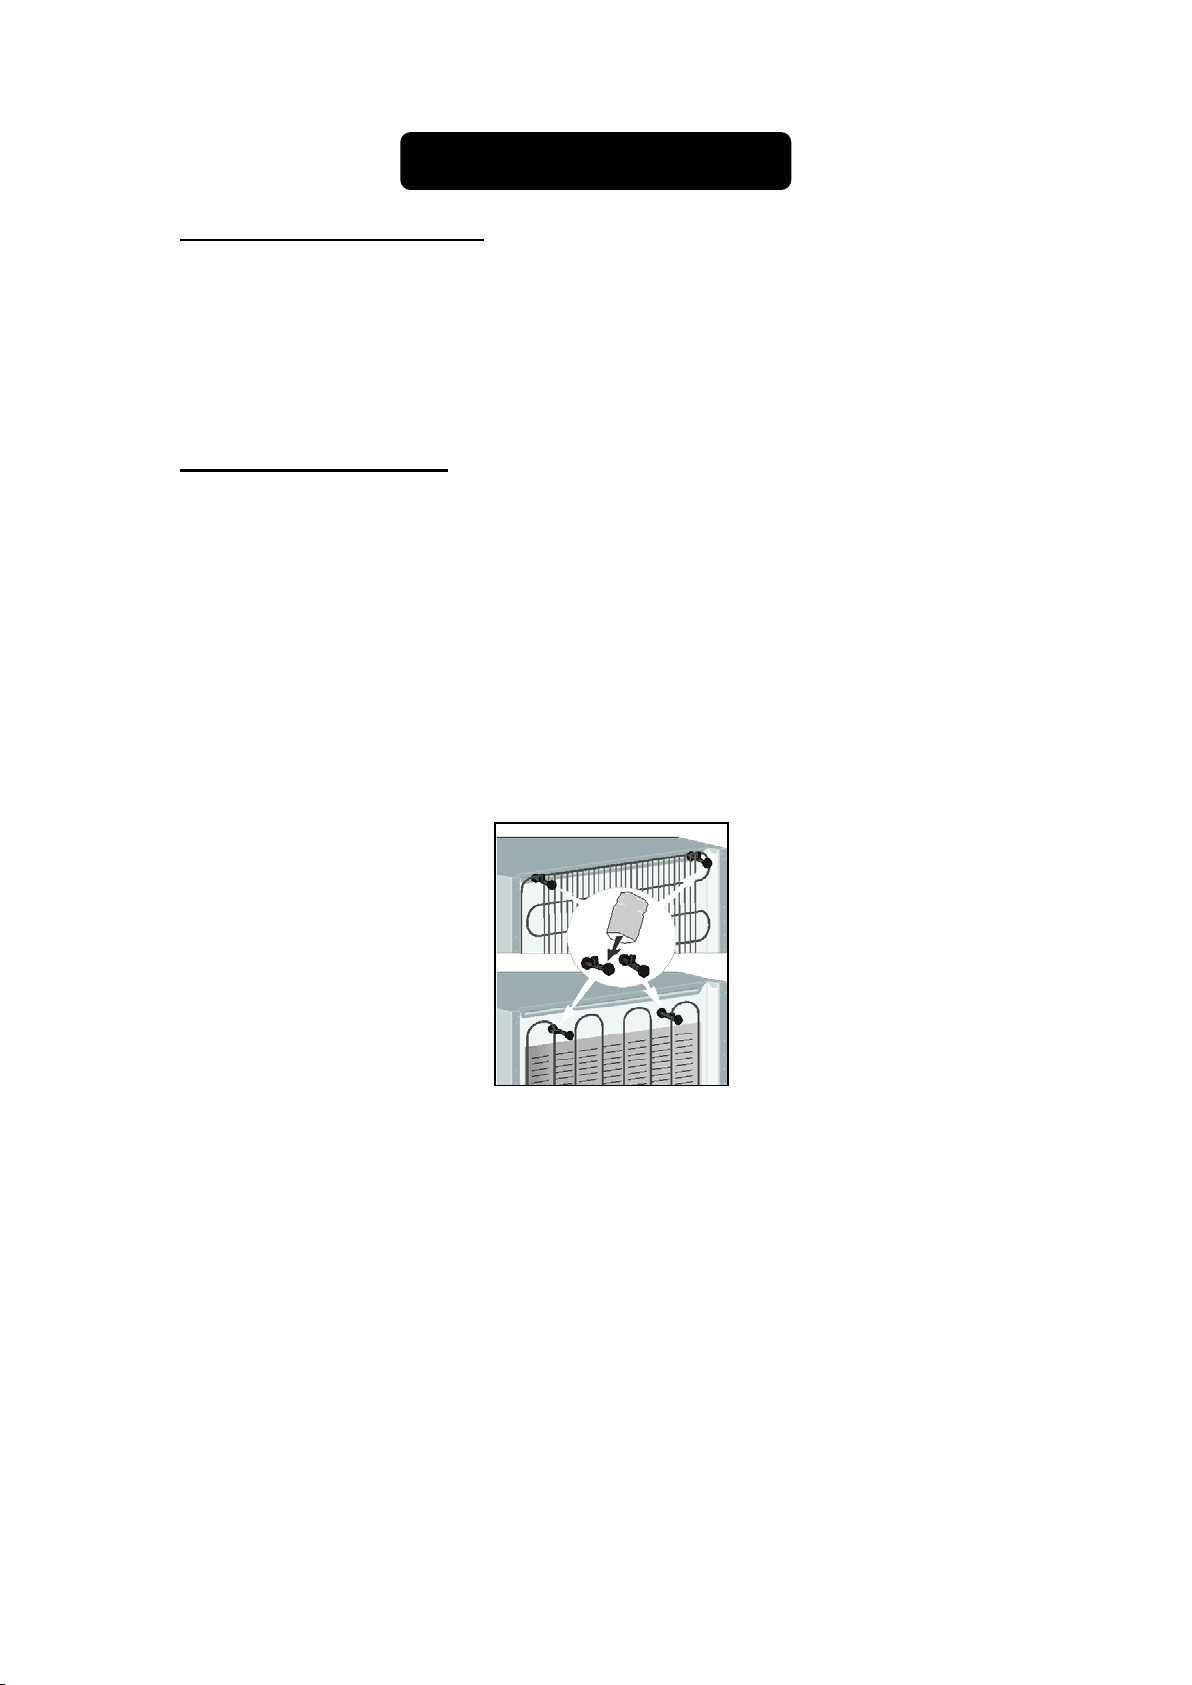
• This appliance is supplied with spacers that have to be mounted onto the
condenser tube at the back to make sure there is sufficient clearance between the
appliance and the wall.
• Locate the unit away from direct sunlight and sources of heat (oven, heater,
radiator, etc.). Direct sunlight may affect the acrylic coating and heat sources may
increase electrical consumption. Extremely cold ambient temperatures may also
affect the unit's performance.
• Avoid locating the unit in moist areas. Too much moisture in the air will cause frost
to form quickly on the evaporator, requiring more frequent defrosting of the
interior.
• Plug the unit into an exclusive, properly installed and grounded wall outlet. Any
questions concerning power and/or grounding should be directed toward a
certified electrician or authorized service center.
Loading ...
Loading ...
Loading ...