Loading ...
Loading ...
Loading ...
18
1. Turn the gas control/temperature knob counterclockwise to the "OFF" setting. The status light will stop blinking
and stay on for a short time after the water heater is turned off. See Figure ‘A’.
IMPORTANT/IMPORTANTE
Read the manual for complete instructions and safety information. For a free manual, call 1-800-821-2017.
Lea el manual para instrucciones completas e información de seguridad. Manuales gratuitos, etiquetas, o rótulos en
español se pueden obtener llamando al 1-800-821-2017.
FOR YOUR SAFETY READ BEFORE LIGHTING
WARNING: If you do not follow these instructions exactly, a fire or explosion may result
causing property damage, personal injury or loss of life.
LIGHTING INSTRUCTIONS
CONTROL KNOB
FIGURE 'A'
"OFF" POSITION
FIGURE 'B'
"PILOT" POSITION
FIGURE 'C'
"ON" POSITION
TO TURN OFF GAS TO APPLIANCE
GAS CONTROL
THERMOPILE
PILOT
VAC
Gas Control/Temperature Knob
Status
Light
Igniter
120°F
Mark
120°F
Mark
120°F
Mark
120°F
Mark
120°F
Mark
120°F
Mark
BEFORE LIGHTING: ENTIRE SYSTEM MUST BE FILLED WITH WATER AND AIR PURGED FROM ALL LINES
A. This appliance has a pilot which is lit by a piezo-electric
spark gas ignition system. Do not open the inner door
of the appliance and try to light the pilot by hand.
B. BEFORE LIGHTING smell all around the appliance
area for gas. Be sure to smell next to the floor because
some gas is heavier than air and will settle on the floor.
WHAT TO DO IF YOU SMELL GAS
• Do not try to light any appliance.
• Do not touch any electric switch; do not use any
phone in your building.
• Immediately call your gas supplier from a neighbor's
phone. Follow the gas supplier's instructions.
• If you cannot reach your gas supplier, call the fire
department.
C.Use only your hand to push in or turn the gas control
knob. Never use tools. If the knob will not push in or turn
by hand, do not try to repair it, call a qualified service
technician. Force or attempted repair may result in a fire
or explosion.
D. Do not use this appliance if any part has been
underwater. Immediately contact a qualified installer or
service agency to replace a flooded water heater. Do not
attempt to repair the unit! It must be replaced!
E. DO NOT USE THIS APPLIANCE IF THERE HAS BEEN
AN IGNITION OF VAPORS. Immediately call a qualified
service technician to inspect the appliance. Water
heaters subjected to a flammable vapors ignition will
show a discoloration on the air intake grid and require
replacement of the entire water heater.
1. STOP! It is imperative that you read all safety warnings
before lighting the pilot.
2. Turn the gas control/temperature knob counterclock-
wise to the "OFF" setting.
3. Wait ten (10) minutes to clear out any gas. If you then
smell gas, STOP! Follow “ B” in the safety information
above on this label. If you do not smell gas, go to the
next step.
4. Turn the gas control/temperature knob clockwise to
“PILOT”. See Figure ‘B’.
5. Press the gas control/temperature knob all the way in
and hold it in. The knob should travel in about 1/4 inch
if it is set to "PILOT" correctly.
While holding the gas control/temperature knob in, click
the igniter button continuously (about once a second) for
up to 90 seconds or until Status Light begins to blink.
6. When the status light starts blinking, release the gas
control/temperature knob. Set the gas control/
temperature knob to the desired setting. See Figure ‘C’.
If the status light does not start blinking within 90
seconds, repeat steps 2 through 5 up to THREE (3)
times, waiting 10 minutes between lighting attempts.
The circuitry in this advanced gas valve requires that
you wait 10 minutes between lighting attempts.
If the status light turns a solid color, release the gas
control/temperature knob and repeat steps 2 through 5
(waiting 10 minutes before attempting to relight the
pilot).
If the status light does not start blinking after three
lighting attempts, turn the gas control/temperature knob
to "OFF" and call a qualified service technician or your
gas supplier.
Install Thermostatic Mixing Valves
Even if you set the water heater thermostat to a low setting, higher temperatures may occur in certain circumstances.
Install Thermostatic Mixing Valves (temperature limiting valves) at each point-of-use to reduce the risk of scalding.
160ºF
150ºF
140ºF
130ºF
120ºF
About 1/2 second
About 1 1/2 seconds
Less than 5 seconds
About 30 seconds
More than 5 minutes
TIME TO PRODUCE SERIOUS
BURNS ON ADULT SKIN
WATER
TEMPERATURE
See manual for more
information about
preventing burns
from hot water.
The time to produce serious burns on the skin of infants, children, and the elderly can be even shorter.
HOT
BURN
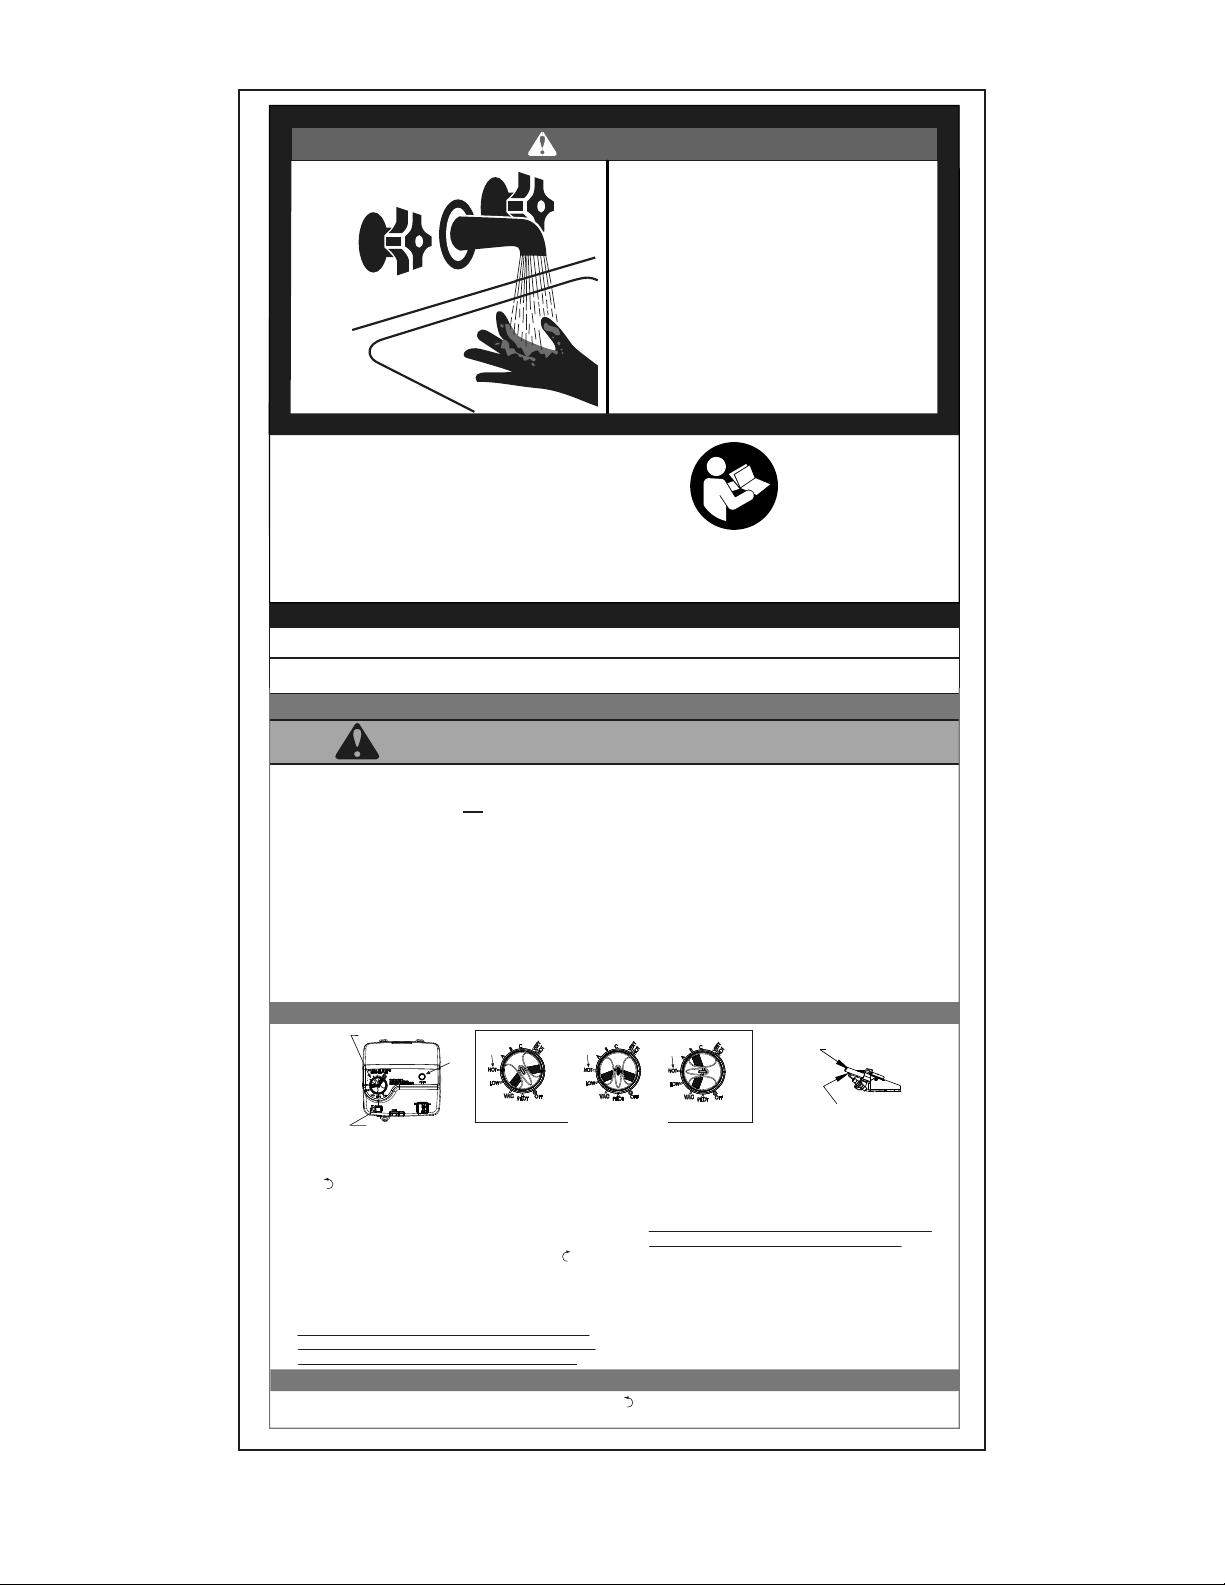
Water temperature over 125ºF can cause
severe burns instantly or death from scalds.
Children, disabled and elderly are at highest
risk of being scalded.
See instruction manual before setting
temperature at water heater.
Feel water before bathing or showering.
Temperature limiting valves are available,
see manual.
DANGER
Loading ...
Loading ...
Loading ...