Loading ...
Loading ...
Loading ...
11
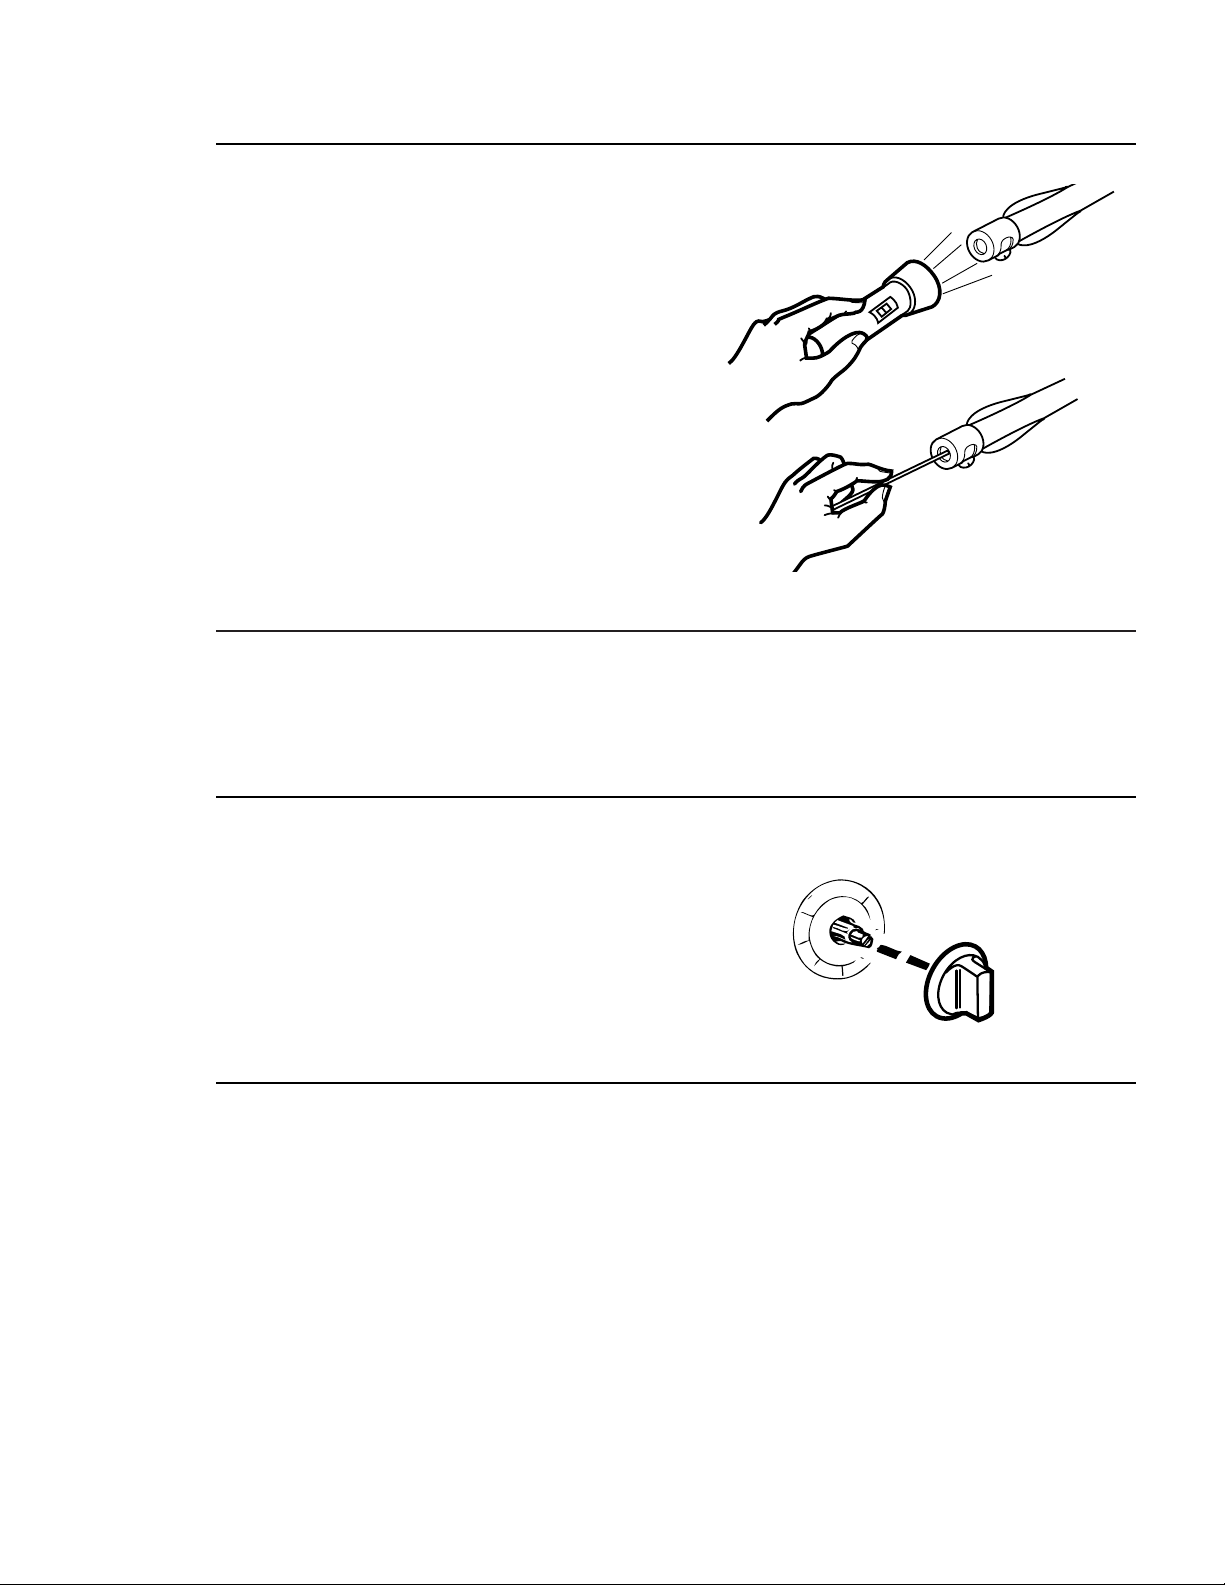
Orifice
cleaning
With the burner removed, remove the orifice
and shine a flashlight through the opening to
ensure there is no blockage.
Use a needle to clear any debris. Be extremely
careful not to enlarge the hole or break off
the needle.
Burner
cleaning
Clean the exterior of the burner with a wire brush.
Be sure burner ports are clear and free from
debris. Clear any clogged ports with a
straightened paper clip. Never use a wooden
toothpick as it may break off and clog the port.
Never enlarge the burner ports. Shake out any
debris through the air shutter.
Use a flashlight to inspect the burner inlet to
ensure it is not blocked. If obstructions can be
seen, use a metal wire coat hanger that has been
straightened out to clear them.
NOTE: To ensure warranty coverage and proper
performance of the range top burners, monthly
inspection and cleaning of all the burner
orifices is recommended.
Control
knob
Clean up spatters with a damp cloth. Remove
heavier soil with warm, soapy water.
Do not use abrasives of any kind.
The control knob may be removed for easier
cleaning. To remove the knob, pull it straight
off the stem. Wash the knob in soap and water
but do not soak.
Replacing
an igniter
Before replacing an igniter, perform this
simple test.
1. From under and behind the valve panel,
look upward and locate the end of the
igniter wire where it is connected.
Disconnect the wire and place the metal
blade of a screwdriver about 1/8″ from the
terminal of the rotary igniter.
2. Turn the igniter knob. If the igniter is good,
a spark will jump across to the screwdriver.
If there is no spark, replace the igniter.
If there is a spark, examine the wire of the
electrode for cracks and cuts. Also examine the
electrode for grease and debris or see if the
electrode tip is bent.
The igniter may be replaced from the front by
removing the drip tray and reaching behind
the valve panel to unplug the igniter wire.
Remove the igniter knob and the two mounting
screws. (Reverse the procedure to replace.)
If removing the valve panel is necessary, begin
by removing the control knob, then remove
the 4 corner screws of the valve panel.
Loading ...
Loading ...
Loading ...