Loading ...
Loading ...
Loading ...
DAILY USE
SWITCHING THE HOB ON/OFF
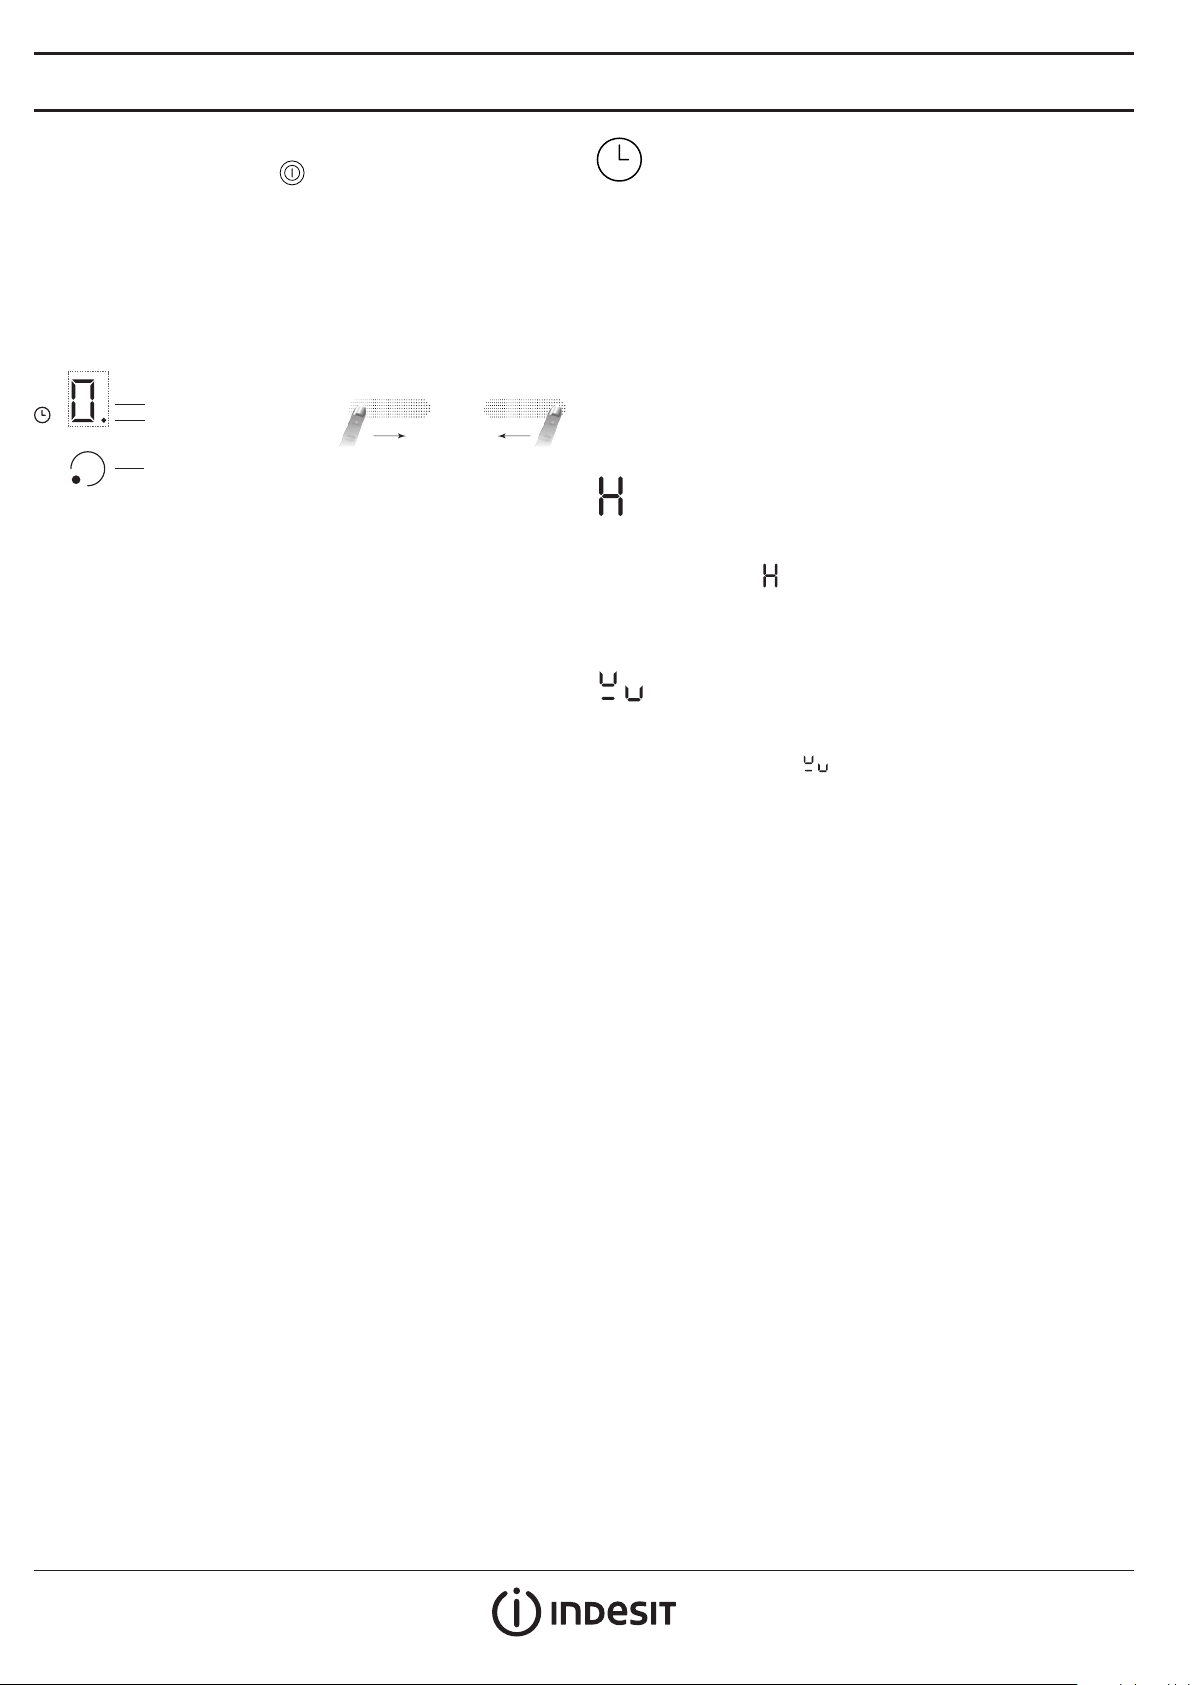
To switch the hob on, press the button for approx. 2 seconds until
the cooking zone displays light up.
To switch o, press the same button until the displays switch o. All the
cooking zones are deactivated.
If the hob has been in use, the residual heat indicator “H” remains lit until
the cooking zones have cooled down.
If within 10 seconds of switching on, no function is selected, the hob
switches o automatically.
SWITCHING ON AND ADJUSTING COOKING ZONES
Power indicator display
Selected cooking zone indication
Cooking zone positioning
Place the pot on the desired cooking zone. Turn on the cooking top. Then
activate the selected cooking zone by pressing the corresponding position
button. The display shows “0”.
Use the Slider to select the required power level, from min. 0 to max. 9, or
Booster “P” if available. To increase the power level, slide your nger on the
slider from left to right several times; to decrease it, slide in the opposite
direction.
DEACTIVATION OF COOKING ZONES
To switch o the cooking zone, press the corresponding position button
for more than 3 sec.
The cooking zone switches o and, if still hot, the letter “H” appears on
the zone display.
CONTROL PANEL LOCK
This function locks the controls to prevent accidental activation of the hob.
To activate the control panel lock, switch the hob on and press the Control
panel lock button for three seconds; an acoustic signal and a luminous
indicator near the padlock indicate function activation. The control panel
is locked except for the switching o function.
To deactivate the control lock, repeat the activation procedure. The
luminous dot goes o and the hob is active again.
The presence of water, liquid spilled from pots or any objects resting on
the button below the symbol can accidentally activate or deactivate the
control panel lock.
Slider operation
+
Increase power level
_
Decrease power level
TIMER
The timer can be used to set the cooking time for a maximum of 99
minutes (1 hour and 39 minutes) for all the cooking zones.
Select the cooking zone to be used with the timer, press the Timer
button and a beep indicate function activation. The display shows “00”
and the LED indication comes on. The timer value can be increased and
decreased by pressing the left / right end of the slider.
When the set time has elapsed, an acoustic signal sounds and the
cooking zone switches o automatically.
To deactivate the timer, keep the Timer button pressed for at least 3
seconds.
To set the timer for another zone, repeat the above steps. The timer
display always shows the timer for the selected zone or the shortest timer.
To modify or deactivate the timer, press the cooking zone selection
button for the timer in question.
RESIDUAL HEAT INDICATOR
The hob is tted with a residual heat indicator for each cooking zone.
These indicators alert the user when cooking zones are still hot.
If the display shows , the cooking zone is still hot. If the residual
heat indicator of a given cooking zone is lit, that zone can be used, for
example, to keep a dish warm or to melt butter.
When the cooking zone cools down, the display goes o.
INCORRECT OR MISSING POT INDICATOR
If you are using a pot that is not suitable, not correctly positioned or not
of the correct dimensions for your induction hob, the message “no pot”
will appear in the display (
). In these situations it is recommended
to reposition the pot on the hob surface until you nd the position of
operation. If no pot is detected within 60 seconds, the hob switches o.
FAST BOIL FUNCTION BOOSTER
This function, only present on some cooking zones, makes it possible
to exploit the hob’s maximum power (for example to bring water to the
boil very quickly).
To activate the function, se
lect the cooking zone by pressing the
corresponding position button and keep
the right end of the slider pressed
until “P” appears on the display.
After 5 minutes’ use of the booster
function, the appliance automatically sets the zone to level 9.
Loading ...
Loading ...