Loading ...
Loading ...
Loading ...
Installation Instructions
11
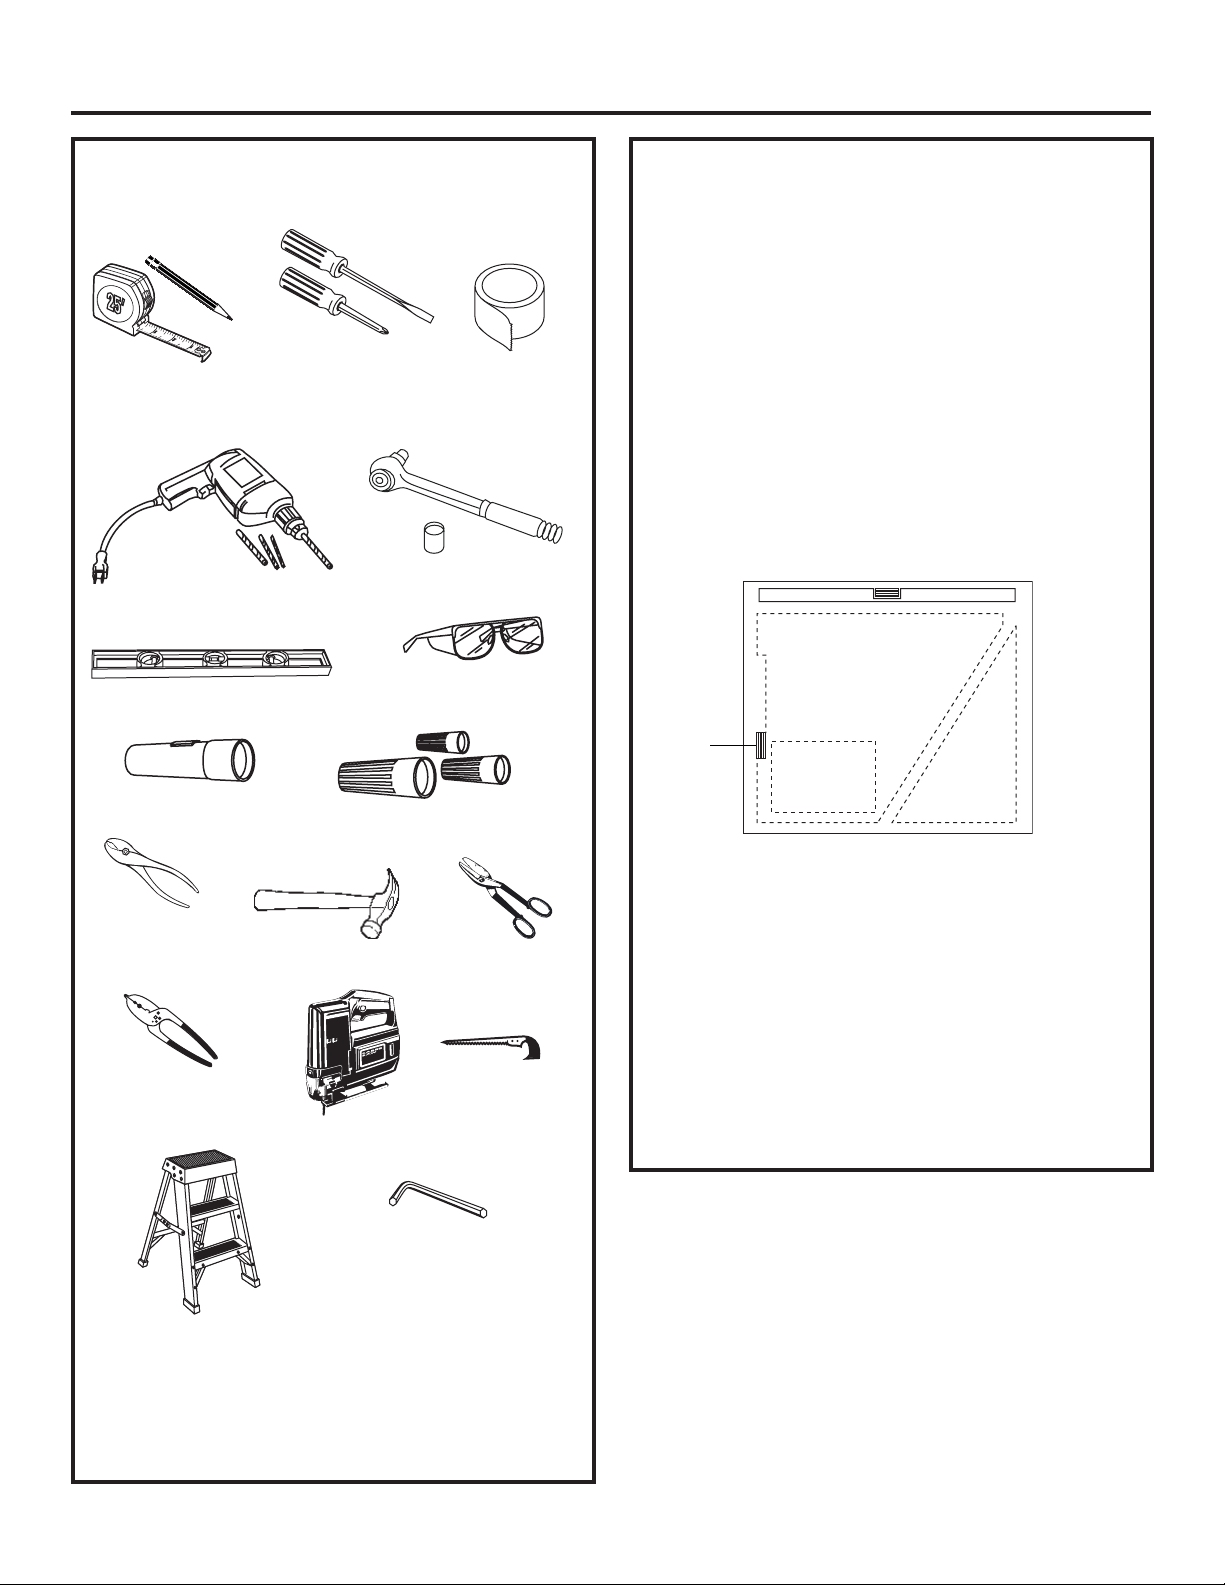
TOOLS AND MATERIALS
REQUIRED
(NOT SUPPLIED)
Pencil and
tape measure
Spirit level
Phillips and
Flat blade screwdrivers
Duct tape
Electric drill with
1/8 and 3/8 bits
1/4 pivoting hex socket
Safety glasses
Flashlight
Saber saw or Key Hole Saw
Metal Snips
Hammer
Pliers
Additional Materials:
• 120V 60Hz. 15 or 20 Amp, 2 wire with ground.
Properly grounded branch circuit.
• Strain relief for junction box.
• 7 round metal duct or 3-1/4 x 12 rectangular duct,
length to suit installation.
Wire Cutter/
Stripper
Ladder
Allen
Wrench
CAUTION: Lift hood by grasping the outside
edges of the inlet opening of the hood. Do not lift
hood by the exhaust opening divider–damage will
occur!
REMOVE THE PACKAGING
• Lift out the wooden crossmember, as well as the top
protective carton.
• Lift the hood out of the box.
• Remove shipping screws holding the wood mounting
piece to the back side of the hood. Set aside wood
mounting piece and screws for later installation.
Do not discard.
• Remove junction box cover and knockout.
• Install strain relief onto back or top of hood.
• Remove all tape and packing material from the
hood, duct transition and motor.
UL Listed Wire nuts
• Remove parts package from the shaped cardboard
insert.
“V”
• Remove the shaped carton insert.
“V”
• Lift out the four “L” shaped polystyrene protection
profiles.
• Remove the protection moldings around the smaller
carton box.
• Remove the small box housing the motor.
″
″
″
″
″″
Wood
Mounting
Support
Hood
Parts
Package
Shipping Carton
Motor
Loading ...
Loading ...
Loading ...