Loading ...
Loading ...
Loading ...
Screw the chimney mounting parts into Ø 10mm sized wall
plugs on E,F points which is provided with your product.
Chimney Mounting
Plate
INSTALLING THE RANGE HOOD ON THE
WALL
A)DRILLING OF HANGING HOLES
Set the assembly scheme onto place where
the product will be mounted and open the
holes on A,B,C,D points with Ø 10mm sized
drill bit.
Open holes at points E and F with a Ø 10mm
sized drill bit in order to screw chimney
assembly parts in place 15mm below ceiling.
B)SCREWING OF WALL PLUGS
Screw the Ø 10mm sized wall plugs into A, B,
C,D holes for hanging screws.
Screw the Ø 10mm sized wall plugs into E, F
holes for chimney mounting parts.
C)SCREWING OF HANGING SCREWS
Screw the hanging screws into Ø 10mm sized
wall plugs in A, B holes.
There must be 5mm distance between screw
head and wall.
F
E
Ø10
E,F
Ø10
A,B,C,D
B
A
D
C
wood wall
E
F
wood wall
Chimney Mounting
Plate
10
13
EFFICIENT VENTILATION
For correct ventilation, windows opening outside must be kept closed. Doors and
windows opening to other rooms may be kept open.
IMPORTANT NOTE!
Pay attention when operating the hood simultaneously with devices that
work by burning the ambient air with fuel (such as gas heaters). The
burning may be affected because the hood discharges air in the room to
the outside.
This advice does not apply to hoods not having an outside exhaust.
OPERATION
Peel off protective films from the stainless steel components after assembly.
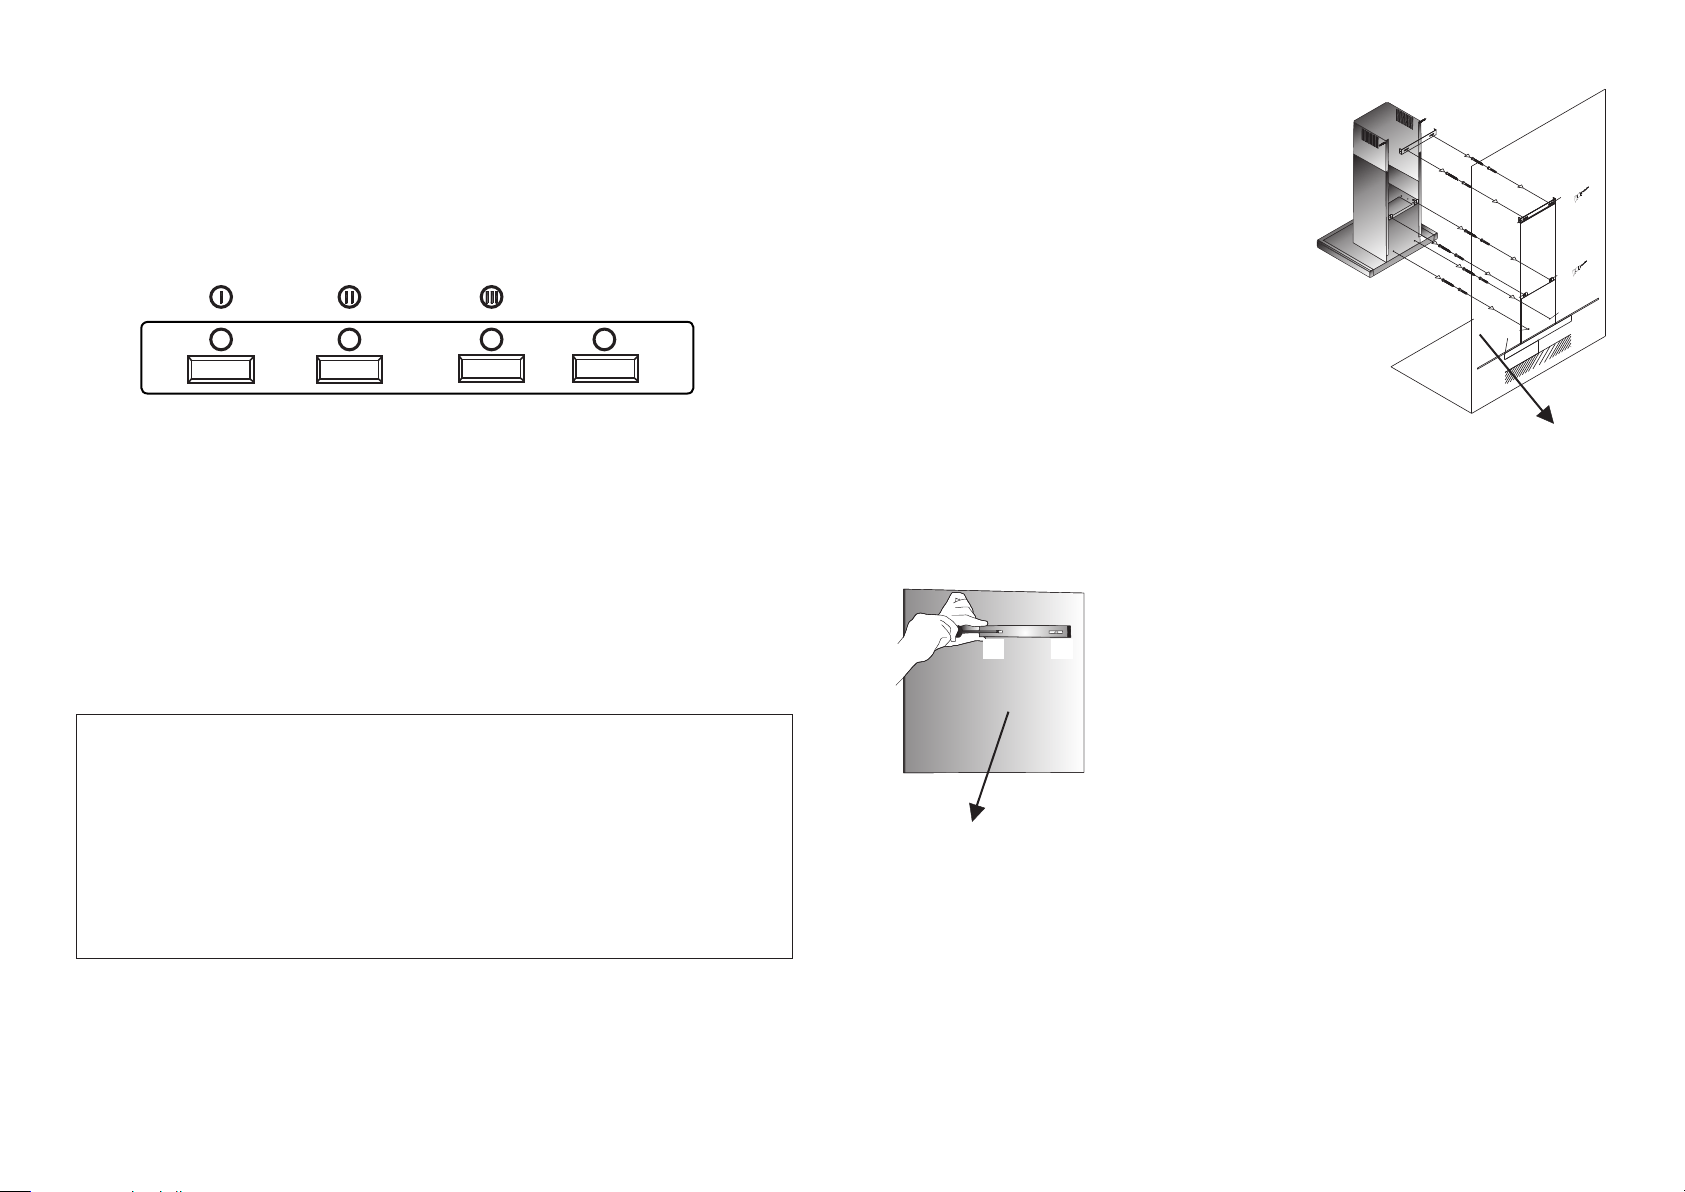
PUSH-BUTTON CONTROLS
Your range hood has three levels of ventilation. According to your needs, you
can choose a low (|), medium (||) or high (|||) ventilation level by pushing one of
the first three buttons on the front panel.
The fourth button (Lamp) controls the lighting of the hood. There are 2 bulbs
which are turned on and off by pressing the Lamp button.
Lamp
Loading ...