Loading ...
Loading ...
Loading ...
6
GETTING STARTED
INSTALLATION CHECKLIST
✔ Electrical Power
❑ Plug refrigerator into a grounded 3 prong outlet.
✔ Doors
❑ If doors need to be removed during installation, see “Remove
and Replace Refrigerator Doors” in these instructions.
❑ Check that handles are secure and installed according to
these instructions.
❑ Doors seal completely.
❑ Refrigerator is level. (Remove base grille and adjust leveling
feet so they are snug against the oor.)
❑ Doors are even across the top. (Use door alignment feature
if necessary.)
❑ Base grille is properly attached to the refrigerator.
✔ Ice and Water System (on some models)
❑ Connect refrigerator to a cold water supply with 20-120 psi
water pressure, as specied in these instructions.
❑ Make sure the household water supply is connected and
turned on.
❑ Check that the water supply line behind refrigerator is not
kinked.
❑ Only use recommended water supply tubing, copper, or PEX,
as specied in these instructions.
❑ Install water lter according to the instructions.
❑ Flush water system with 3 gallons (11.4 L) of water, as
specied in these instructions.
❑ Check for water leaks at all connections.
❑ Turn on ice maker if refrigerator is connected to water supply.
(If not connected to water supply, turn off ice maker.)
Electrical Shock Hazard
Plug into a grounded 3 prong outlet.
Do not remove ground prong.
Do not use an adapter.
Do not use an extension cord.
Failure to follow these instructions can result in death,
fire, or electrical shock.
WARNING
✔ Final Checks
❑ Install air lter according to instructions in corresponding
packaging.
❑ Remove all shipping material.
❑ Set temperature controls to the recommended setting.
❑ Save instructions and other literature.
❑ Send in Registration Card or register your product online.
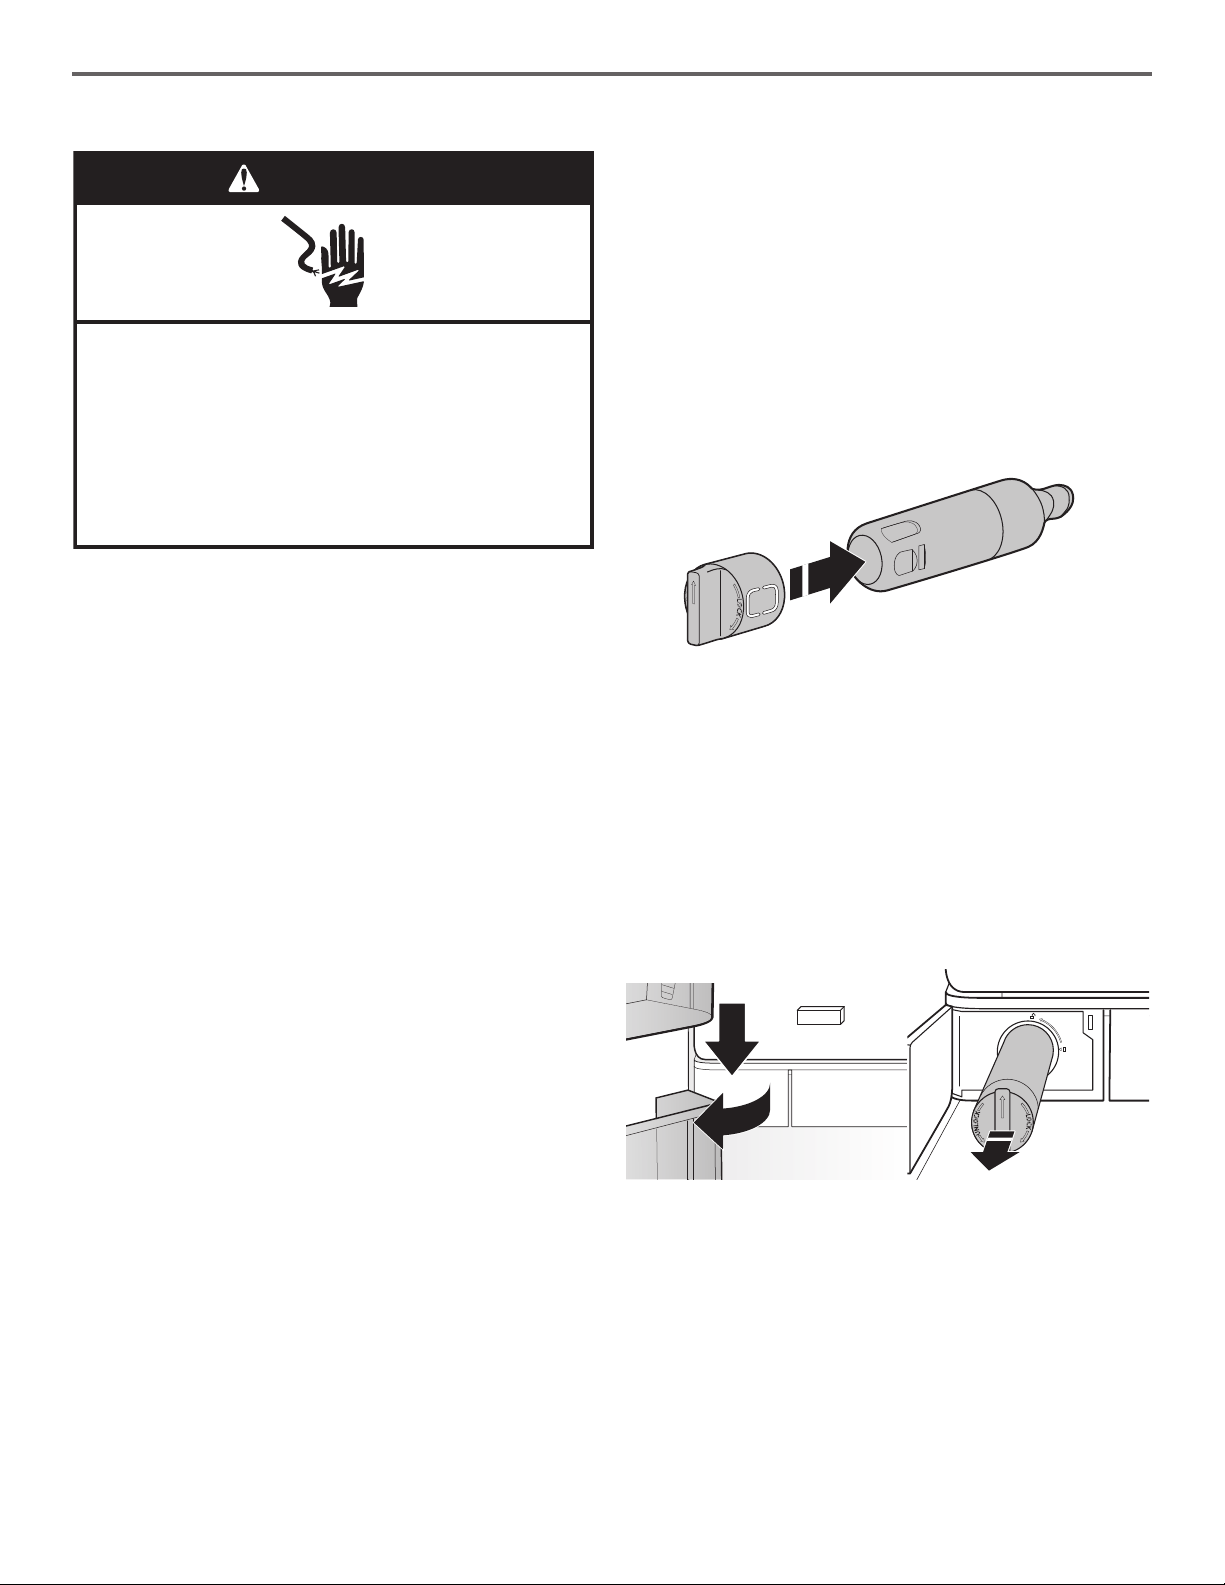
WATER FILTER INSTALLATION
❑ Locate the water lter compartment in the lower left-hand side
of the refrigerator compartment. Push on the right side of the
lter door to open.
❑ Install the water lter cap onto the new lter. Be sure to align
the arrows so the groves in lter align with ribs in lter cap.
❑ Insert the lter into the housing.
❑ Once the lter is inserted, turn the lter clockwise
90° (1/4 turn) until it locks into the housing.
❑ Push water lter door closed to latch.
❑ Flush 3 gallons (11.4 L) of water through the water system to
clear air from the water line and to keep the dispenser from
dripping and/or avoiding decreased dispenser ow.
NOTE: If the lter is not installed correctly, water may
dispense at a lower ow rate and there will be slower ice
production. Improper lter installation may also cause the
water lter housing to leak.
Loading ...
Loading ...
Loading ...