Loading ...
Loading ...
Loading ...
PREPARATION
Clearances Water Supply to Icemaker (on some models)
Allow the following clearances for ease of installation, proper air
circulation and plumbing and electrical connections:
Sides..........................................................................19 mm
Top.............................................................................25 mm
Back...........................................................................25 mm
If your refrigerator has an icemaker, or if you plan to add an
icemaker later, the icemaker will have to be connected to a cold
drinking water line.
A water supply kit containing copper tubing, shutoff valve, fittings
and instructions is available at extra cost from your local distributor.
There should be sufficient tubing from the cold water supply to the
icemaker inlet to allow moving the refrigerator out from the wall
several feet (approximately 244 cm of 1/4
² copper tubing in three
25 cm diameter coils).
Do not use kits with plastic tubing since there is water pressure in the
supply line at all times.
Maximum permissible inlet water pressure—8.3 bars.
Minimum permissible inlet water pressure—1.4 bars.
Installation of icemaker must be made by a qualified service technician.
10
When You Go on Vacation When You Move
For shorter vacations, remove perishable foods and leave controls at
regular settings. However, if room temperature is expected to drop below
16°C, follow the same instructions as for extended vacations.
For extended vacations or absences, shut off the power to the
refrigerator, move the fresh food control to the “ ” position, and
clean the interior with a baking soda solution of 15 ml of baking soda
to 1 liter of water. Wipe dry. To prevent odors, leave an open box of
baking soda in the refrigerator. Leave doors open.
Move icemaker feeler arm to STOP (up) position and be sure to shut
off water supply to the refrigerator.
Disconnect power cord from wall outlet, remove all food, and clean
and dry the interior.
Secure all loose items such as grille, shelves, storage drawers and ice
trays by taping them securely in place to prevent damage, and raise
leveling legs.
Be sure refrigerator stays in
upright position during actual moving and
in van. Refrigerator must be secured in van to prevent movement.
Protect outside of refrigerator with blanket.
Rollers and Leveling Legs
Leveling legs near each front corner of the
refrigerator are adjustable. They firmly
position the refrigerator and prevent it from
moving when the doors are opened.
Leveling
legs should be set so the front of the
refrigerator is raised just enough that the doors
close easily when opened about halfway.
Turn the leveling legs clockwise to raise the
refrigerator, counterclockwise to lower it.
Rollers next to the leveling legs allow you to
move the refrigerator away from the wall for
cleaning.
Turn the legs counterclockwise until the weight
of the refrigerator is transferred from them to
the rollers. After rolling the refrigerator back
into place, turn the legs clockwise until the legs
again bear the weight of the refrigerator.
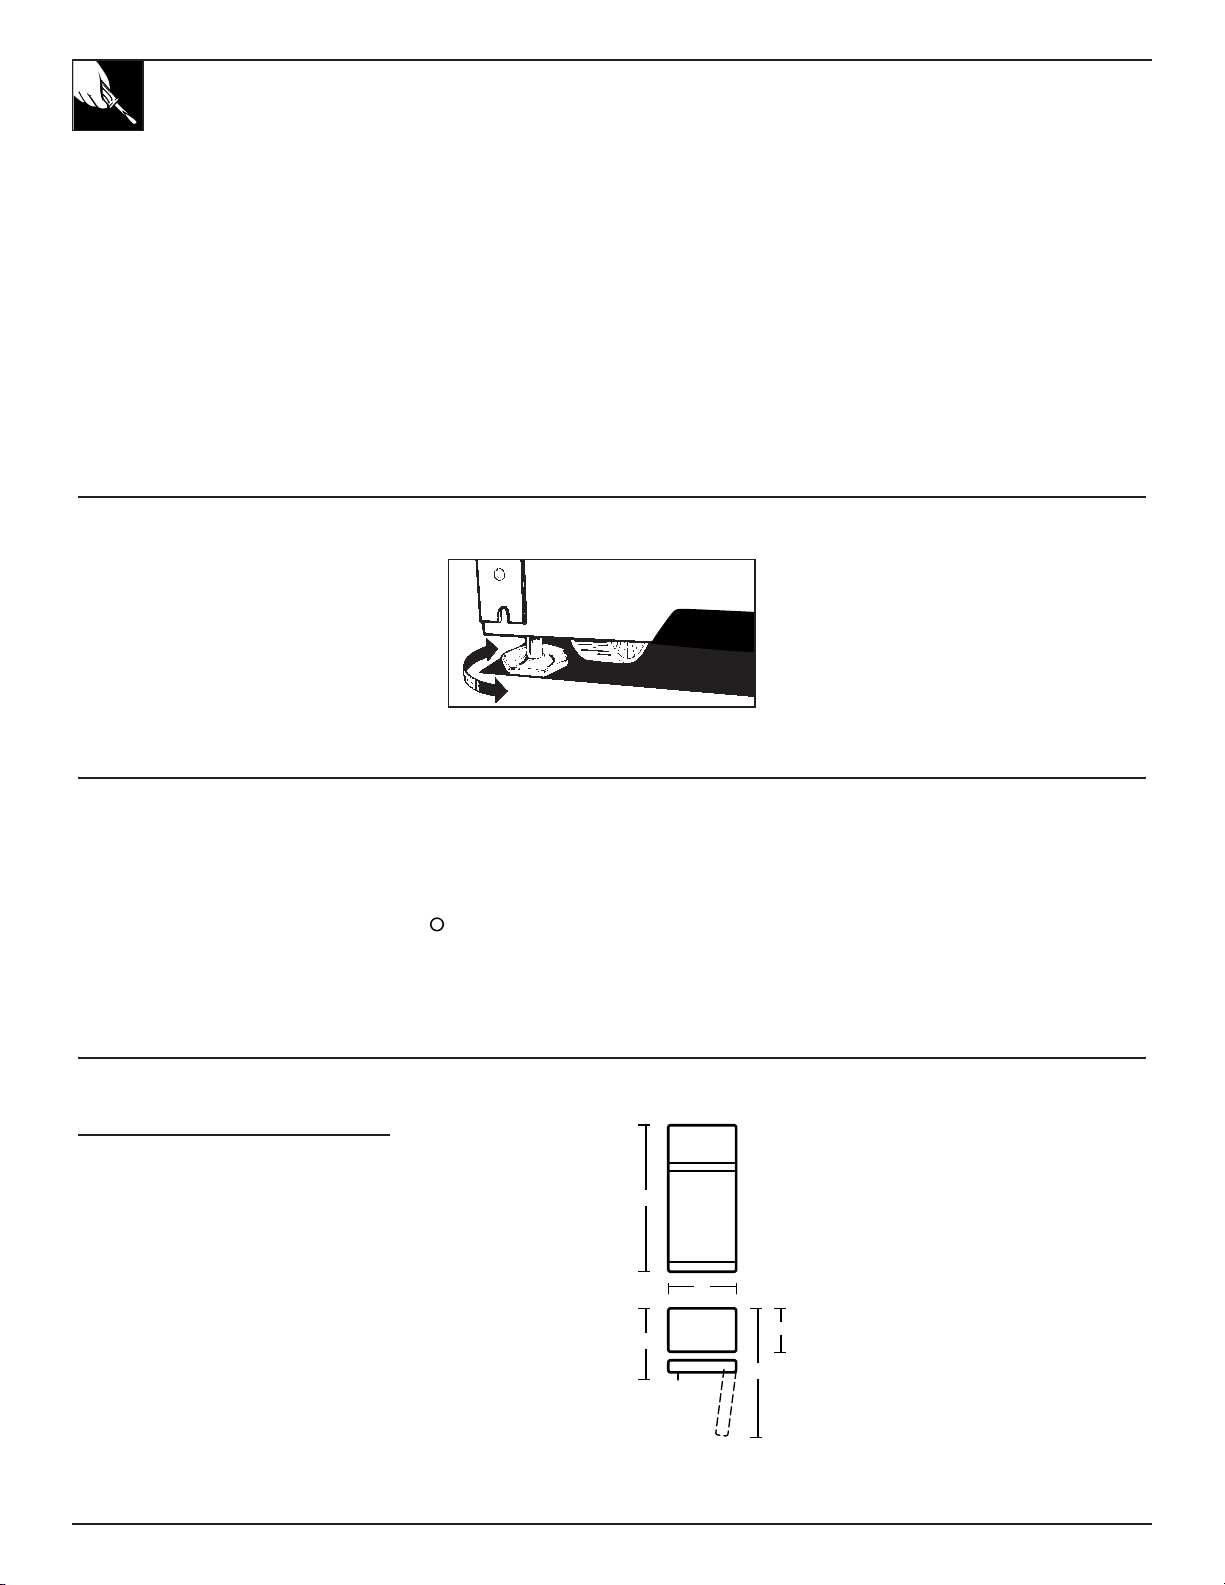
Dimensions
Model 14 16
A* 155 cm 163 cm
B 71 cm 71 cm
C** 75 cm 75 cm
D 138 cm 138 cm
E 62 cm 62 cm
* Height does not include hinge—Add 22 mm for hinge.
** Depth includes handle.
A
B
C
D
E
Loading ...
Loading ...
Loading ...