Loading ...
Loading ...
Loading ...
Step 5: Enter Measurements Using the
Information Display
Using the recorded measurements, enter
the required data into the system. Follow
the on screen prompts to enter each of the
measurements taken in step 4. Use the
up/down arrows to increase or decrease
the numbers as needed. Press OK to
confirm each measurement. The screen
prompts you to add the next
measurement. Once you add your last
measurement, the information display
shows you all of your entered
measurements. You can choose to confirm
or change the measurements.
Step 6: Confirming the Sticker Location
Check the Rear View Camera display to
see if the sticker is identified by the system
and marked with a red circle.
Confirm that the red circle is correctly
located over the sticker image in the
display. The on screen prompt will ask you
to confirm this.
Note: If the system cannot locate the
sticker try cleaning the camera lens, and
also make sure the sticker is within the zone
as indicated in step 3.
The information display shows a
confirmation message when you
successfully confirm the target.
Calibrating the System
To complete setup, drive your vehicle
straight forward between 4 mph (6 km/h)
and 24 mph (39 km/h) as directed by the
information display.
Note: Keep the steering wheel straight
during the calibration process. If the steering
wheel is in a turned position, then the
calibration pauses. The information display
prompts you to drive straight forward to
complete the calibration.
The information display shows a message
during calibration and after calibration is
complete
Note: For best results, we do not
recommend that you calibrate the system
at night.
Using Trailer Reverse Guidance
1. Shift into reverse (R) if you are not
already in reverse. Press the rear
camera button to expand the menu.
2. Press the trailer icon .
3. Select your trailer on your information
display.
4. While in TRG mode, you can see the
camera view on the side where your
trailer is moving, or both sides when
the trailer is straight behind you. When
the views change with the trailer
direction, it's called Auto Mode. For
example, If you turn the trailer to the
right, then you see the right side of your
vehicle and trailer. You can switch this
view manually at any time by using the
arrow keys. To return to Auto Mode,
press the Auto button.
Note: Auto Mode is your default setting.
Use the view that helps you the most while
backing up your vehicle and trailer.
E224483
Normal rear view camera view.
Use this feature when you want
to see your trailer hitch or what
is directly behind your vehicle.
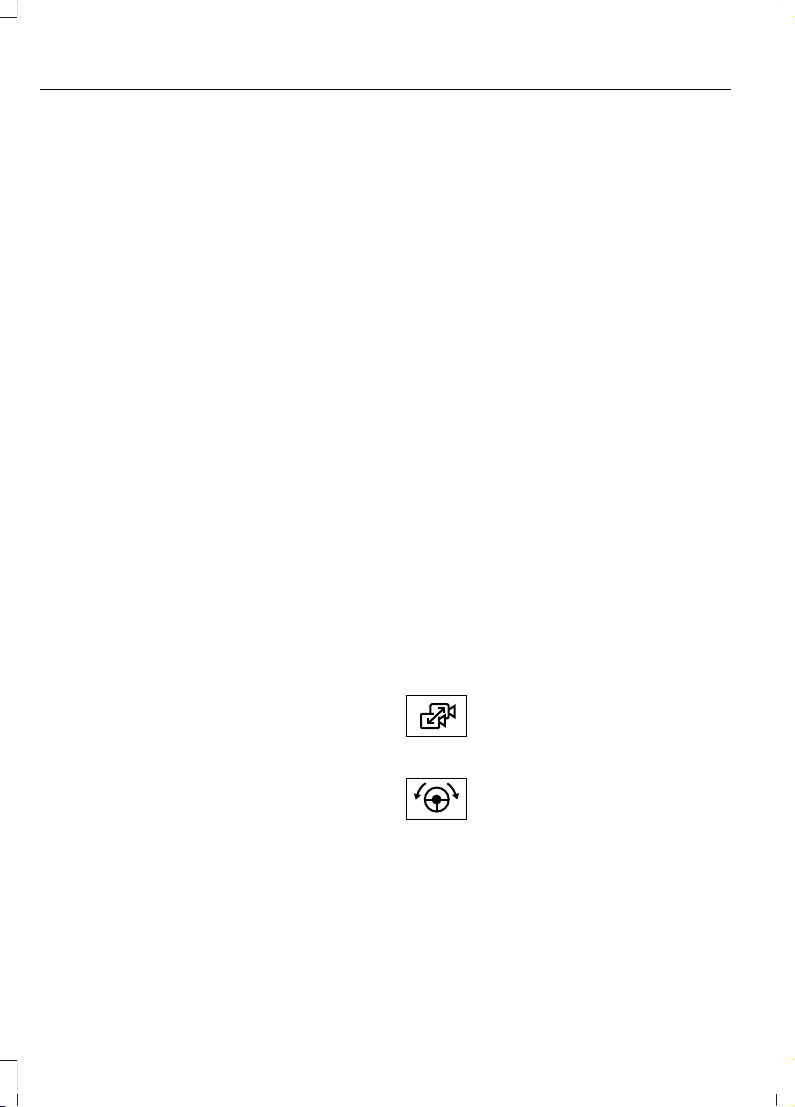
E224484
Straight back-up mode. Use this
feature when you want to keep
your trailer completely in line
with your truck. In this mode, a steering
wheel graphic shows you which way to turn
your steering wheel to keep your trailer
straight.
272
Super Duty (TFE) Canada/United States of America, enUSA, First Printing
Towing
Loading ...
Loading ...
Loading ...