Loading ...
Loading ...
Loading ...
20
Warming and Proofing
Advantium Oven
Tips for Crisp Foods:
■ Leave food uncovered.
■ Do not use plastic containers
or plastic wrap.
■ Preheating is not necessary
except for crisping stale items.
(See To Crisp Stale Items.)
Tips for Moist Foods:
■ Cover food with lid or
aluminum foil.
■ Do not use plastic containers
or plastic wrap.
■ Preheating is not necessary.
Food Type Control Setting Moisture Setting
Bread, hard rolls MEDIUM CRISP
Bread, soft rolls MEDIUM MOIST
Casseroles MEDIUM MOIST
Fried foods HIGH CRISP
Meats* and fish MEDIUM CRISP
Pancakes, waffles HIGH CRISP
Pizza HIGH CRISP
Potatoes, baked HIGH CRISP
Potatoes, mashed MEDIUM MOIST
Poultry HIGH MOIST
Tortilla Chips LOW CRISP
Vegetables MEDIUM MOIST
* USDA/FSIS recommends an internal temperature of 145°F as the minimum doneness for beef. Use a
portable meat thermometer to check internal temperatures.
Temperature and Moisture Selection Chart
Warming
The WARM feature will keep hot,
cooked foods at serving temperature.
Always start with hot food. Use
cookware and utensils that can
withstand temperatures up to 230˚F.
1. Press the WARM/PROOF pad.
2. Turn the dial to select HOLD FOOD
WARM. Press the dial to enter.
3. Turn the dial to select the oven
temperature. See the chart and tips
below. Press the dial to enter.
LOW ........................................140–160°F
MEDIUM ................................160–195°F
HIGH........................................195–230°F
4. Turn the dial to select the level of
moisture you want. See the chart
and tips below. Press the dial to
enter.
If the oven door is opened during
warming, PAUSE will appear in the
display. Close the door and press
START/PAUSE.
To Crisp Stale Items:
■ Place food or dishes directly on the
metal tray.
■ Select the LOW and CRISP settings.
Preheat the oven for 10 minutes
■ Check crispness after 45 minutes.
Add time as needed.
The proofing feature automatically
provides the optimum temperature for
the proofing process, and therefore
does not have a temperature
adjustment.
1. Press the WARM/PROOF pad.
2. Turn the dial to select PROOF BREAD.
Press the dial to enter. The oven starts
proofing immediately and shows the
amount of proofing time completed.
■ To avoid lowering the oven
temperature and lengthening
proofing time, do not open the
oven door unnecessarily.
■ Check bread products early to
avoid over-proofing.
NOTES:
■ Do not use the proofing mode
for warming food or keeping
food hot. The proofing oven
temperature is not hot enough to
hold foods at safe temperatures.
Use the WARM feature to keep food
warm.
■ Proofing will not operate if the oven
is too hot. Allow the oven to cool
before proofing.
Proofing
Put bread dough in a bowl/bread pan
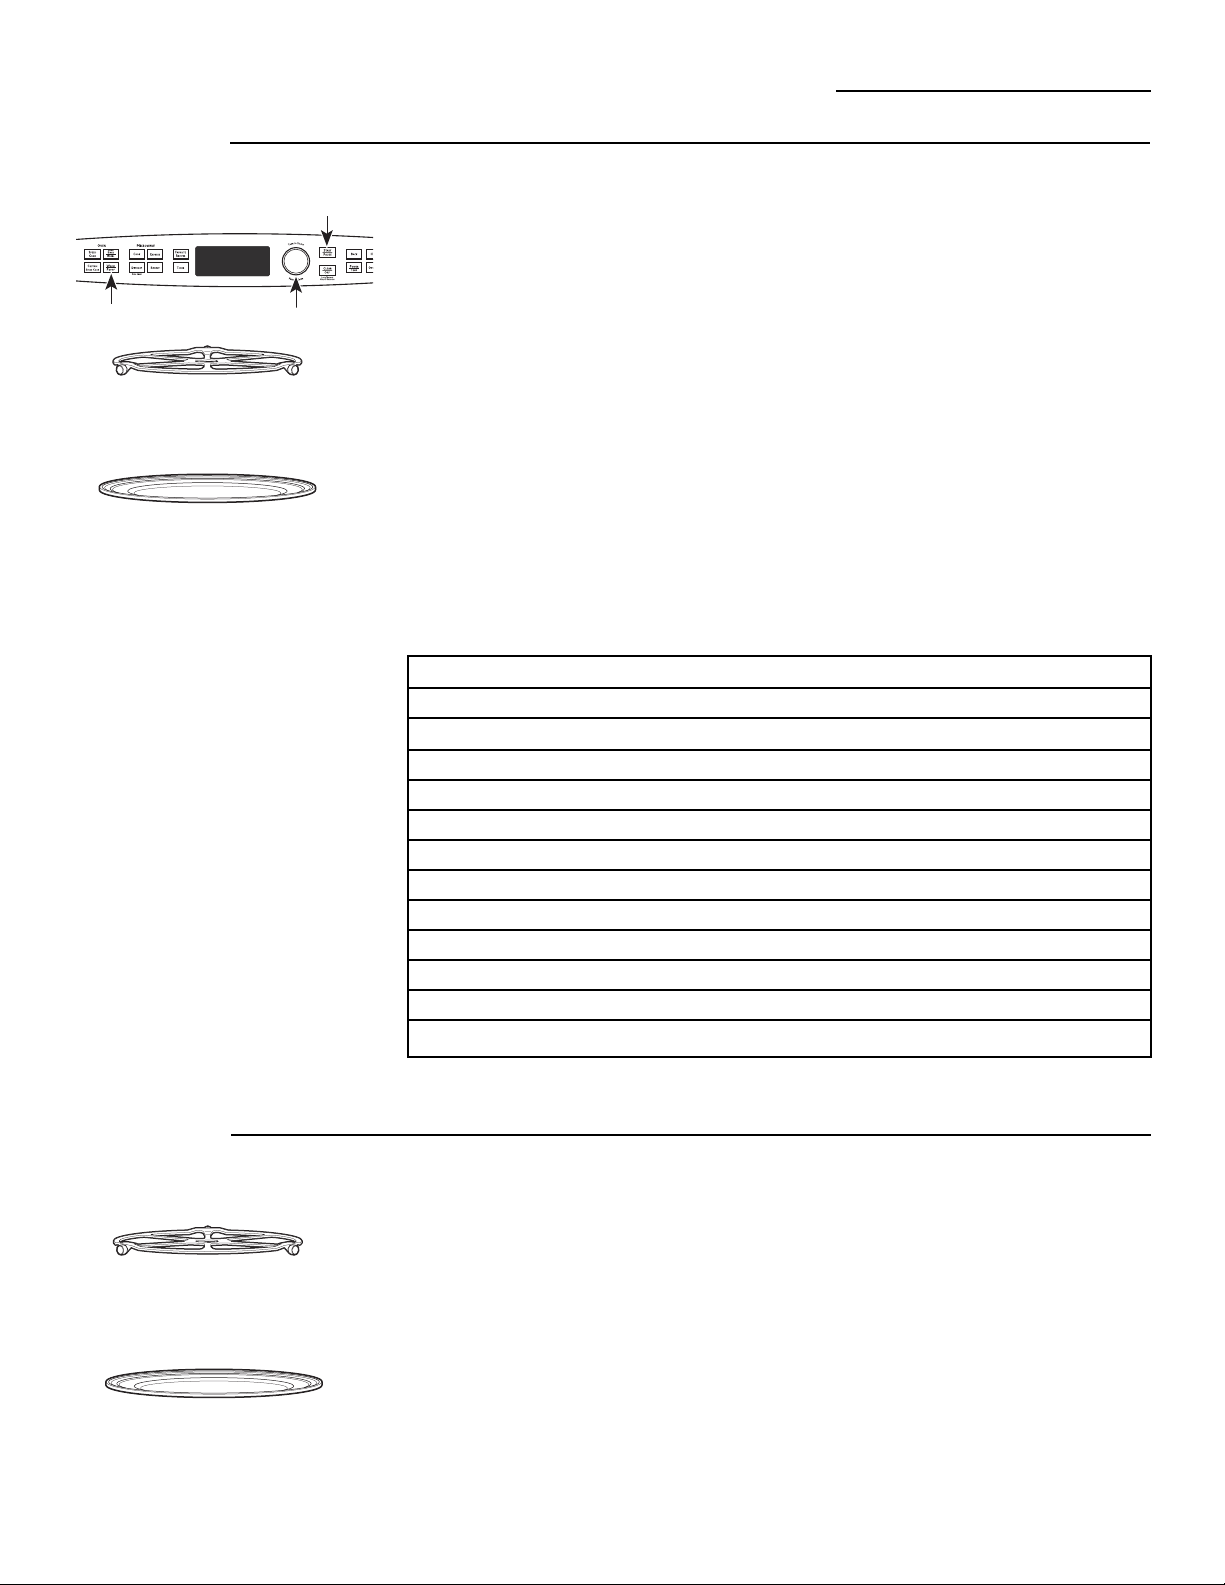
and place on the metal tray to proof.
The turntable must always be
in place when using the oven.
Put food or oven-safe cookware directly
on the metal tray to warm.
The turntable must always be
in place when using the oven.
Loading ...
Loading ...
Loading ...