Loading ...
Loading ...
Loading ...
8
right-hand side.
5. Screw the alternative left top hinge (6), included in the fittings, on the left hand side of the cabinet.
(Fig. 3)
6. Relocate the door to the designated position. Then screw the bottom hinge assembly on the left
designated position and tighten it after the door is leveled.
7. Remove the handle from the left side of the door and install it on the right side. (See Installing the
Stainless Steel Handle.)
ADJUSTING THE HEIGHT OF THE UNIT
The height of the AL54 can be increased by up to 3” by turning the adjustable legs. Once the desired
height has been achieved, the gap between the kick-plate and the floor can be covered by lowering a
hidden section of the kick-plate. See the next section for instructions.
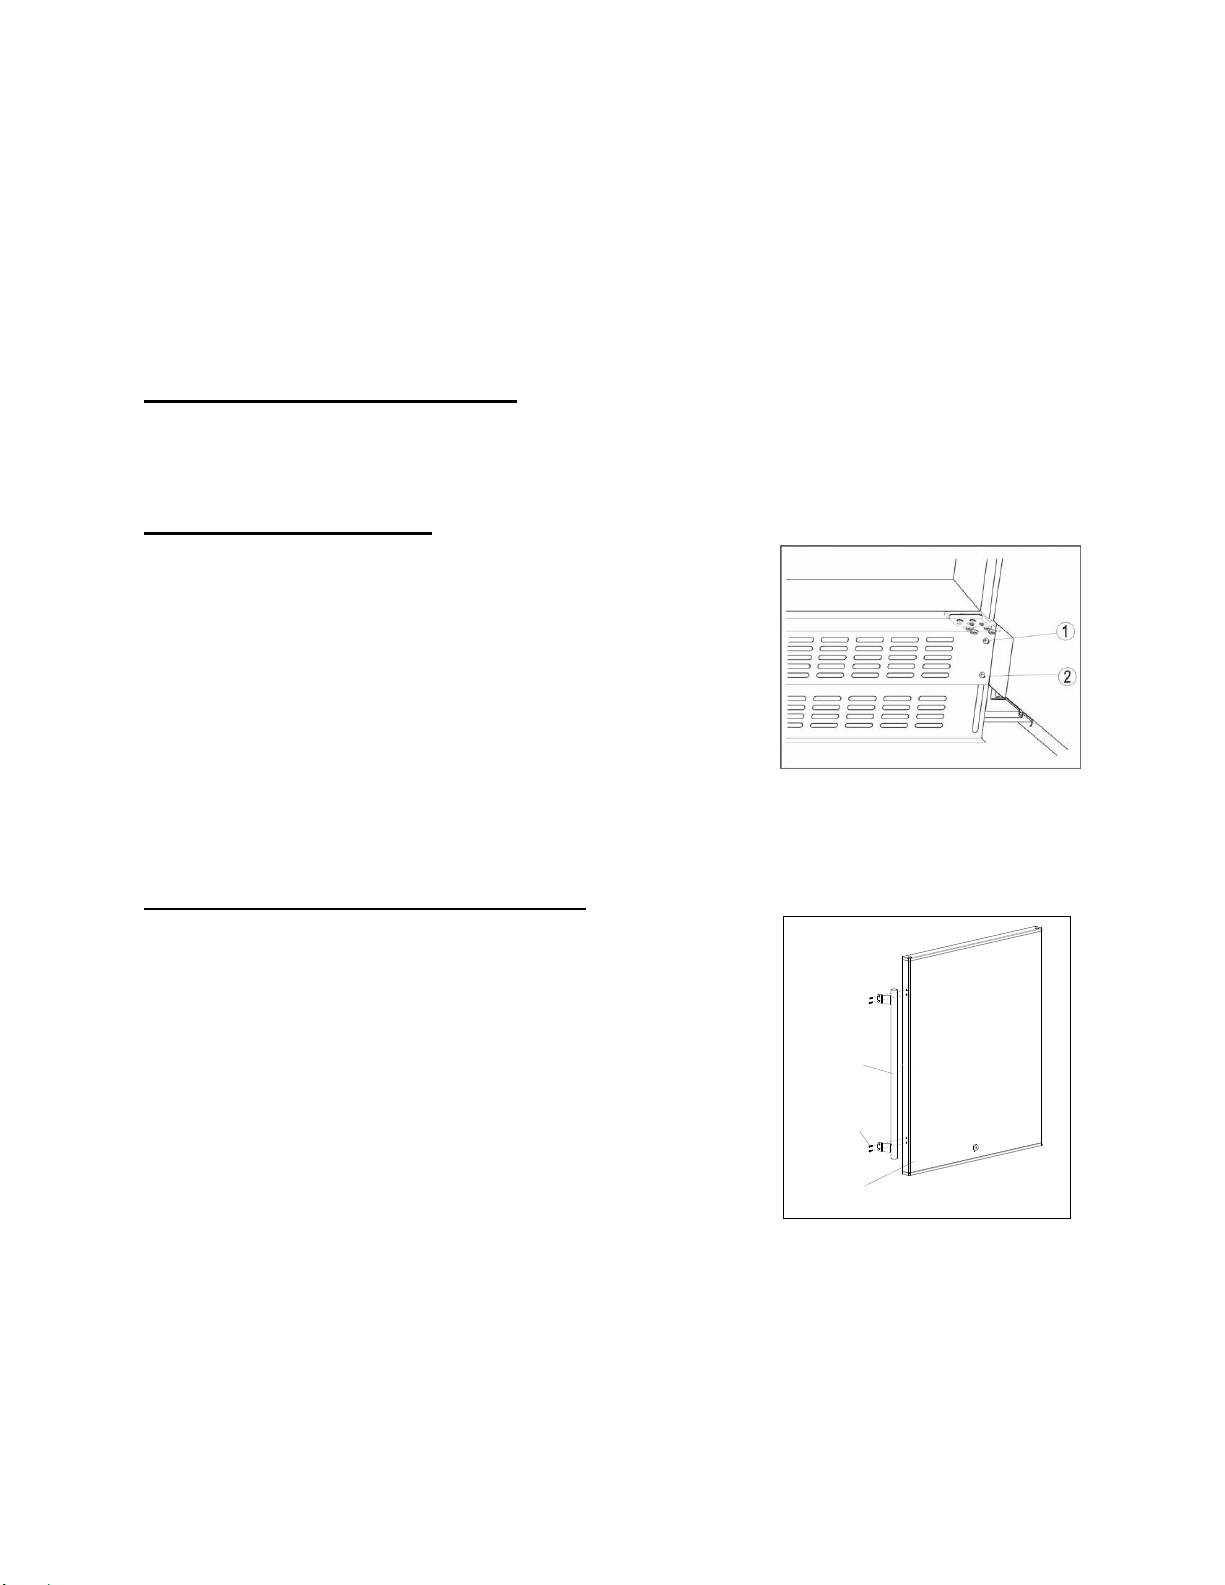
ADJUSTING THE KICK-PLATE
The pre-fitted kick-plate of the appliance includes an adjustable
kick-plate section that is initially seated behind the upper section. In
order to adjust the kick-plate height, follow the instructions below:
1. Remove the screws
○
1 from both the top left- and top right-hand
sides of the kick-plate.
2. Loosen or remove the screws
○
2 from both the bottom left- and
bottom right-hand sides of the kick-plate. Failure to loosen the
bottom screws sufficiently may cause damage to the lower trim
when adjusting it.
3. Carefully guide the lower trim down until the desired height is achieved.
4. Reinsert screws and tighten them.
INSTALLING THE STAINLESS STEEL HANDLE
This appliance includes a stainless steel handle that is not required to
operate the unit. To install the handle, follow the instructions below:
1. Use a screwdriver to remove the screws on the side of the door
where the handle is to be installed.
2. Align the handle with the screws removed in step # 1. Tighten the
screws using a Phillips head screwdriver until the handle is both
flush and secured tightly against the door side. (DO NOT over-
tighten as this will cause damage to the stainless steel door
surface.)
Handle
Door
Screw
Loading ...
Loading ...
Loading ...