Loading ...
Loading ...
Loading ...
Operating Instructions
48
Safety InstructionsInstallation Instructions
Troubleshooting TipsConsumer Support
Read these instructions completely and carefully.
Installation of the range.
Seal the Openings
Seal any openings in the wall behind the range
and in the floor under the range when hookups
are completed.
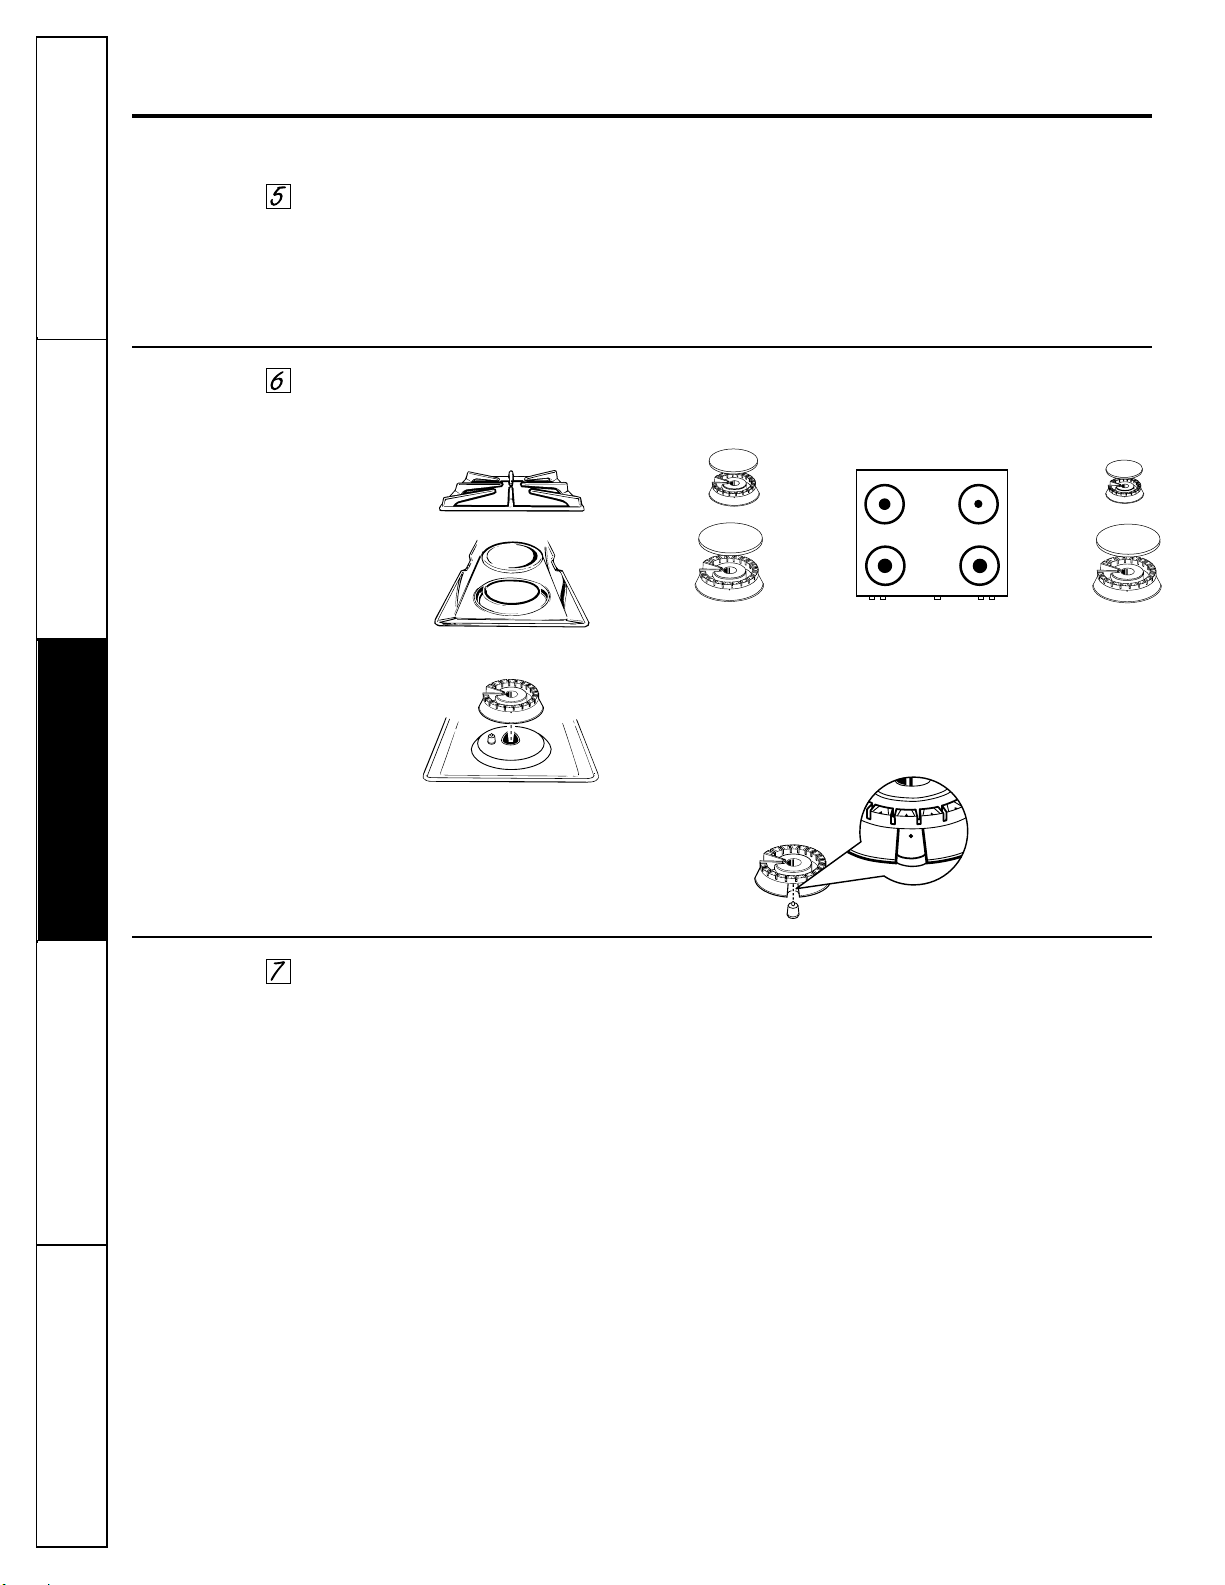
Assemble Surface Burners
Assemble burner as shown.
Place the burner heads and caps on the
cooktop. Make sure that the heads and caps are
placed in the correct locations. There are two
large (left and right front), one medium (left
rear) and one small (right rear) head and cap.
Check Ignition of Surface Burners
Operation of all cooktop burners should be
checked after the range and gas supply lines
have been carefully checked for leaks.
Electric Ignition
Select a top burner knob and simultaneously
push in and turn to LITE position. You will hear
a clicking sound indicating proper operation of
the spark module. Once the air has been purged
from the supply lines, burners should light within
4 seconds. After burner lights, rotate knob out of
the LITE position. Try each burner in succession
until all burners have been checked.
Grate
Burner cap
Burner head
Drip pan (on some models)
Make sure the slot
in the burner head
is positioned over
the electrode.
CAUTION: Do not operate the burner
without all burner parts in place.
Large
burner head
and cap
Large
burner head
and cap
Small
burner head
and cap
Medium
burner head
and cap
Front of range
Loading ...
Loading ...
Loading ...