Loading ...
Loading ...
Loading ...
8
12. “RINSING” will be displayed. Hot water will be dispensed.
13. “RINSING COMPLETE Press OK” will be displayed. Press OK.
14. “FILL TANK!” will be displayed. Remove the water tank, fill it
with clean water and replace the tank.
The descaling program is complete, and the machine is ready
to prepare coffee.
NOTE: If the descaling cycle is interrupted before it has been
completed, it will need to be restarted from the beginning.
Auto Start
The coffee system can be set to switch on automatically at a
preset time.
NOTE: The internal clock must be set before activating Auto Start.
See “Setting the Clock” in this section.
To Activate Auto Start:
1. Press MENU.
2. Press the up and down arrow keys until “AUTO-START
Disabled” is displayed. Press OK.
3. “AUTO-START Enable?” will be displayed. Press OK.
4.
“AUTO-START 07:30” will be displayed. Press the up and
down arrow keys until the desired hour is displayed. Press OK.
5. Press the up and down arrow keys until the desired minute is
displayed. Press OK.
6. Press OK. The display will show “AUTO-START Enabled.”
7. Press MENU to exit the menu.
To Change Auto Start while Enabled:
1. Press MENU.
2. Press the up and down arrow keys until “AUTO-START
Enabled” is displayed. Press OK.
3. Press the up and down arrow keys until “ADJUST TIME” is
displayed. Press OK.
4. “AUTO-START XX:XX” will be displayed. Press the up and
down arrow keys until the desired hour is displayed. Press OK.
5. Press the up and down arrow keys until the desired minute is
displayed. Press OK.
6. Press OK. The display will show “AUTO-START Enabled.”
7. Press MENU to exit the menu.
To Deactivate Auto Start:
1. Press MENU.
2. Press the up and down arrow keys until “AUTO-START
Enabled” is displayed. Press OK.
3. “AUTO-START Disable?” will be displayed. Press OK. The
display will show “AUTO-START Disabled.”
4. Press MENU to exit the menu.
Language
The coffee system language can be changed.
1. Press MENU.
2. Press the up and down arrow keys until “LANGUAGE” is
displayed. Press OK.
3. Press the up and down arrow keys until the correct language
is displayed.
4. Press OK.
5. Press MENU to exit the menu.
Setting the Clock
The coffee system has an internal 24-hour clock.
1. Press MENU.
2. Press the up and down arrow keys until “ADJUST TIME” is
displayed. Press OK.
3. Press the up and down arrow keys until the correct hour is
displayed. Press OK.
4. Press the up and down arrow keys until the correct minute is
displayed. Press OK.
5. Press MENU to exit the menu.
Switching On and Preheating
Every time the coffee system is switched on, it will perform an
automatic preheat and rinse cycle that cannot be interrupted. The
coffee system is ready for use after this cycle is complete.
To switch the coffee system on, press the On/Standby button
once. “HEATING UP Please wait...” will be displayed. There may
be some hot water runoff through the coffee spout.
When “MEDIUM CUP Standard taste” is displayed, the coffee
system is ready for use.
To preheat the coffee system again, see “Rinsing” in the
“Settings” section.
Making Coffee or Espresso Using
Coffee Beans
The coffee system is factory-set to make a standard-strength
medium cup of coffee. The strength of the coffee can be changed
by pressing Strength until the desired strength is displayed:
extra-mild, mild, standard, strong, extra-strong or ground.
NOTE: Do not use ground coffee unless the ground coffee option
is selected.
To change the amount of coffee dispensed for each cup size, see
the “Changing the Amount of Coffee” section.
If the display shows “FILL TANK!” the water tank must be filled.
The water tank may still contain some water; this is normal.
To Make Coffee:
1. Make sure there are coffee beans in the coffee bean
container.
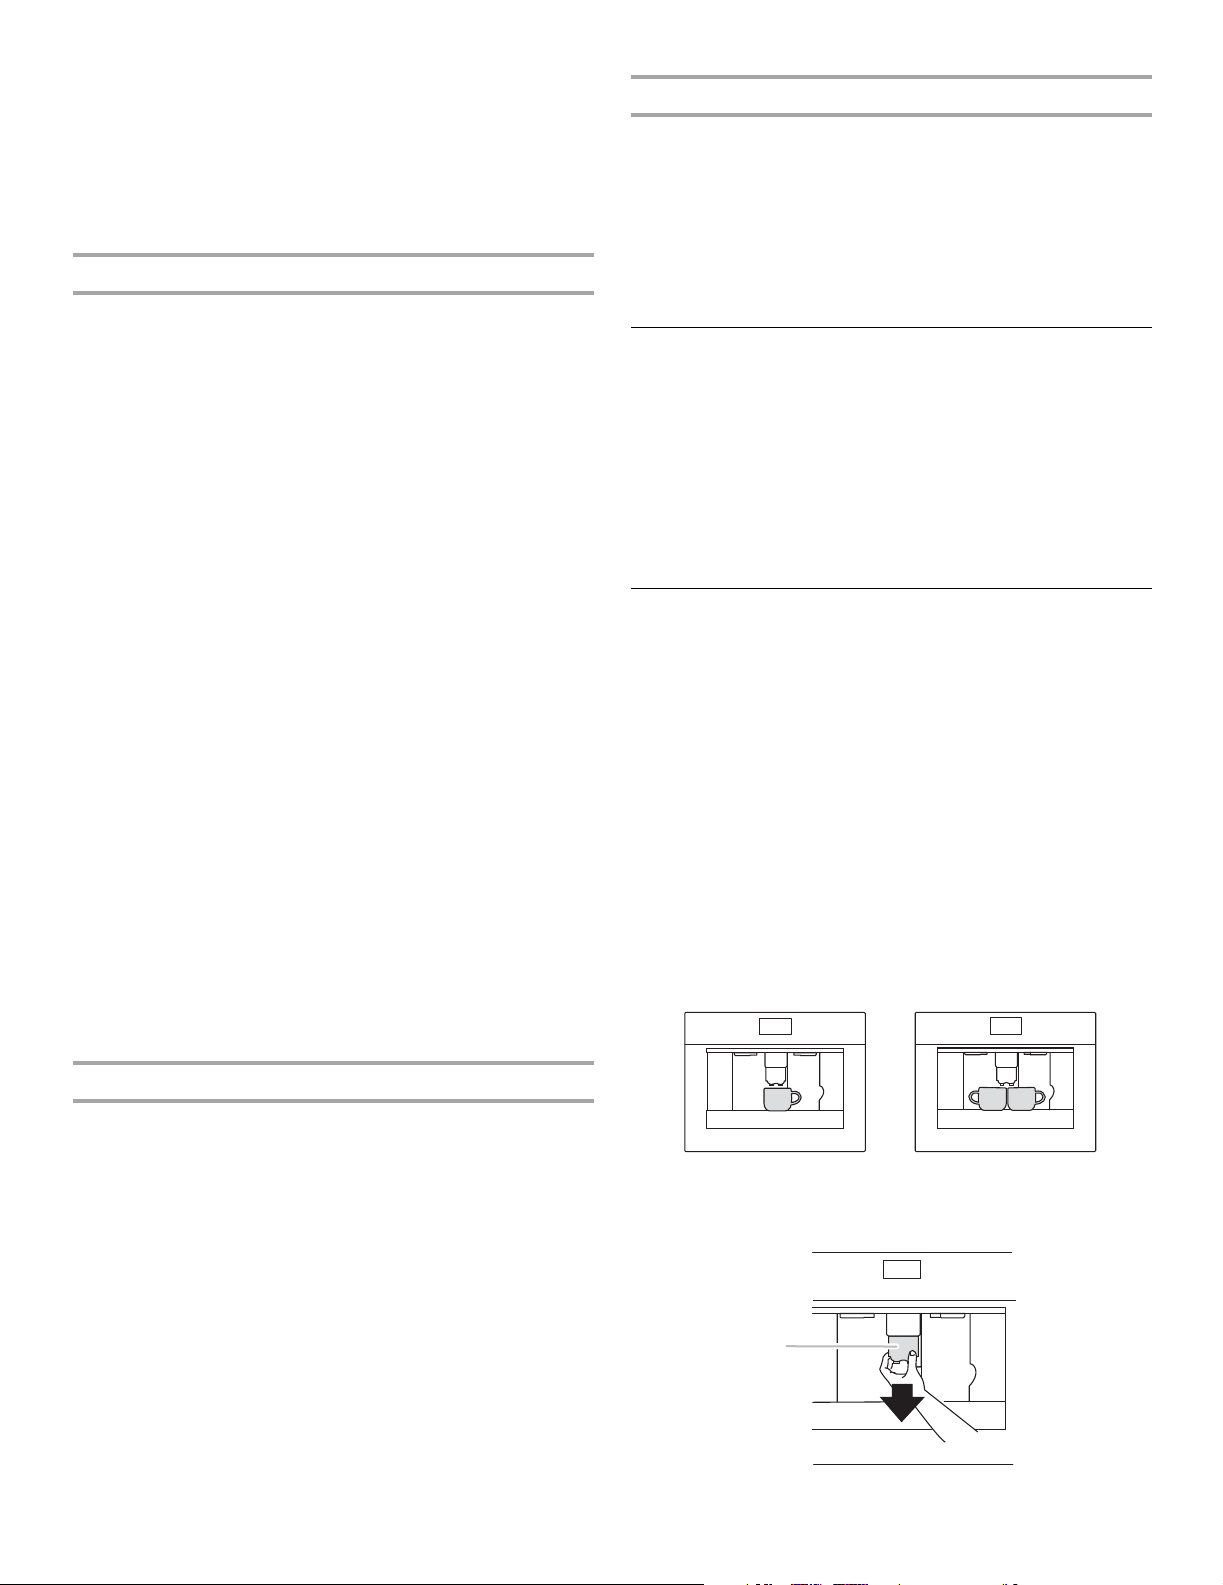
2. Place 1 or 2 cups under the coffee spouts as shown in the
following illustration.
For a creamier coffee, lower the coffee spout as near as
possible to the cups.
One cup Two cups
A. Coffee spout
A
Loading ...
Loading ...
Loading ...