Loading ...
Loading ...
Loading ...
10
perature according to the ironing guide on
the heel rest of the iron or on the label in
your garments.
• The temperature pilot light (7) goes off ,
when the desired temperature is reached
(after approx. 1 minute).
C Ironing
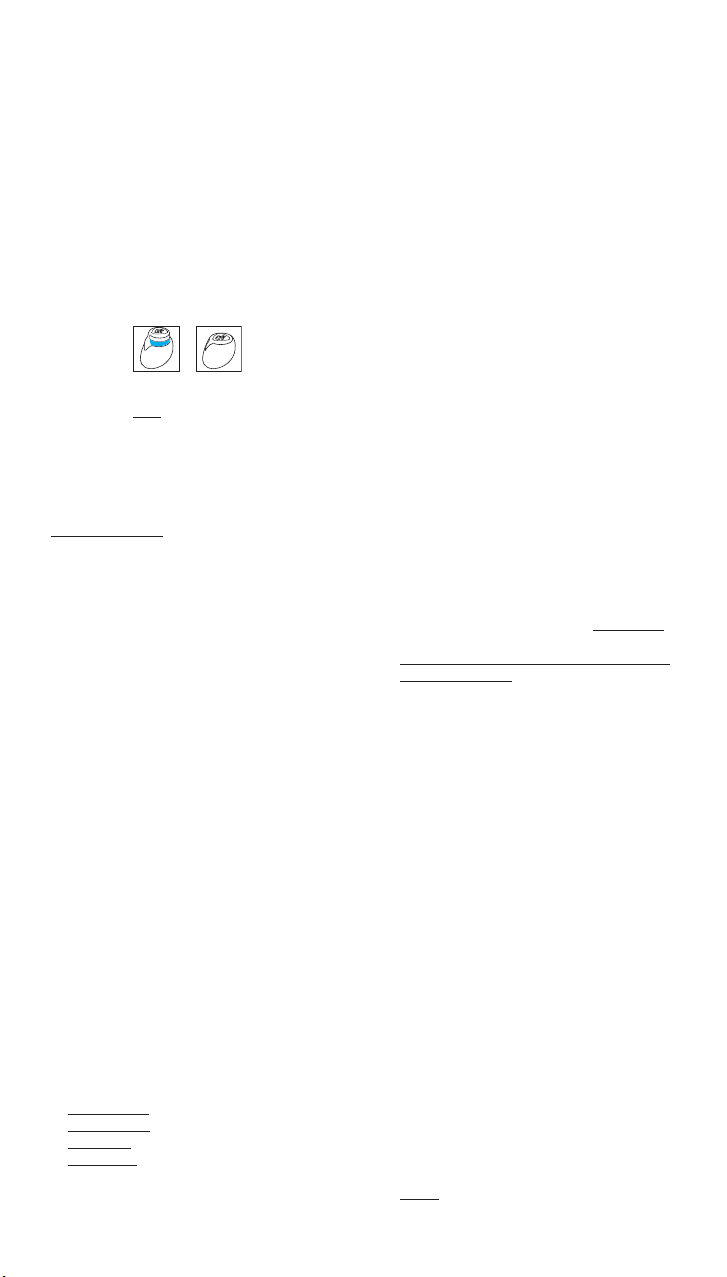
1 Steam on/off
For steam ironing the temperature selector
(6) must be set according to drawing C1
from greater than «••» to «max».
Press the steam button (3) to start the
steam mode.
steam on
steam off
With the steam button in its upper position
(steam on), turn the steam regulator (3a)
to adjust the steam quantity.
We recommend a medium steam setting
for all normal ironing. Only when ironing
linen, thick cotton or similar fabrics we
recommend the maximum steam setting.
Preconditioning
Steam develops also horizontally at the
front area of the sole plate. This precondi-
tions the textiles by «pre-steaming», thus
making ironing easier.
Be careful – steam comes out laterally.
2 Power shot
Prior to use, press the power shot button
(5) 3 to 4 times to activate it. Press the
power shot button in intervals of at least
5 seconds.
Power shot can be activated when dry
ironing. However, the temperature selector
has to be set in the range between «•••»
to «max». The power shot function can
also be used in the vertical position for
steaming hanging clothes.
3 Spray function
Press the spray button (4).
4 Dry ironing
Turn the steam mode off by pressing the
steam button (3) so that it catches in the
lower position.
Automatic shut-off
The auto-off mechanism causes a slight
rattling noise during ironing. This is normal
and in no case indicates a fault of the iron.
The
«auto-off » light
(8) will fl ash when the
automatic shut-off is activated.
This happens when the iron has rested …
– horizontally on its sole plate for about
30 seconds or
– vertically on its heel rest for about
8 minutes.
To turn on the iron again, just move it.
When the temperature pilot light stops
fl ashing, the electrical power is on again.
The automatic shut-off will be activated
approximately 2 minutes after the iron is
plugged into a socket.
D Textile Protector
The Braun Textile Protector protects
delicate fabrics from heat damage and
makes it possible to iron most dark fabrics
without an intermediate cloth. To check
the reaction of your fabrics before you
start ironing, we recommend that you iron
a small section of material on the reverse
side. With the Protector, you are able to
iron delicate fabrics with the temperature
setting «•••» to «max», so that you can
use all steam functions your iron off ers.
After having attached the Textile Protector,
wait about 1 ½ minutes before you start
ironing.
E After ironing
• Unplug the iron and press the steam on/off
button (3) so that it catches in its lower
position (steam off ).
• To prolong the life of the iron, empty the
water tank.
• Store the cool iron in a dry place always
standing on its heel rest.
F Maintenance and cleaning
To clean the sole plate, use steel wool.
Then wipe the sole plate clean with a cloth.
Never use a scouring pad, vinegar nor
other chemicals. To clean the soft material
of handle and power shot and spray
buttons, use soapy water.
G Cleaning the anticalc valve
The iron’s anticalc valve is located at the
lower end of the steam button (3). It has
to be decalcifi ed regularly (e.g. when the
steam development is insuffi cient).
Proceed as follows:
1) Unplug the iron and empty the water tank.
2) Press the steam button so it is lifted.
3) Remove carefully (some water may now
leak from the sole plate).
4) Do not touch the anticalc valve.
5) Immerse in vinegar (not vinegar essence)
or lemon juice until the lime becomes soft.
6) Use a non-metallic brush until all openings
are clean.
7) Rinse under running water.
8) Re-insert the steam button.
9) Press to check the steam on/off function.
Note: the iron must never be used without
the steam button.
5712710274_TS_545-505_S06-80.indd 10 18.05.15 09:18
Loading ...
Loading ...
Loading ...