Loading ...
Loading ...
Loading ...
5
THE SOUP MAKER
A Glass Jar Assembly
Before first use, clean the glass jar thoroughly (see cleaning & maintenance section for more
information).
The glass Jar assembly is one complete unit which includes glass jar, handle, cooking plate
and collar.
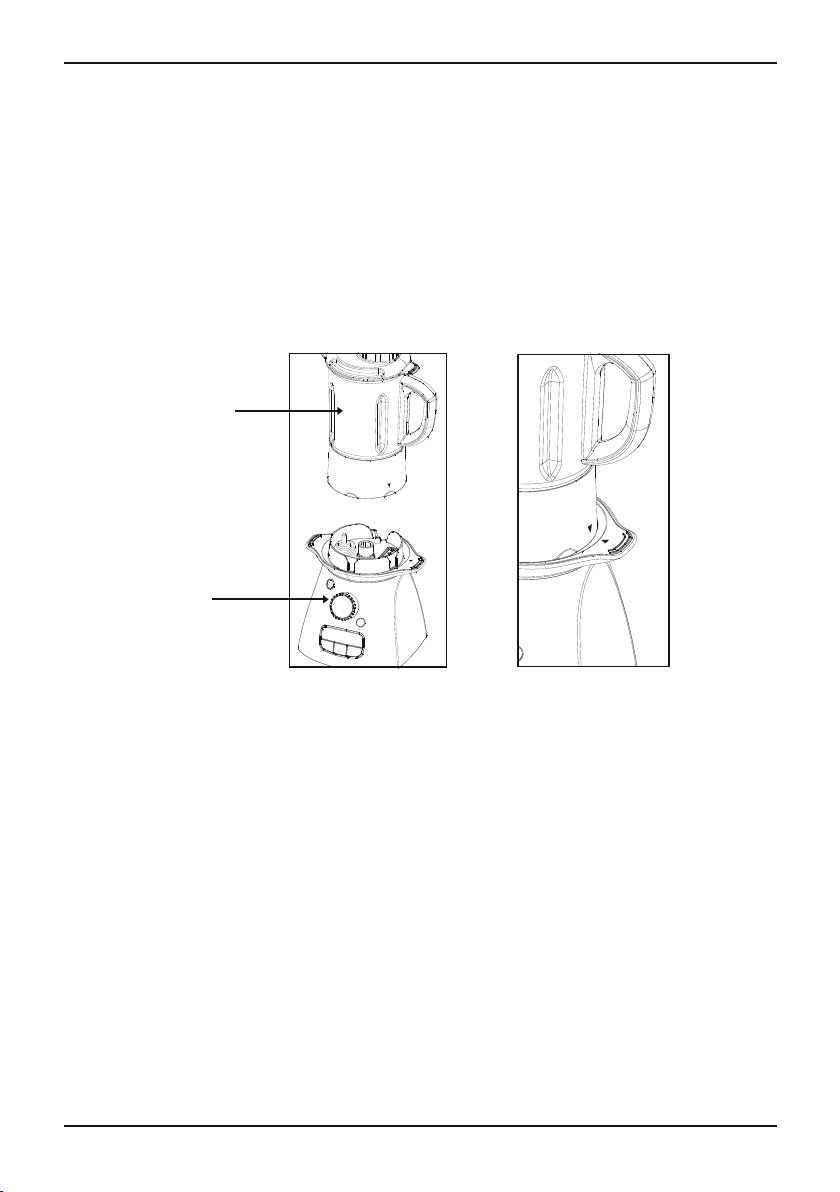
Fitting
Position jar unit on the motor base so that the arrow on the jar collar is level with the arrow on
the housing unit (fig. 1). Push the jar down into place (fig. 2).
N.B. Take care when placing the glass jar assembly on the motor base as incorrect positions
may damage the interlock switches.
Removing
Switch the Soup Maker off and unplug from the mains outlet. Lift the Glass Jar Assembly up
and away from the motor base, holding the handle only. Do not twist the jar.
Caution: The heating element is hot when the Soup Maker is in heat mode, do not touch the
underside of the collar.
B LID & MEASURING CUP
To remove the lid from the glass jar assembly, grip the edges of the lid firmly with one hand
and lift upwards. When you have added the required food to the blender jar, place lid on jar
before heating and blending. To replace, simply position over the jar and press down firmly
(ensure the pouring spout on the jar is covered by the protrusion on the lid).
To remove the measuring cup from the lid, lift up and away. To replace, position the cup over
the lid, aligning with the corresponding grooves in the lid.
fig. 1 fig. 2
Glass Jar
Assembly
Motor
Base
Loading ...
Loading ...
Loading ...