Loading ...
Loading ...
Loading ...
6
GB
PLEASE PHONE US TO REGISTER YOUR APPLIANCE AND ACTIVATE YOUR 5 YEAR PARTS GUARANTEE ON 08448 24 24 24
Start-up and use
Starting the appliance
! Before starting the appliance, follow the installation
instructions (see Installation).
! Before connecting the appliance, clean the compartments and
accessories well with lukewarm water and bicarbonate.
! The appliance comes with a motor protection control system
which makes the compressor start approximately 8 minutes
after being switched on. The compressor also starts each time
the power supply is cut off whether voluntarily or involuntarily
(blackout).
1. Insert the plug into the socket and ensure that the internal light
illuminates ( the FREEZER OPERATION knob must not be on
the position
) .
2. Turn the FREEZER OPERATION knob and REFRIGERATOR
OPERATION knob to an average value. After a few hours you
will be able to put food in the refrigerator.
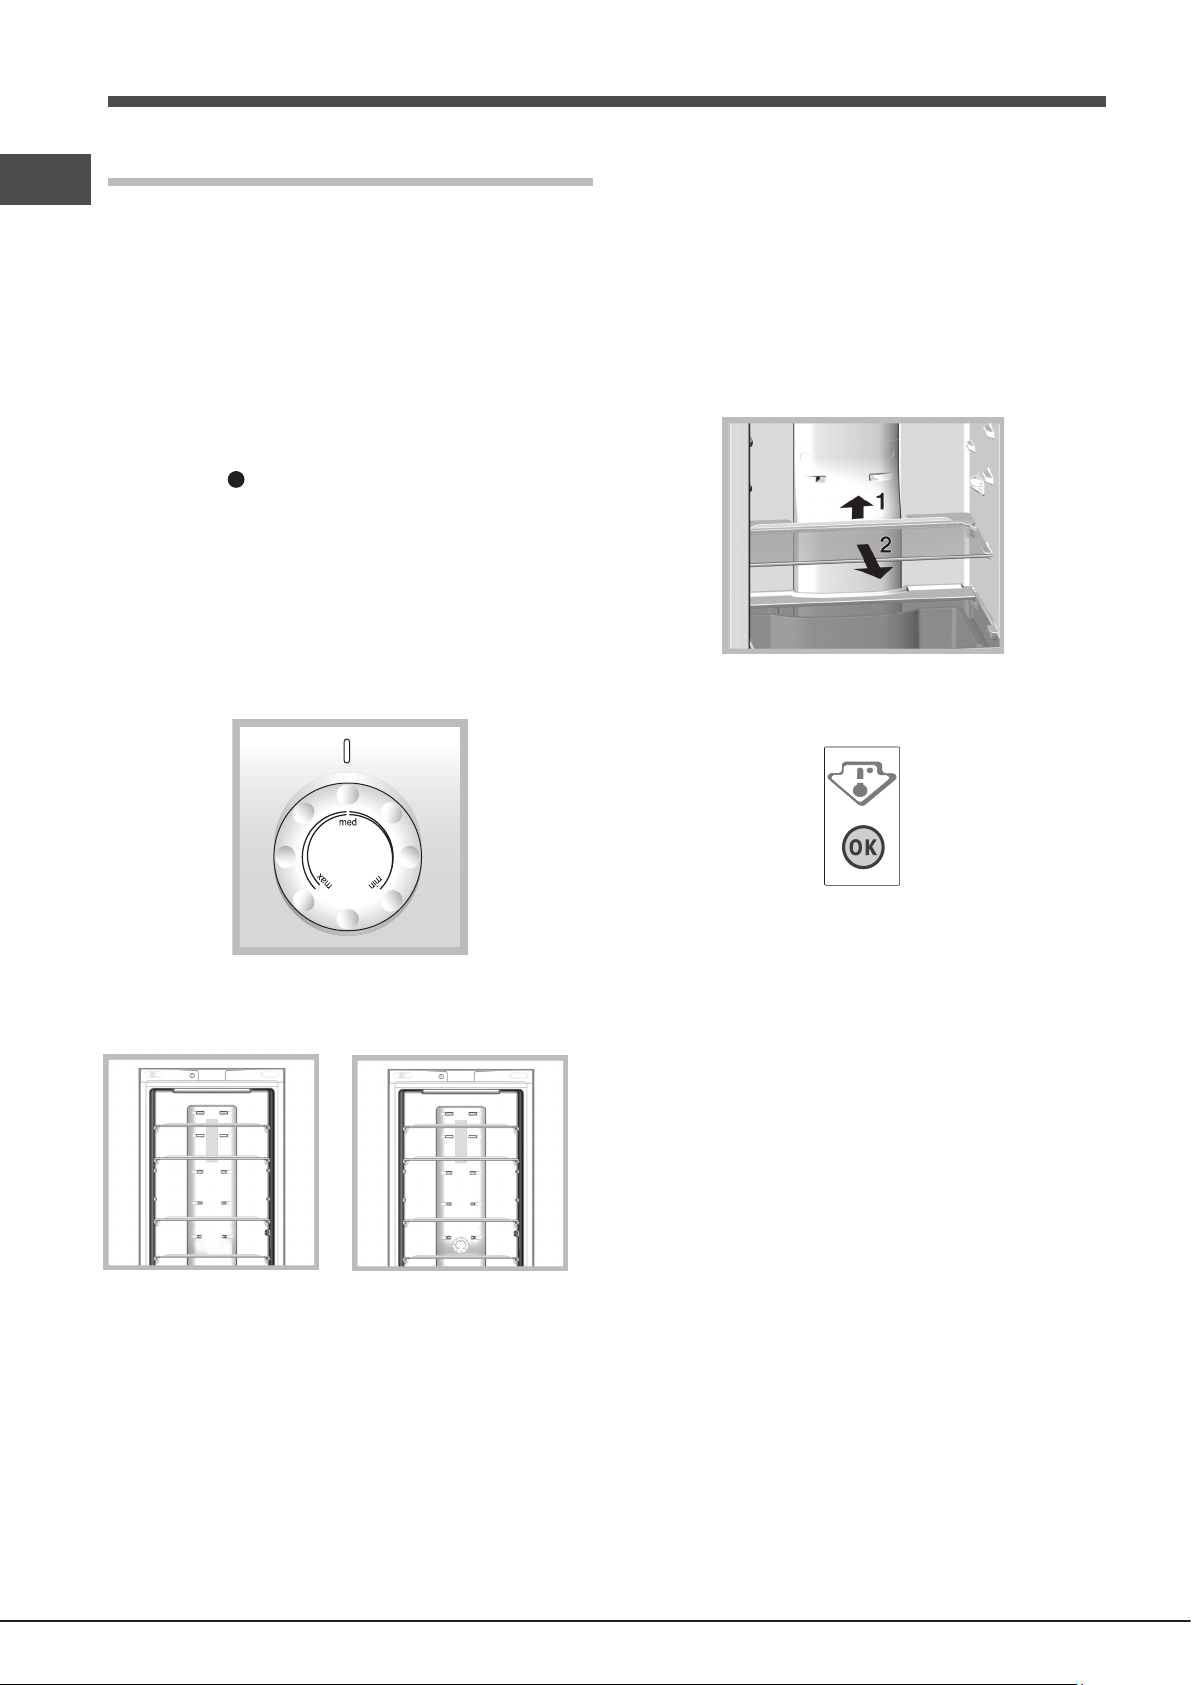
Setting the temperature*
The temperature inside the refrigerator compartment automatically
adjusts itself according to the position of the thermostat knob.
min = warmest
max = coldest
We recommend, however, a medium position.
Chiller system
No Frost
*
*
The No Frost system circulates cold air continuously to collect
humidity and prevent ice and frost formation. The system maintains
an optimal humidity level in the compartment, preserving the
original quality of the food, preventing the food from sticking
together and making defrosting a thing of the past. Do not block
the aeration cells by placing food or containers in direct contact
with the refrigerating back panel. Close bottles and wrap food
tightly.
Using the refrigerator to its full potential
• Place only cold or lukewarm foods in the compartment, never
hot foods (see Precautions and tips).
• Remember that cooked foods do not last longer than raw foods.
• Do not store liquids in open containers: they will increase the
level of humidity in the refrigerator and cause condensation to
form.
SHELVES: with or without grill.
Due to the special guides the shelves are removable and the
height is adjustable (see diagram), allowing easy storage of large
containers and food. Height can be adjusted without complete
removal of the shelf.
TEMPERATURE Indicator light*: to identify the coldest area in
the refrigerator.
1. Check that OK appears clearly on the indicator light (see
diagram).
2. If the word “OK” does not appear it means that the temperature
is too high: adjust the REFRIGERATOR OPERATION knob to a
higher position (colder) and wait approximately 10 hours until
the temperature has been stabilised.
3. Check the indicator light again: if necessary, readjust it following
the initial process. If large quantities of food have been added
or if the refrigerator door has been opened frequently, it is
normal for the indicator not to show OK. Wait at least 10 hours
before adjusting the REFRIGERATOR OPERATION knob to a
higher setting.
FRESH BOX
*
This is the new box to keep meat, fish and cheese fresh.
When
positioned in the “lower” part of the fridge compartment, it is ideal
for meat and fish; when moved to the “top” part of the fridge, it
is perfect for cheese.
It can be taken out of the fridge when it is
not needed.
Operation and maintenance of the water
dispenser.
When first used, or after prolonged periods of inactivity, wash the
tank with water. The water dispenser supplies cold water without
having to open the refrigerator door each time.
This also allows for reducing the product’s energy consumption.
To fill the tank, lift the flap or remove the cover (see picture) then
pour in the water with a carafe or other suitable container. Avoid
filling the tank completely.
* Varies by number and/or position, available only on certain
models.
Loading ...
Loading ...
Loading ...