Loading ...
Loading ...
Loading ...
11
INSTALLATION INSTRUCTIONS – ELECTRIC DRYER
Install Coin Slide and Coin Box
The console houses the factory-installed accumulator timer with
actuating arm and button.
The factory-installed timer is set to provide 45 minutes (4 pins) of
drying time when activated by the coin slide. Timer cams for
30-minute (6 pins) and 60-minute (3 pins) drying times are
included in the parts bag.
The coin slide mechanism, control panel lock and key, and coin
box lock and key are not included and are available from usual
industry sources.
NOTE: Slide dryer onto cardboard or hardboard before moving to
avoid damaging floor covering.
1. Using two or more people, move dryer to desired installation
location.
2. Take tape off front corners of dryer. Open dryer and remove
the literature and parts packages. Wipe the interior of the
drum thoroughly with a damp cloth.
3. Take two of the cardboard corners from the carton and place
them on the floor in back of the dryer. Firmly grasp the body
of the dryer and gently lay it on its back on the cardboard
corners.
4. With one of the legs in hand, check the ridges for a diamond
marking. That's how far the leg is supposed to go into the
hole.
5. Start to screw the leveling legs into the holes by hand. (Use a
small amount of liquid detergent to lubricate the screw
threads so it is easier to turn the legs.) Use a 1-inch wrench or
socket wrench to finish turning the legs until you reach the
diamond mark.
Now stand the dryer up.
6. Remove the service door of the meter case by lifting it up at
the back. Install the money-accepting device. (Refer to
manufacturer's instructions for proper installation.)
For dryers using coin slides, use the adapter kit supplied with
the dryer.
WARNING
Excessive Weight Hazard
Use two or more people to move and install dryer.
Failure to do so can result in back or other injury.
7. Replace the meter case service door. Put the coin vault with
lock and key in the meter case opening.
8. Remove cardboard or hardboard from under dryer.
Make Electrical Connection
Power Supply Cord Method – U.S. Only
This dryer is manufactured with the neutral ground wire
connected to the neutral (center) of the wiring harness at the
terminal block. If local codes do not permit this type of
connection, use “Four-wire connection” instructions.
Use a UL-listed power supply cord rated 240-volt min.,
30-amp and marked for use with a clothes dryer.
1. Disconnect power.
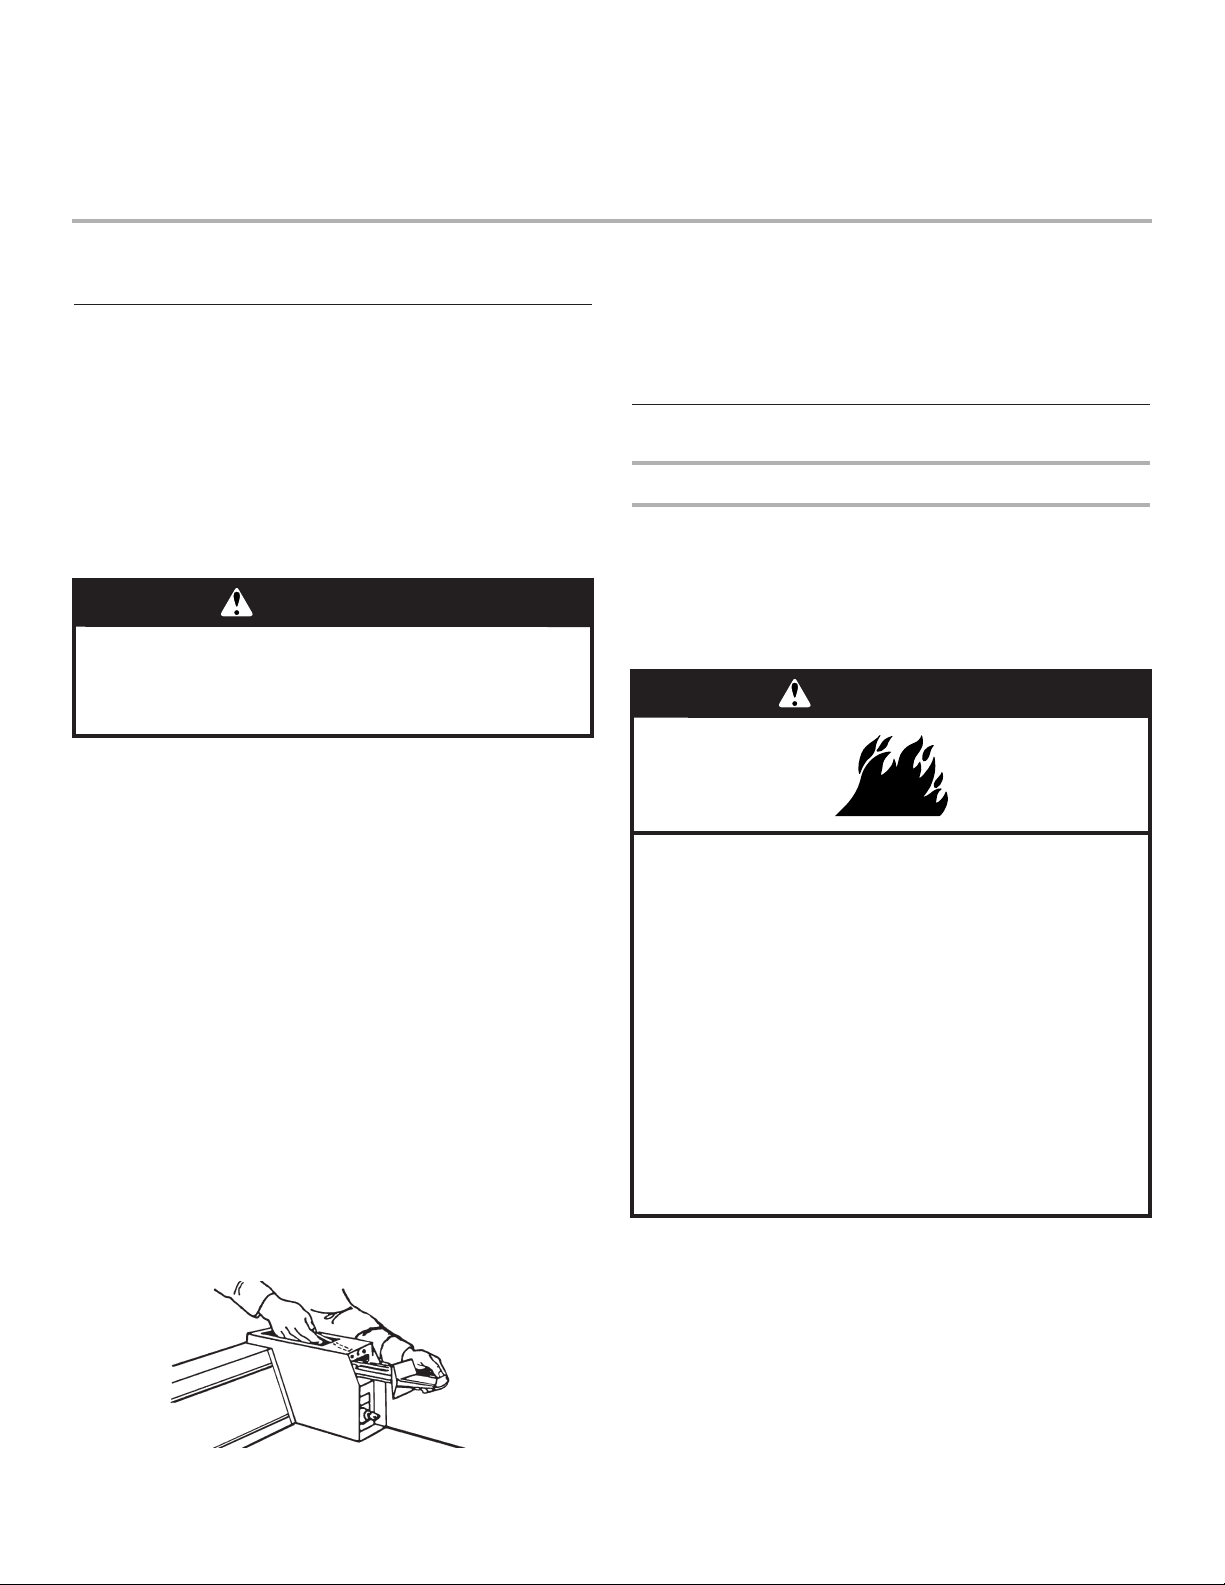
WARNING
Fire Hazard
Use a new UL listed 30 amp power supply cord.
Use a UL listed strain relief.
Disconnect power before making electrical connections.
Connect neutral wire (white or center wire) to center
terminal (silver).
Ground wire (green or bare wire) must be connected to
green ground connector.
Connect remaining 2 supply wires to remaining
2 terminals (gold).
Securely tighten all electrical connections.
Failure to do so can result in death, fire, or
electrical shock.
(not the air cycle), let the dryer run for at least five minutes.
Dryer will stop when time is used up.
NOTE: Dryer door must be closed for dryer to operate. When
door is open, dryer stops, but timer continues to run. To
restart dryer, close door and push START/RESTART button.
4. If the burner does not ignite and you can feel no heat inside
the dryer, shut off dryer for five minutes. Check that all supply
valve controls are in “ON” position and that the electrical cord
is plugged in. Repeat five-minute test.
5. If drying time is too long, make sure lint screen is clean.
Loading ...
Loading ...
Loading ...