Loading ...
Loading ...
Loading ...
4
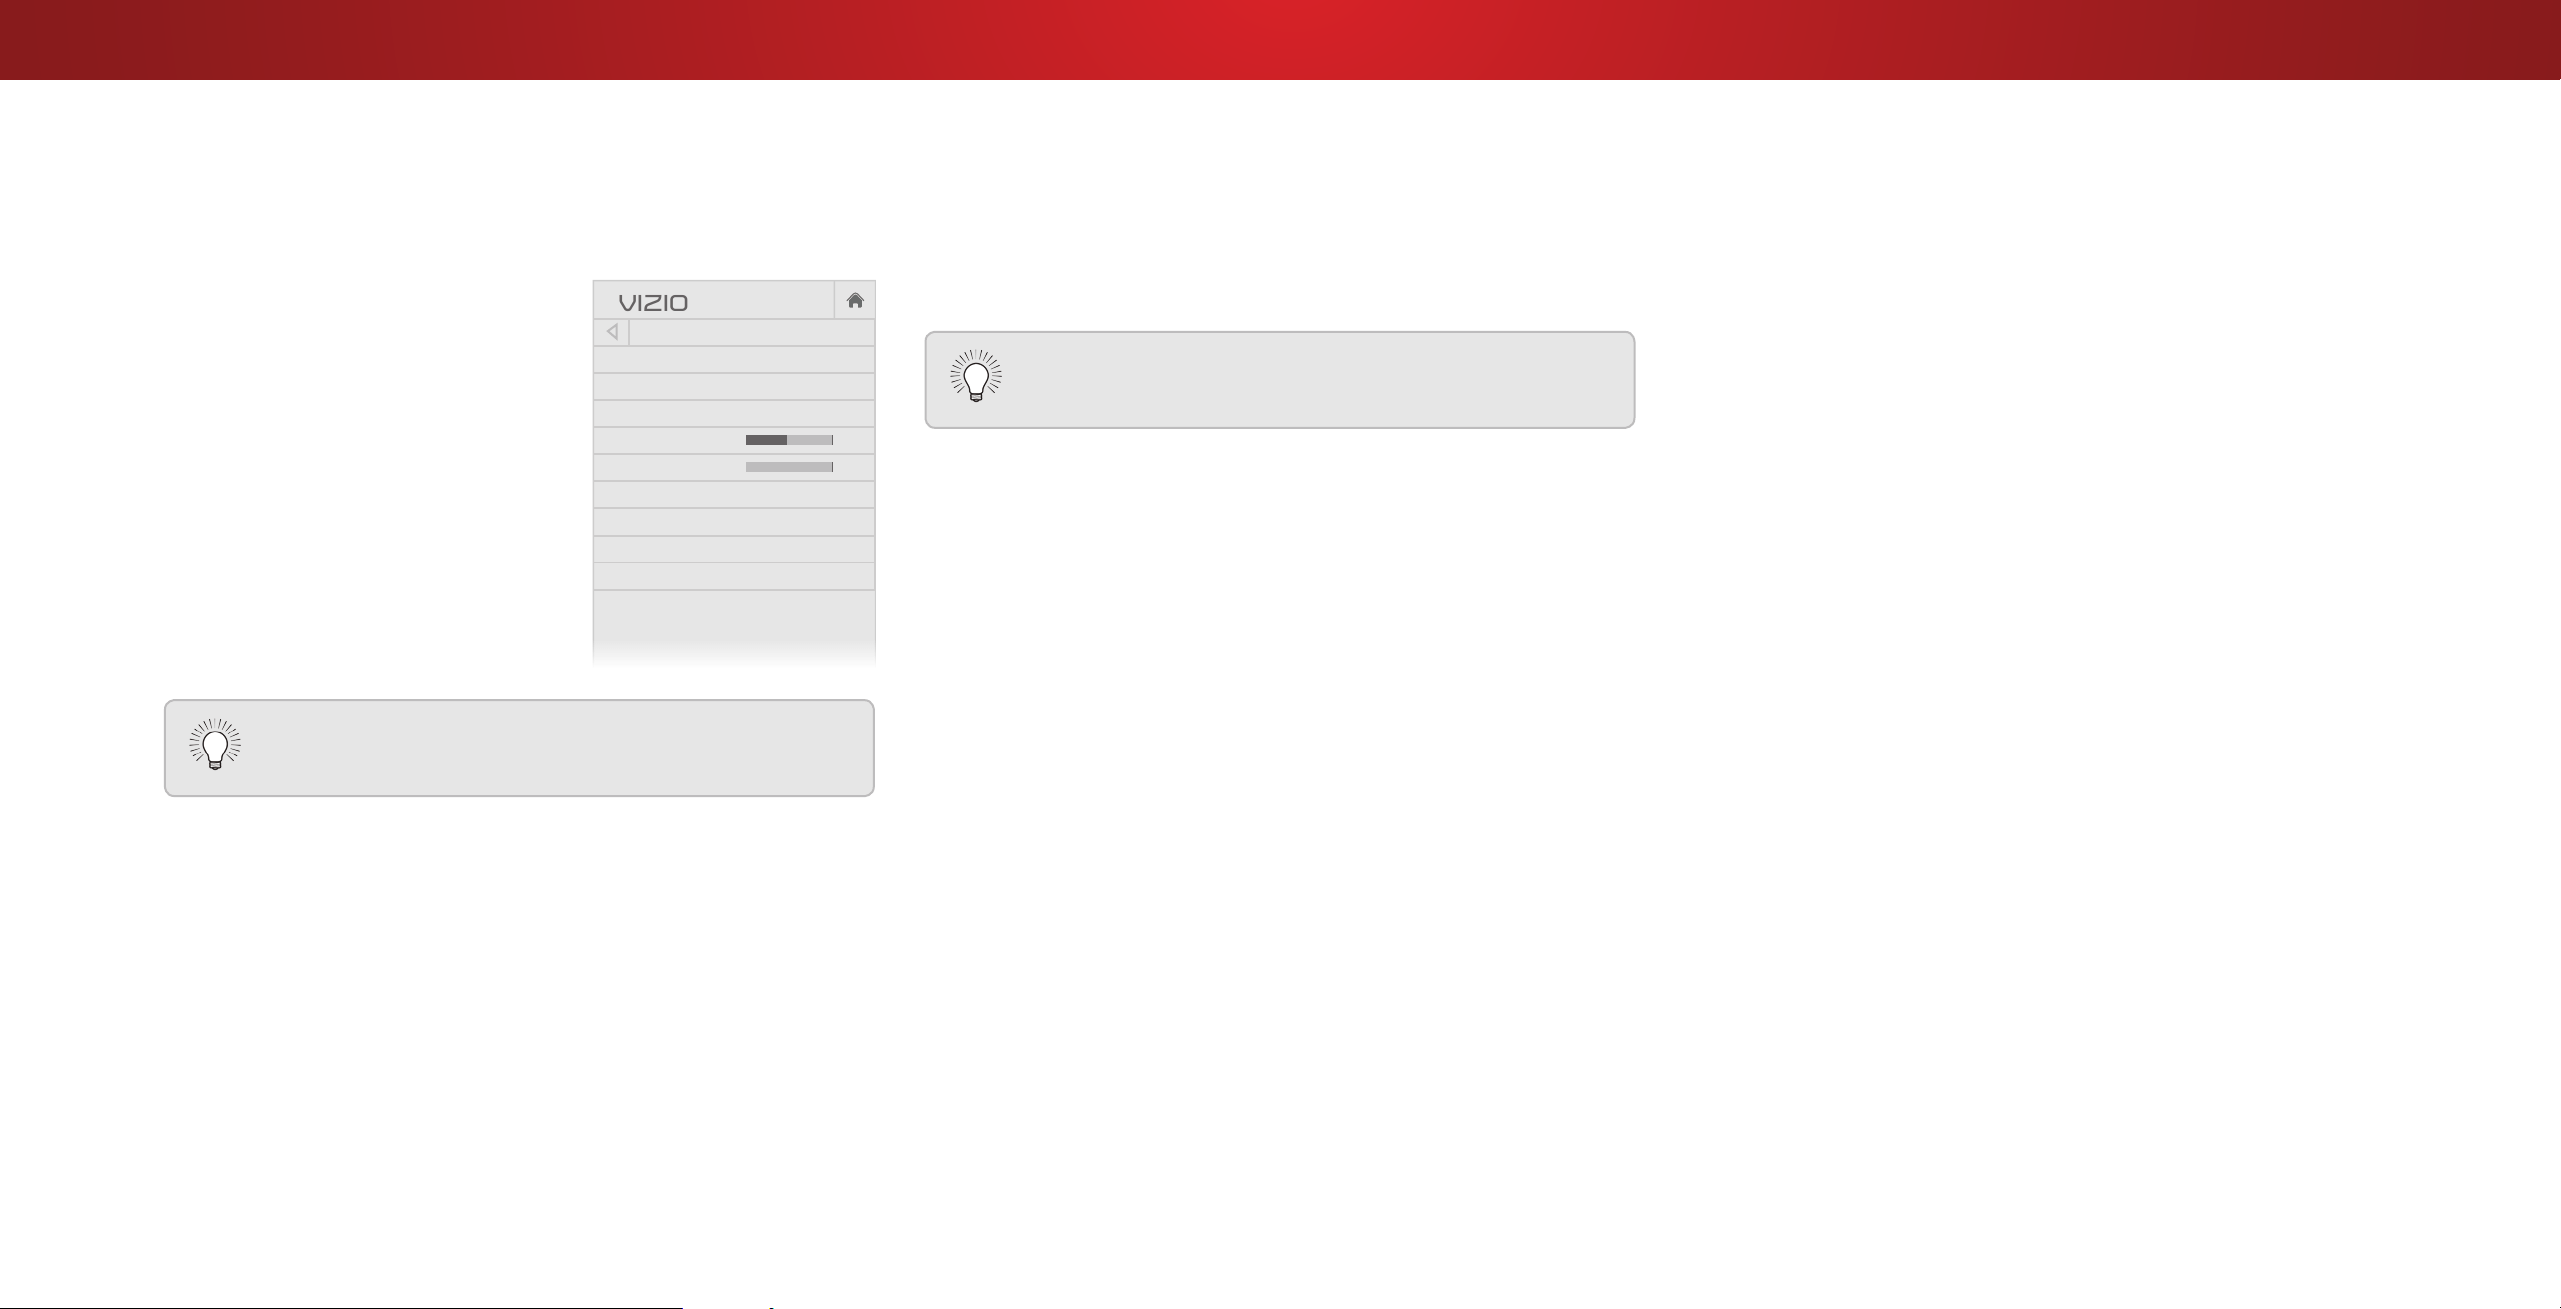
ADJUSTING THE AUDIO SETTINGS
To adjust the audio settings:
1. Press the MENU button on the
remote. The on-screen menu
is displayed.
2. Use the Arrow buttons on the
remote to highlight Audio and
press OK. The AUDIO menu
is displayed.
3. Use the Arrow buttons to
highlight the setting you wish
to adjust, then press Left/
Right Arrow buttons to change
the setting:
• TV Speakers - Turns the
built-in speakers On or O.
• Surround Sound - Surround sound uses DTS TruSurround
™
to deliver an immersive surround sound experience from
the TV’s internal speakers. TruSurround completes the
entertainment experience by providing deep, rich bass and
by delivering crisp details and clear, intelligible dialog. Select
On or O.
• Volume Leveling - Volume leveling uses DTS TruVolume
™
to maintain consistent volume levels during transitions
between program content, AV formats, and input sources.
Select On or O. In a few cases, volume leveling may
articially suppress volume increases, making it dicult to
hear dialog or attening sudden noises. If this occurs, turn
volume leveling o.
• Balance - Adjusts the loudness of the audio output from the
left and right speakers.
Help
VIZIO
Network
Sleep
Timer
Input CC
ABC
Audio
Wide
Normal
Picture
Settings
PanoramicWide Zoom
2D 3DExit
AUDIO
TV Speakers On
Surround Sound On
Volume Leveling On
Balance 0
Lip Sync 0
Digital Audio Out PCM
Analog Audio Out Fixed
Equalizer
Delete Audio Mode
-
+
-
+
When the TV speakers are set to On, DTS signals
cannot be passed through digital audio outputs.
• Lip Sync - Adjusts the synchronization between the display
image and the accompanying audio track.
• Digital Audio Out - Changes the type of processing for
digital audio out and HDMI ARC output when connected to a
home theater audio system. Select PCM or Bitstream.
• Analog Audio Out - Sets the volume control properties for
the RCA connector when connected to a home theater audio
system. Select Variable if you are controlling the volume with
the TV’s volume controls, or select Fixed if an external audio
device (sound bar or AV receiver) will control the volume.
• Equalizer - Adjusts the boost or attenuation of dierent
frequencies using either preset or custom settings. See
Changing the Equalizer Settings on page 28
.
• Delete Audio Mode - Deletes a custom audio mode created
using the Equalizer Settings. See
Deleting the Custom Audio
Mode on page 29.
4. When you have nished adjusting the audio settings, press the
EXIT button on the remote.
You must select Bitstream for audio with more than
two channels (3.0, 5.0, or 5.1, for example).
Changing the Equalizer Settings
The graphic equalizer has several pre-set modes and allows you to
create one custom mode.
To select a pre-set audio mode:
1. Press the MENU button on the remote. The on-screen menu is
displayed.
2. Use the Arrow buttons on the remote to highlight Audio and
press OK. The AUDIO menu is displayed.
3. Use the Arrow buttons to highlight Equalizer and press OK. The
Audio Mode and equalizer settings screen appears.
4. Use the Left and Right Arrow buttons to select an audio mode.
The equalizer bars change to reect the mode.
5. Press the EXIT button on the remote.
To create, modify, or replace the single custom equalizer setting:
1. Press the MENU button on the remote. The on-screen menu is
displayed.
2. Use the Arrow buttons on the remote to highlight Audio and
press OK. The AUDIO menu is displayed.
3. Use the Arrow buttons to highlight Equalizer and press OK. The
Audio Mode and equalizer settings screen appears.
4. Use the Left and Right Arrow buttons to select any audio mode
as a starting point.
5. Use the Arrow buttons to highlight a frequency and then press
OK.
6. Use the Up and Down Arrow buttons to adjust the boost (up)
and attenuation (down) for the frequency.
7. Use the Left and Right Arrow buttons to select another
frequency, if desired, and adjust it.
8. Press the EXIT button on the remote.
28
Loading ...
Loading ...
Loading ...