Loading ...
Loading ...
Loading ...
11
Setting Surface Controls
Home Canning
Be sure to read and observe all the following points when home
canning with your appliance. Check with the USDA (United
States Department of Agriculture) Web site and be sure to read
all the information they have available as well as follow their
recommendations for home canning procedures.
• Use only a completely flat bottom canner with no ridges
that radiate from the bottom center when home canning.
Heat is spread more evenly when the bottom surface is flat.
Use a straight-edge to check canner bottom.
• Make sure the diameter of the canner does not exceed 1
inch beyond the surface element markings or burner.
• It is recommended to use smaller diameter canners on
electric coil and ceramic glass cooktops and to center
canners on the burner grates.
• Start with hot tap water to bring water to boil more quickly.
• Use the highest heat setting when first bringing the water to
a boil. Once boiling is achieved, reduce heat to lowest
possible setting to maintain that boil.
• Use tested recipes and follow instructions carefully. Check
with your local Cooperative Agricultural Extension Service
or a manufacturer of glass jars for the latest canning infor-
mation.
• It is best to can small amounts and light loads.
• Do not leave water bath or pressure canners on high heat
for an extended amount of time.
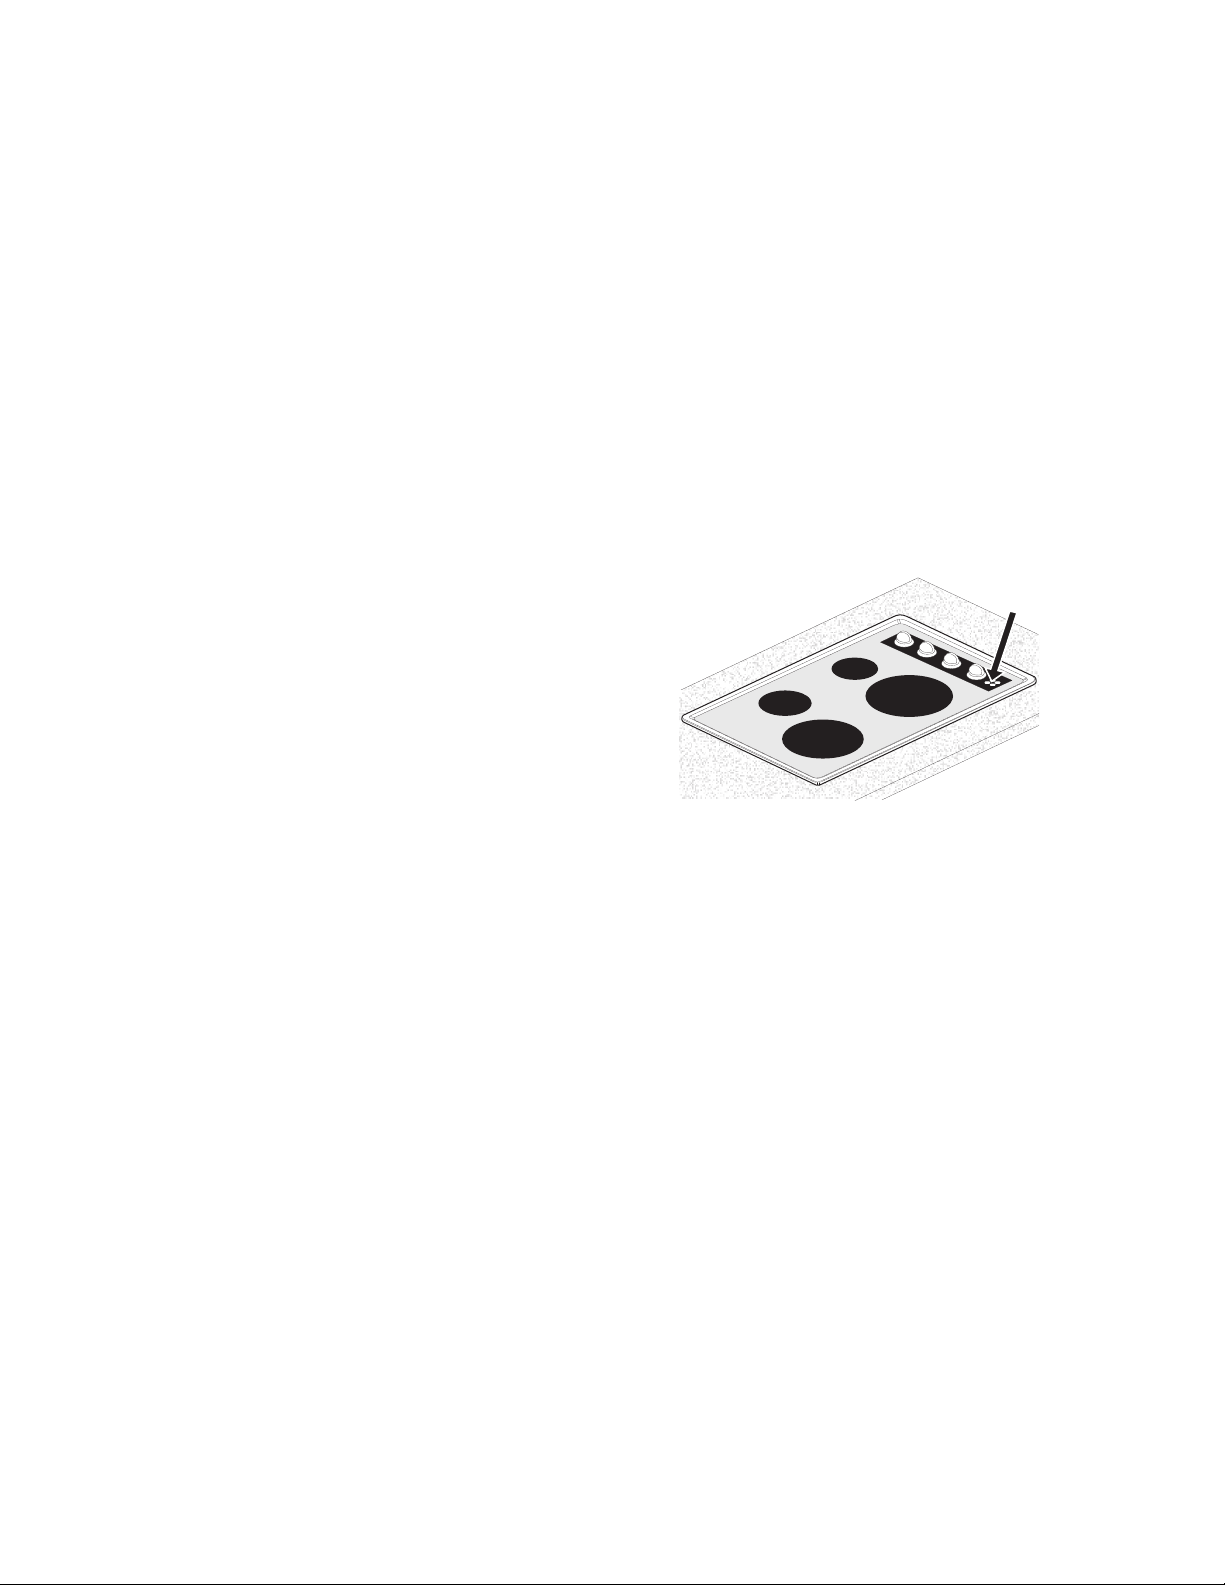
Indicator lights (Some models)
Some models have an indicator light for each heating unit, other
models have an indicator light for each pair of heating units,
also some other models have an indicator light for all heating
units.
The indicator light glows as soon as a heating unit is turned on.
Check if the indicator light glows when the control knob of the
individual heating unit is turned on. If the knob is set to a very
low temperature setting, the indicator may glow and yet, the
heating unit may not be heating at all. If this happens, turn the
knob to a higher setting until the heating unit comes on.
When cooking is finished, a quick glance at the indicator lights
in an easy check to be sure all the control knobs have been
turned OFF.
Figure 2: Indicator light
Hot Surface
Indicator
Loading ...
Loading ...
Loading ...