Loading ...
Loading ...
Loading ...
8
Simmer
The Simmer function can be used with all surface cooking areas.
Simmer can be used on more than 1 surface cooking area at a
time.
To Use:
To Tur n On:
1. Check that a surface cooking area has been selected.
2. Touch SIMMER. “A” will appear in the display, and the
indicator light next to Simmer will light.
The timer remains visible and can be set if desired.
To Tur n Off:
Simmer can be turned off in 3 different ways:
1. Use the power slider to set to a heat level.
OR
2. Touch the surface cooking area OFF keypad.
OR
3. Select a different cooking function.
Melt
The Melt + Hold function can be used with all surface cooking
areas. Melt + Hold can be used on more than 1 surface cooking
area at a time.
To Use
To Tur n On:
1. Check that a surface cooking area has been selected.
2. Touch MELT + HOLD. “A” will appear in the display, and the
indicator light next to Melt + Hold will light.
The timer remains visible and can be set if desired.
To Tur n Off:
Melt + Hold can be turned off in 3 different ways:
1. Use the power slider to set to a heat level.
OR
2. Touch the surface cooking area OFF keypad.
OR
3. Select a different cooking function.
Keep Warm
The Keep Warm function can be used with all surface cooking
areas. Keep Warm can be used on more than 1 surface cooking
area at a time. Keep warm is not recommended for heating cold
foods.
To Use
To Tur n On:
1. Check that a surface cooking area has been selected.
2. Touch KEEP WARM. “A” will appear in the display, and the
indicator light next to Keep Warm will light.
The timer remains visible and can be set if desired.
To Tur n Off:
Keep Warm can be turned off in 3 different ways:
1. Use the power slider to set to a heat level.
OR
2. Touch the surface cooking area OFF keypad.
OR
3. Select a different cooking function.
Bridge
(on some models)
The Bridge function can be activated when surface cooking areas
are on or when they are off. The Bridge function allows you to use
2 cooking zones as an extra-large cooking zone.
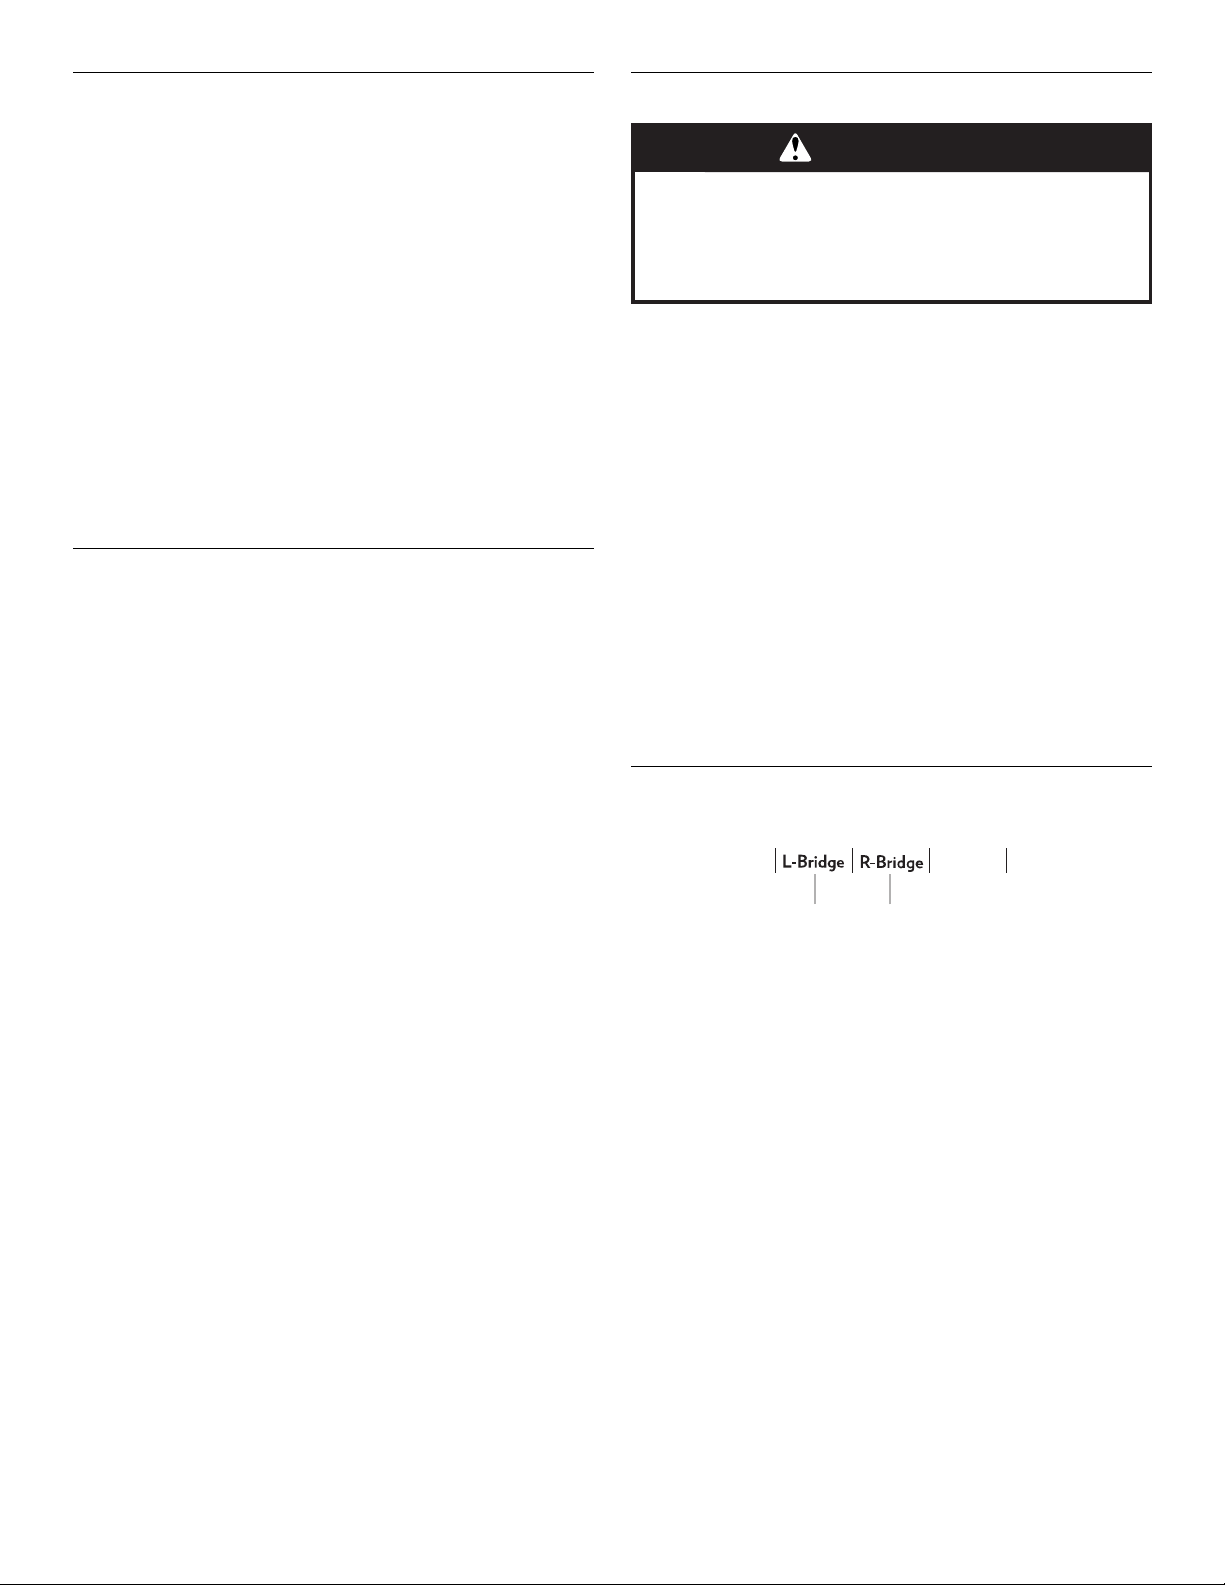
To Turn On a Bridge:
1. Touch the desired Bridge keypad (left side bridge or right side
bridge).
The indicator light above the Bridge keypad will light. The
heat setting levels for the 2 surface cooking areas will default
to “0” and can be set from a minimum of “1” to a maximum of
“9.” Any timers that may be running for the 2 surface cooking
areas will turn off, and 2 dashes “--” will appear in the timer
display.
2. Slide a finger on the Heat Level Slider to change the power
level up or down.
The selected heat level will show in the heat level display for
each surface cooking area using the bridge.
A. Left side bridge
B. Right side bridge
WARNING
Food Poisoning Hazard
Do not let food sit for more than one hour before or
after cooking.
Doing so can result in food poisoning or sickness.
A
B
Loading ...
Loading ...
Loading ...