When the power is switched on, the buzzer will sound once and all the indicators will come on for one second and then go out. The hob is now in standby mode.
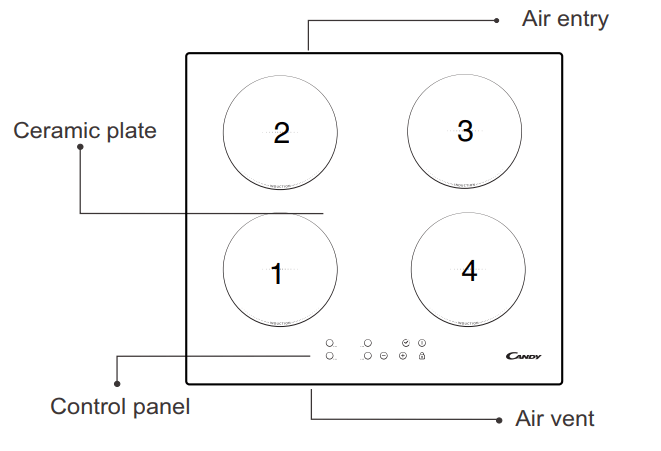
Place the pan in the centre of the cooking zone.
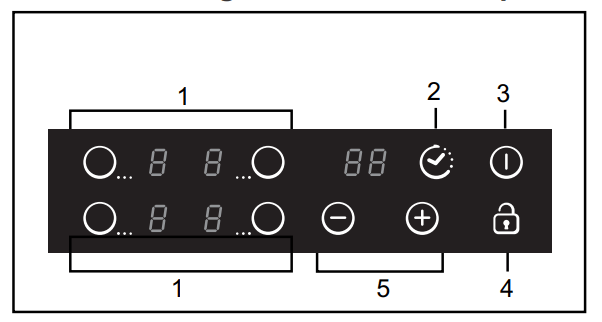
Operating instructions
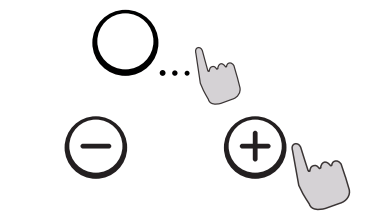
When the ON/OFF key is pressed, all the indicators show"-". Select the power level by pressing the "+" or"-" key for the relevant hotplate. To begin with the indicator shows "5". Adjust up or down by pressing the"+" or"-" key. If you press the"+" and "-" keys simultaneously, the power setting returns to "0" and the cooking zone switches off.
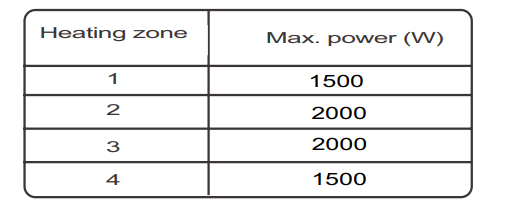
See the table on Page 6 for the power specific to each cooking zone.
NB: When the ON/OFF key is pressed, the induction hob returns to standby mode if no other operation is carried out within oneminute.
Timing function
Press the timing key and the indicator will start flashing. Then set the time for between 1 and 99 minutes, by pressing the "+" and "-" keys. Pressing the "+" key once increases the time by one minute; pressing the "-" key once decreases the time by one minute. When the set time exceeds 99 minutes, it will automatically return to "0" minutes. If the "-" and "+" keys are pressed simultaneously, The indicator will display "0"
Timer confirmation
1. Select the power level of the cooking zone and then press the "Timer"key. The timer can now be set.
2. When the timing indicator has been flashing for 5 seconds, the set time will be automatically confirmed.
3. After selecting a set time, confirm by pressing the "Timer" key.
Timer cancellation
After setting the time again, hold down the "Timer" key for 5 seconds.This will cancel the timer and the indicator will revert to "0".
Safety mode
To ensure the safety of children, the induction hob is fitted with an interlock device.
To lock: hold down the "Interlock"; the hob then goes into "Interlock" mode, the timer shows "Lo" and the rest of the keys are disabled except the ” ON/OFF " key.
Unlocking
Hold down the "Interlock" key for 2 seconds and the hob will return to normal working.
POWER AUTO-LIMITATION
The whole hob can take in charge a maximum power of 3000W.
Consequently, the hob automatically reduces the maximum output power by allowing a maximum sum of the all power levels of 12
The maximum power of cooking zones is as follows:
The above may vary according to the size of the pan and the material it is made from
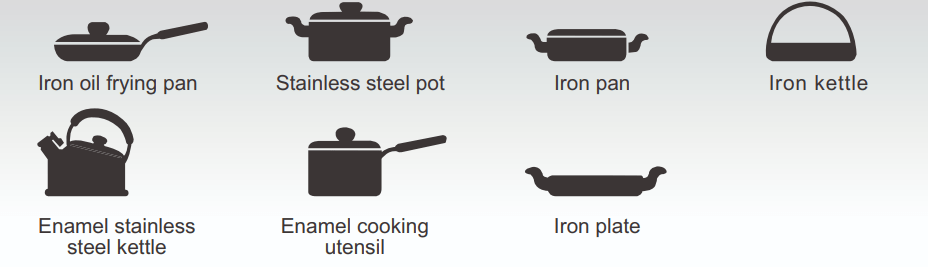
Selection of cooking vessels
You may have a number of different cooking vessels
1. This induction hob can identify a variety of cooking vessels, which you can test by one of the following methods:
Place the vessel on the cooking zone. If the corresponding cooking zone displays a power level, then the vessel is suitable. If "U" flashes, then the vessel is not suitable for use with the induction hob.
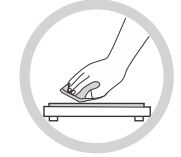
2. Hold a magnet to the vessel. If the magnet is attracted to the vessel, it is suitable for use with the induction hob.
NB: The base of the vessel must contain magnetic material. It must have a flat bottom with a diameter of more than 14 cm.
3. Use pans whose diameter is as large as the graphic of the zone selected.
Using a pot a slightly wider energy will be used at its maximum efficiency.If you use smaller pot efficiency could be less than expected.Pot less than 140 mm could be undetected by the hob.
Safety Reminding and Maintenance:
A dedicated power protection air switch must be used.
For indoor only
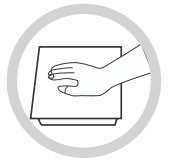
Never wash the induction hob directly with water.
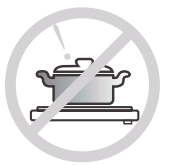
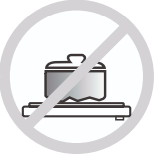
Never have the induction hotplate to work without food inside, otherwise its operational performance may be affected and danger may happen.
Always open sealed containers, such as cans, before heating them, otherwise they may explode.
When a cooking zone has been on for a long time the surface remains hot for some time afterwards - so do not touch the ceramic surface.
From time to time check that nothing (e.g. glass, paper, etc.) is obstructing the air intake beneath the induction hob.
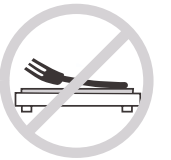
Do not leave metallic objects, such as knives, forks, spoons and lids on the hob as they may get hot.
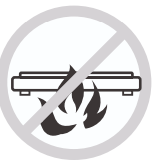
Never use the induction hob near another appliance which generates a high temperature, such as a gas cooker or a paraffin heater.
Do not store detergents or flammable materials beneath the hob.
If the surface of the hob is cracked, switch off the appliance to avoid any possibility of electric shocks
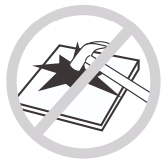
Do not place rough or uneven vessels on the hob, as they may damage the ceramic surface.
Clean the induction hob regularly to stop foreign objects from getting into the fan and preventing the appliance from working properly.
Keep children or infirm persons away from the appliance. Never let them use it unsupervised.
If the power cable is damaged it should be replaced by our service agent or by another suitably qualified person.
This appliance is not intended for use by persons (including children) with reduced physical, sensory or mental capabilities, or lack of experience and knowledge, unless they have been given supervision or instruction concerning use of the appliance by a person responsible for their safety.
Children should be supervised to ensure that they do not play with the appliance.
Cleanness and Maintenance
The surface of the induction hob may be easily cleaned in the following way:
Type of contamination
Method of cleaning
Cleaning materials
Light
Immerse in hot water and wipe dry
Cleaning sponge
Rings and lime scale
Apply white vinegar to the area, wipe with a soft cloth or use a commercially available product
Special adhesive for ceramic glass
Sweetmeat, melted aluminium or plastics
Use a special scraper for ceramic glass to remove residue (a silicon product is best)
Special adhesive for ceramic glass
NB: Disconnect the power supply before cleaning.
Failure Display and Inspection
If any abnormality occurs, the induction hob will automatically go into protective mode and display one of the following codes:
Fault
Possible cause
Solutions
F0/F1/F2
Fan failure
Contact the supplier
F3-F8
Temperature sensor failure
Contact the supplier
E1/E2
Abnormal voltage in power supply
Check if power supply is normal.
Power on after power supply returns to normal.
E3/E4
Abnormal
temperature
Check the pan
E5/E6
Poor heat radiation in cooking zone
Restart when cooking zone cools down
The above table shows how to assess and check common faults.
Do not dismantle the appliance yourself, otherwise you may damage the induction hob.
Customer Care Service
If a fault should occur, before calling After Sales Service, please do the following:
- Check that the appliance is correctly plugged in
-Read the failure and display table above
If you are still unable to resolve the problem, switch off the appliance, do not try to dismantle it, and call