Loading ...
Loading ...
Loading ...
10 11OPERATING INSTRUCTIONS HELPFUL HINTS AND TIPS
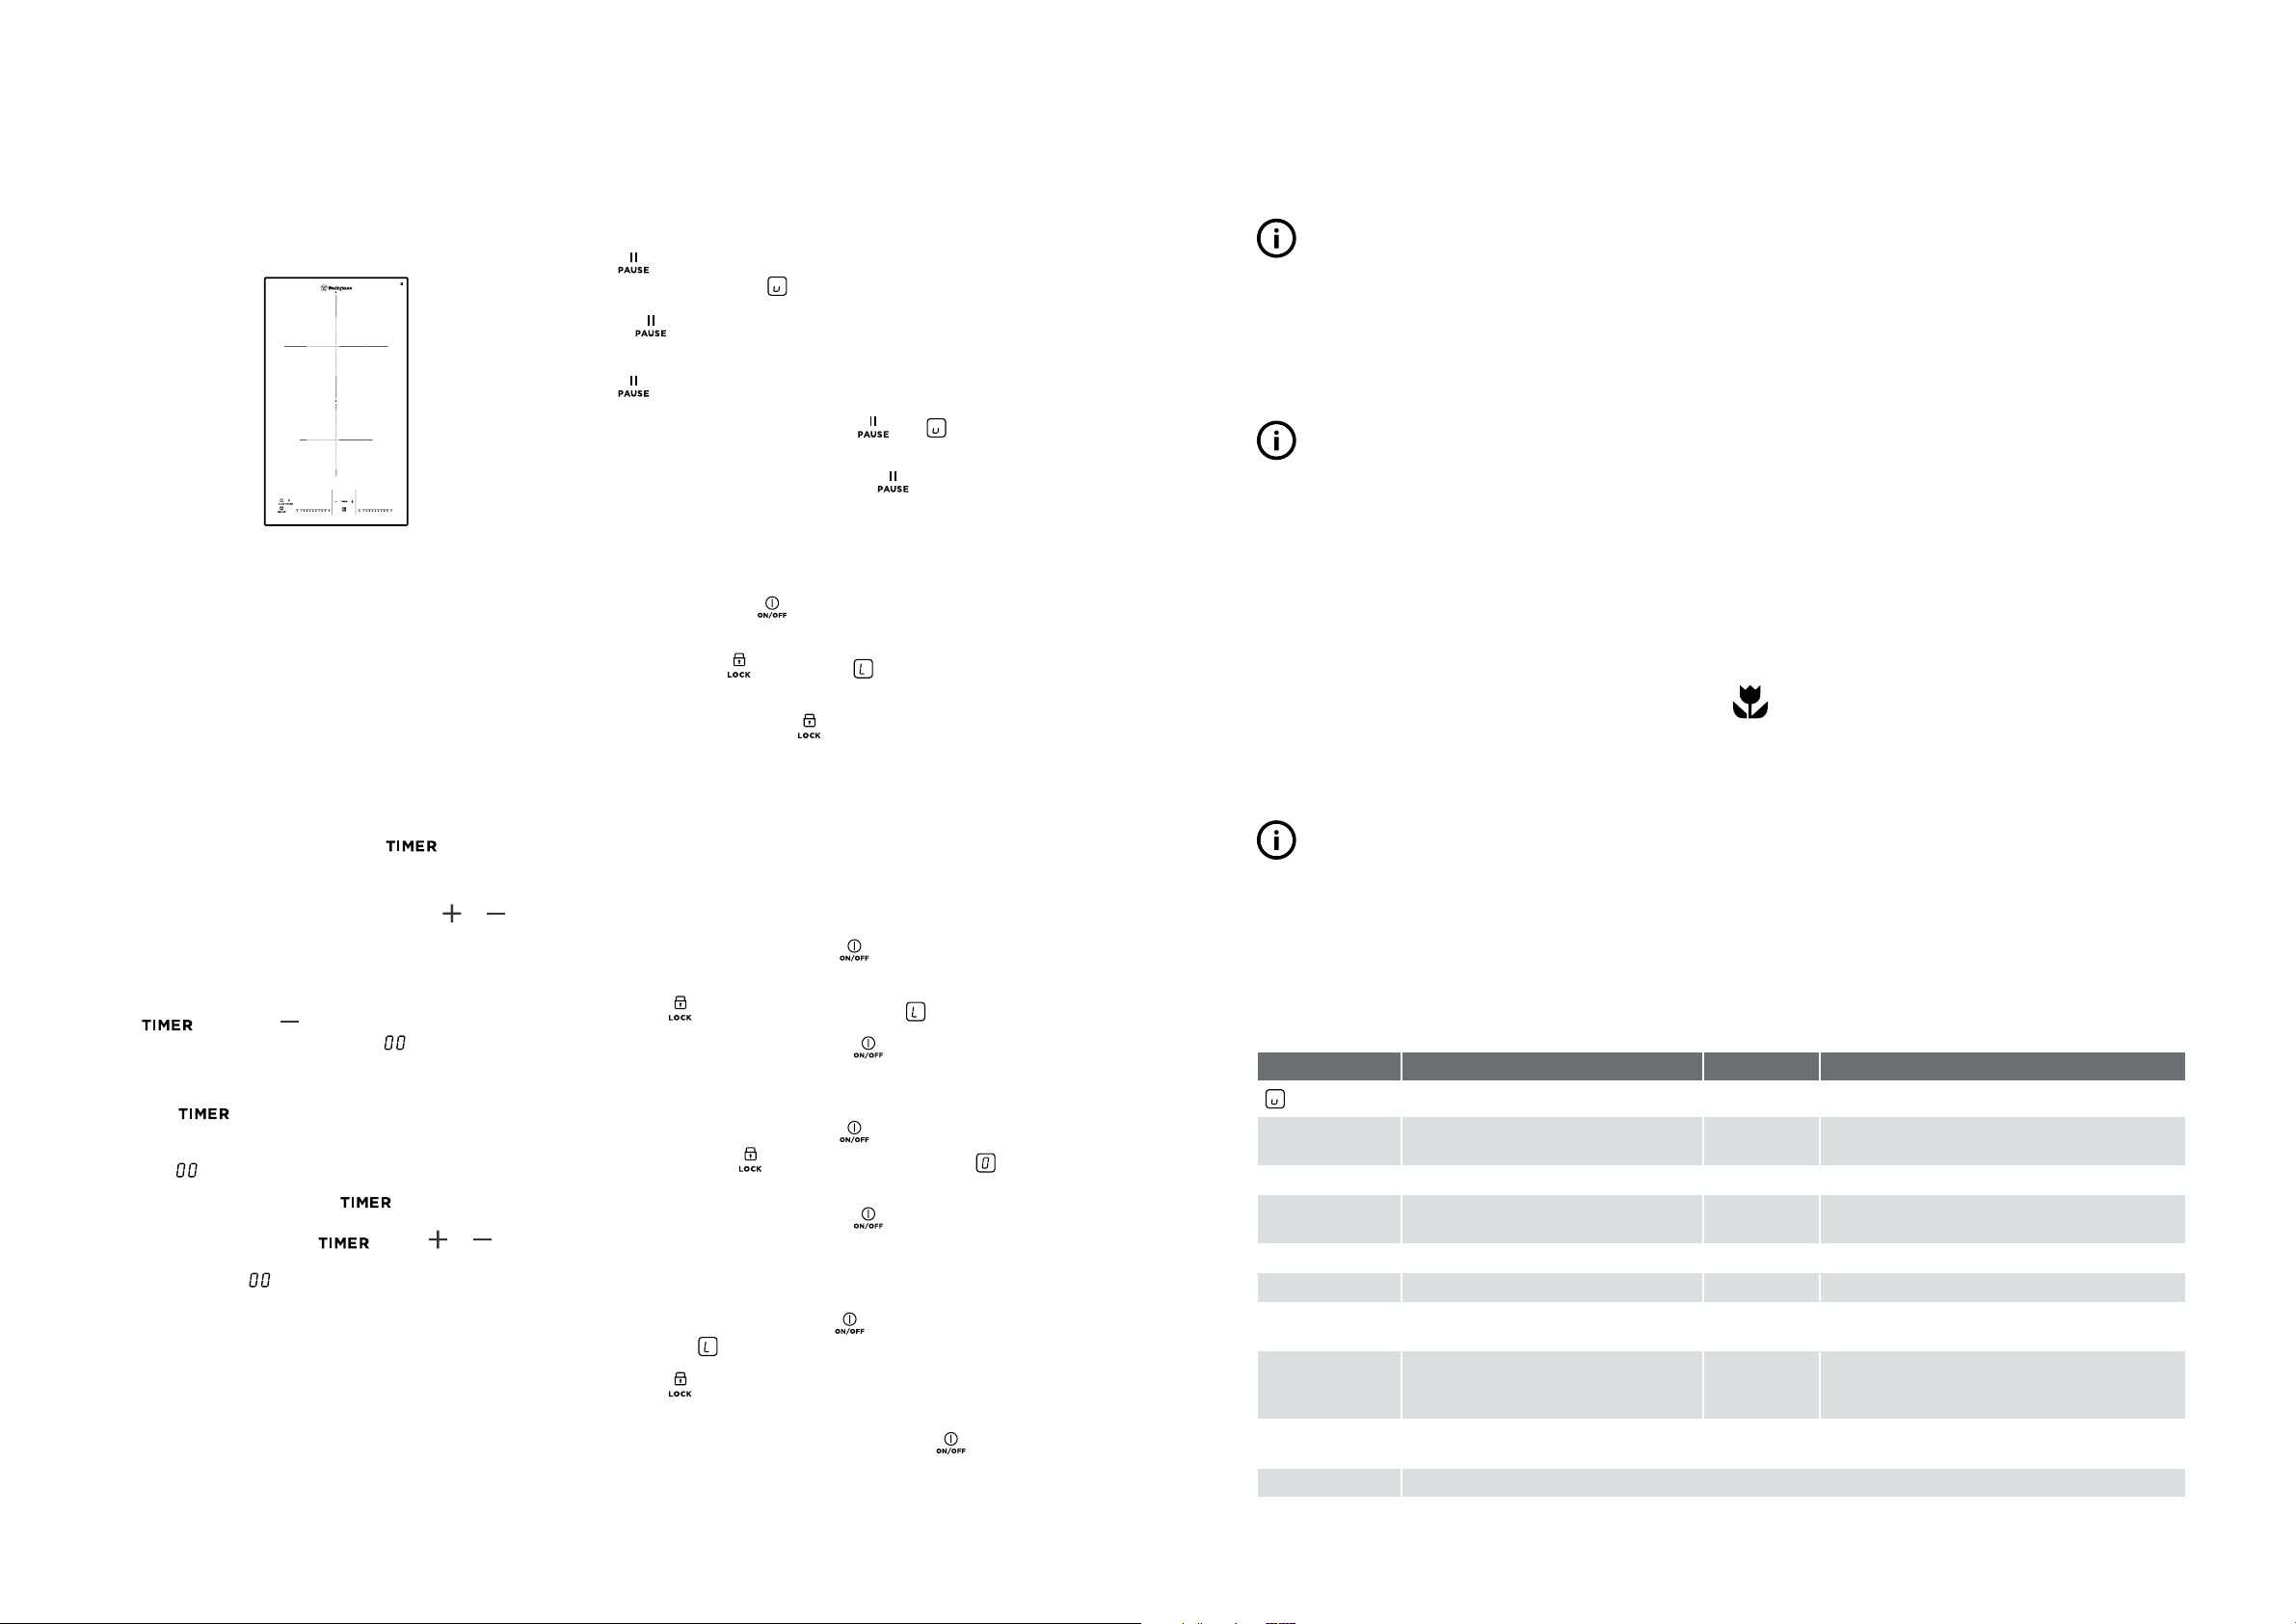
Power management
The power management divides the power between
two cooking zones in a pair (see the figure). The power
function increases the power to the maximum level for
one cooking zone in the pair and automatically decreases
in the second cooking zone to a lower power level. The
display for the reduced zone alternates.
Timer
Use the timer to set how long the cooking zone operates
for one cooking session.
You can set the heat setting before or after you set
the timer.
• To set the cooking zone: touch
again and
again until the indicator of the necessary cooking
zone comes on.
• To activate or change the Timer: touch
or of the
timer to set the time (00 - 99 minutes). When the
indicator of the cooking zone starts to flash slow, the
time counts down.
• To deactivate the Timer: select the cooking zone with
and touch to deactivate the Timer. The
remaining time counts back to . The indicator of
the cooking zone goes out.
• To see the remaining time: select the cooking zone
with
. The indicator of the cooking zone starts
to flash quickly. The display shows the remaining time.
When the time comes to an end, the sound operates
and flashes. The cooking zone deactivates.
• To stop the sound: touch
. You can use the
Timer as a minute minder while the cooking zones
do not operate. Touch
. Touch or to set
the time. When the time comes to an end, the sound
operates and flashes.
OPERATING INSTRUCTIONS (CONTINUED)
Pause
The function sets all cooking zones that operate to
the lowest heat setting
.
When
operates, you cannot change the
heat setting.
The
function does not stop the timer function.
• To activate this function touch
The symbol
comes on.
• To deactivate this function touch
. The heat
setting that you set before comes on.
Lock
When the cooking zones operate, you can lock the
control panel, but not
. It prevents an accidental
change of the heat setting.
Touch the symbol
. The symbol comes on for
4 seconds.
To stop this function touch
. The heat setting that you
set before comes on. When you stop the appliance, you
also stop this function.
The child safety device
This function prevents an accidental operation of the
appliance.
To activate the child safety device
• Activate the appliance with . Do not set the heat
settings.
• Touch
for 4 seconds. The symbol
comes on.
• Deactivate the appliance with
.
To deactivate the child safety device
• Activate the appliance with . Do not set the heat
settings. Touch
for 4 seconds. The symbol
comes on.
• Deactivate the appliance with
.
To override the child safety device for only one
cooking time
• Activate the appliance with . The symbol
comes on
.
• Touch
for 4 seconds. Set the heat setting in 10
seconds. You can operate the appliance.
• When you deactivate the appliance with
, the
child safety device operates again.
The examples of cooking applications
The data in the table is for guidance only.
HEAT SETTING USE TO: TIME HINTS
1
Keep warm the food you cooked as required Put a lid on a cookware
1-2 Hollandaise sauce, melt: butter,
chocolate, gelatine
5-25 min Mix from time to time
1-2 Solidify: fluffy omelettes, baked eggs 10-40 min Cook with a lid on
2-3 Simmer rice and milk based dishes,
heating up ready-cooked meals
25-50 min Add the minimum twice as much liquid as
rice, mix milk dishes part procedure through
3-4 Steam vegetables, fish, meat 20-45 min Add some tablespoons of liquid
4-5 Steam potatoes 20-60 min Use max. 1⁄4 L water for 750g of potatoes
4-5 Cook larger quantities of food, stews
and soups
60-150 min Up to 3 L liquid plus ingredients
6-7 Gentle fry: escalope, veal cordon
bleu, cutlets, rissoles, sausages, liver,
roux, eggs, pancakes, doughnuts
as required Turn halfway through
7-8 Heavy fry, hash browns, loin steaks,
steaks
5-15 min Turn halfway through
9 Boil large quantities of water, cook pasta, sear meat (goulash, pot roast), deep-fry chips
The Power function is best to heat up large quantities of water.
HELPFUL HINTS AND TIPS
TIPS & INFORMATION
IMPORTANT
Use the induction cooking zones with correct cookware.
• Cookware made of enamelled steel and with
aluminium or copper bottoms can cause
discolouration on glass ceramic surface.
Cookware for induction cooking zones
TIPS & INFORMATION
IMPORTANT
For induction cooking zones a strong electro-magnetic
field creates the heat in the cookware very quickly.
Cookware material
• Correct: cast iron, steel, enamelled steel, stainless
steel, the bottom made of multi- layer (with correct
mark from a manufacturer).
• Not correct: aluminium, copper, brass, glass,
ceramic, porcelain.
Cookware is correct for an induction hob if ...
• Some water boils very quickly on a zone set to the
highest heat setting.
• A magnet pulls on to the bottom of the cookware.
TIPS & INFORMATION
IMPORTANT
The bottom of the cookware must be as thick and flat as
possible. Cookware dimensions: induction cooking zones
adapt to the dimension of the bottom of the cookware
automatically to some limit.
The noises during operation
If you can hear
• crack noise: cookware is made of different materials
(Sandwich construction).
• whistle sound: you use one or more cooking zones
with high power levels and the cookware is made of
different materials (Sandwich construction).
• humming: you use high power levels.
• clicking: electric switching occurs.
• hissing, buzzing: the fan operates.
The noises are normal and do not refer to appliance
malfunction.
If unfamiliar with induction units please first compare
the operating sounds of a demonstration model at your
retailer before calling service. If a service call is placed and
the sounds are normal you will be charged for the visit.
Energy saving
ENVIRONMENTAL TIPS
ENVIRONMENT
• If it is possible, always put the lids on the cookware.
• Put cookware on a cooking zone before you start it.
Loading ...
Loading ...
Loading ...