Loading ...
Loading ...
Loading ...
13
PAge heAder.....ASSEMBLY & OPERATION
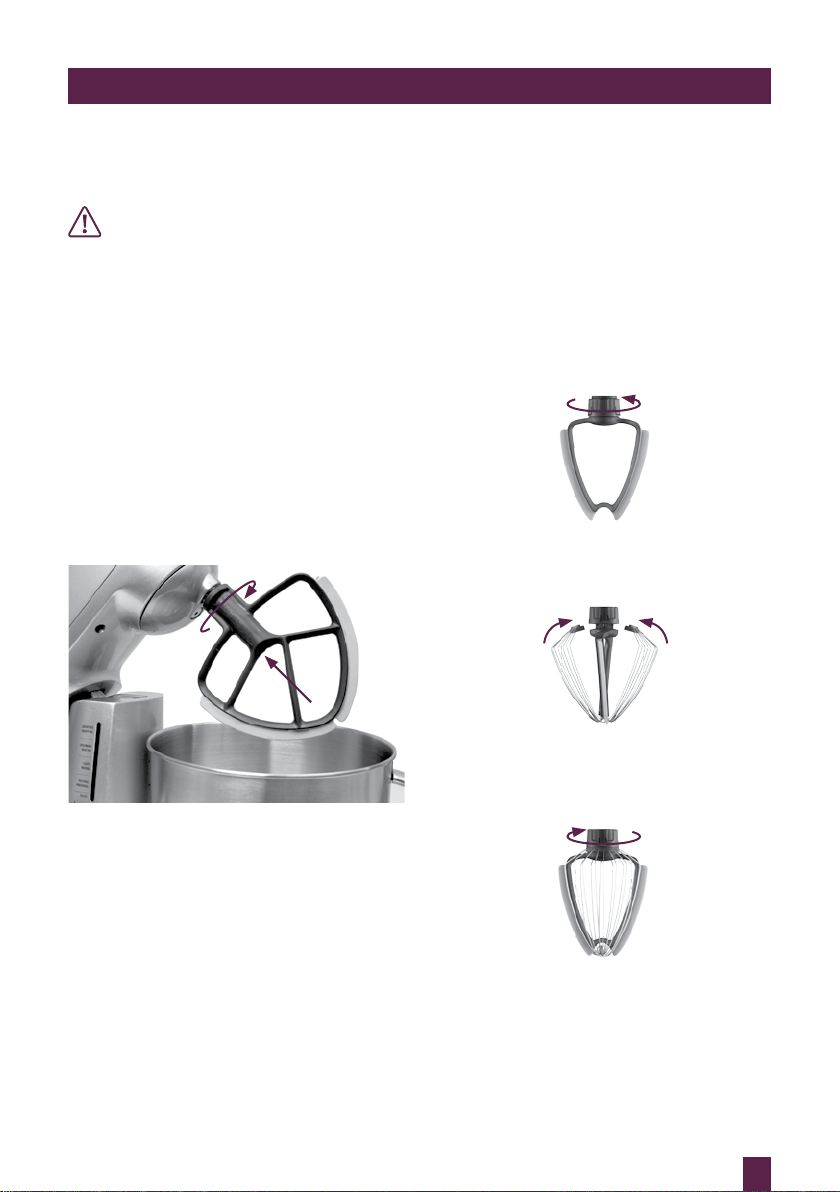
ATTACHING THE MIXING AND
WHISKING TOOLS
WARNING
To reduce the risk of injury to persons
or damage to the mixer, you must only
use the large tools with the large bowl.
1. Raise the motor head by pressing the
RELEASE button.
2. Align the groove in the top of the mixing
attachment with the locking pin on the
spindle extending down from the mixer
motor head.
3. Push the attachment upwards and turn
clockwise until it locks securely onto the
locking pin on the spindle (see Fig. 1).
Fig. 1
4. Lower the mixer motor head by pressing
the RELEASE button and gently
lowering the mixer motor head until it
locks into the closed position.
5. The splash guard can now be assembled
if required. For the large bowl, slide the
main ring into position on top of the
bowl, then assemble the pour spout. For
the small bowl, the splash guard is
one piece.
ASSEMBLING THE SCRAPER WHISK
TOOL
The mixing tool for the small bowl converts
between a scraper beater and a scraper
whisk.
To convert the scraper beater into a scraper
whisk, the wire whisk part needsto be locked
onto the scraper beater
1. Loosen the locking nut by turning
anti-clockwise.
2. Assemble the wire whisk part onto the
scraper beater.
3. With the collar of the whisk in position,
turn the locking nut clockwise to fasten
wire in place.
4. Converting the scraper whisk back to
a scraper beater is the same process in
reverse. Remember to turn the locking
nut anti-clockwise to loosen, and
clockwise to tighten.
Loading ...
Loading ...
Loading ...