Loading ...
Loading ...
Loading ...
Residen al Electric Water Heater Use and Care Guide • 15
Replace the junc on box cover
and secure with the screws
provided.
WARNING! Be sure cover is secured
to reduce the risk of fi re and electric
shock.
Step 10:
Adjus ng the
Temperature
With the installa on steps completed,
you may adjust the water heater’s tem-
perature se ng if desired.
1Set the thermostat(s) to
desired temperature. The
thermostat(s) on this water
heater have been factory set to
approximately 120°F to reduce the risk
of scald injury. You may wish to set a
higher temperature to provide hot
water for automa c dishwashers or
laundry machines, to provide more hot
water capacity, and to reduce bacterial
growth. Higher tank temperatures
(140° F) kill bacteria that cause a
condi on known as “smelly water” and
can reduce the levels of bacteria that
cause water-borne diseases.
WARNING! Higher temperatures in-
crease the risk of scalding, but even at
120°F, hot water can scald (page 4).
If you increase the water heater’s tem-
perature se ng, install Thermosta c
Mixing Valve(s) at each point-of-use to
reduce the risk of scalding.
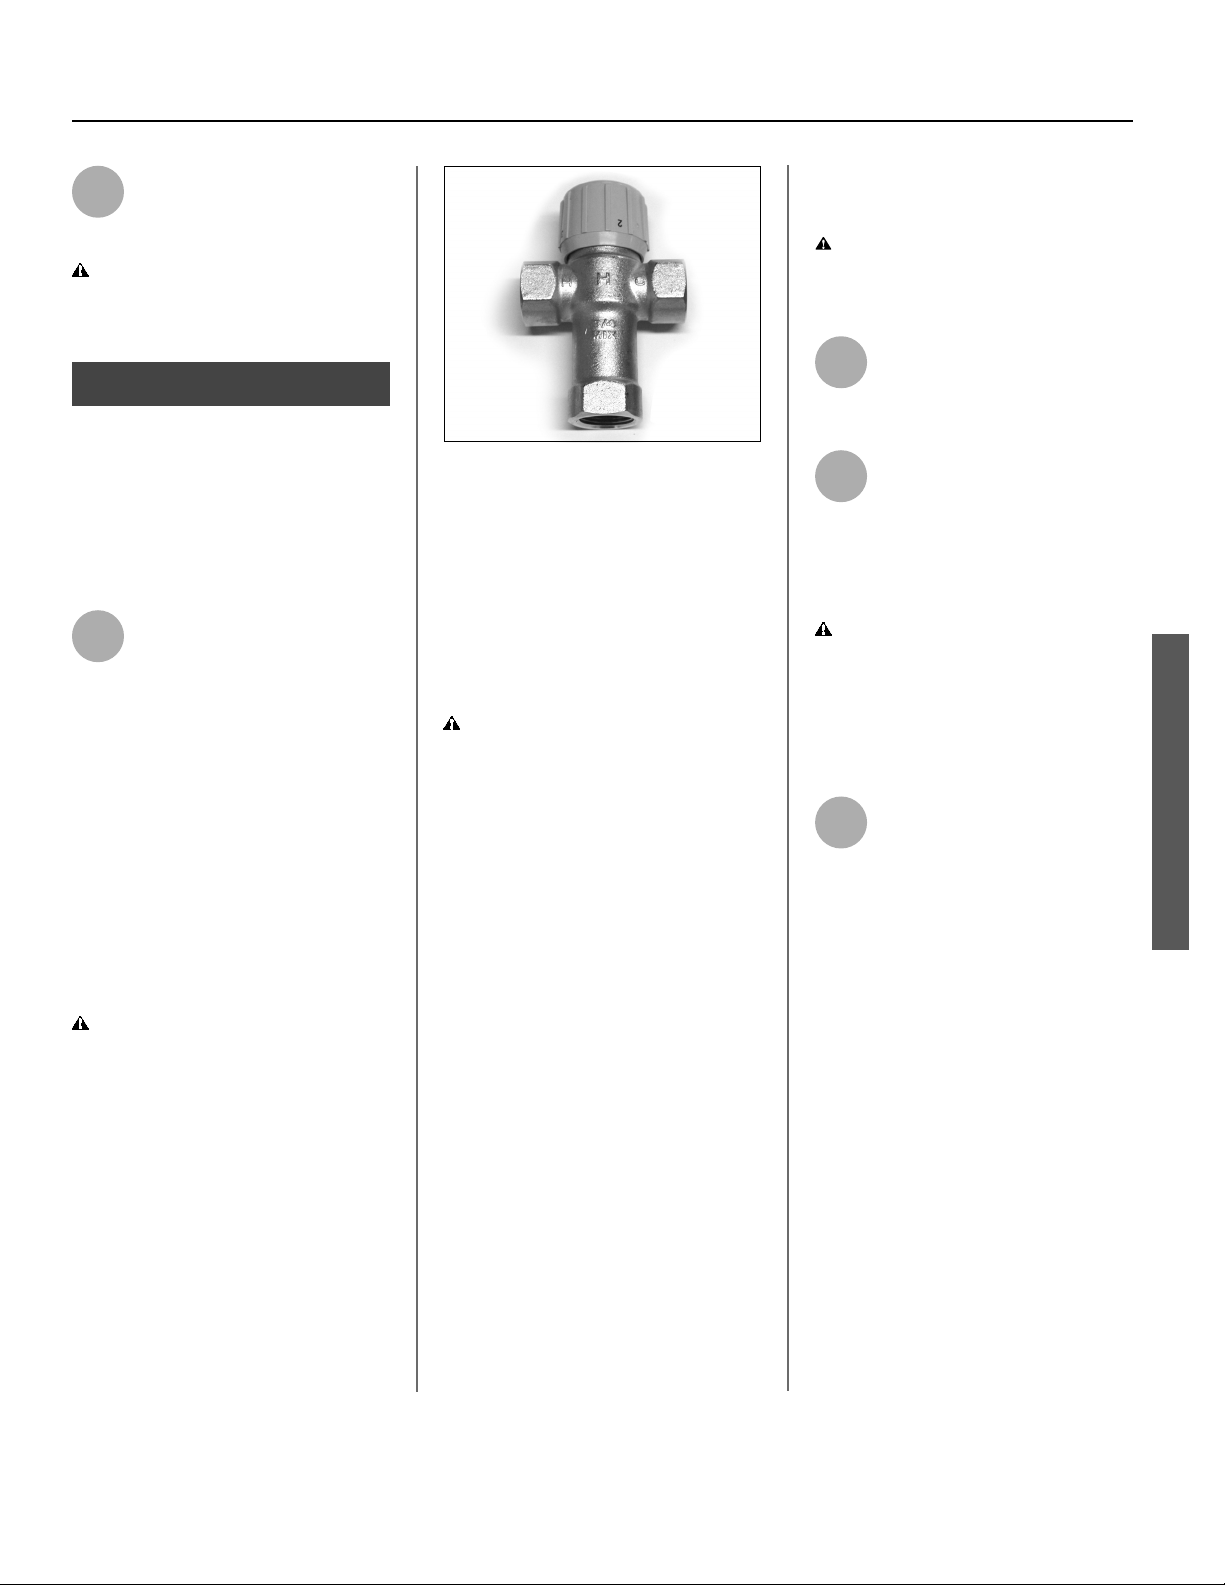
Figure 20 - Adjust Thermostat Mixing
Valves at each point-of-use 120°F or
lower.
To adjust the water heater’s thermo-
stat:
• Be sure the electrical power to the
water heater is turned OFF at the
circuit breaker panel (or remove the
circuit’s fuses).
WARNING! Working near an ener-
gized circuit can result in severe injury
or death from electrical shock. Check
wires with a circuit tester to make sure
power is off .
• Remove the upper and lower access
panels and fold away the insulation.
• Turn the water temperature dial
clockwise ( >>) to increase the tem-
perature, or counter clockwise ( << )
to decrease the temperature. Adjust
both thermostats to the same tem-
perature setting. To avoid a shortage
of usable hot water, do not adjust
the upper thermostat to a tempera-
ture setting that is higher than the
lower thermostat’s temperature
setting.
NOTE: Most models have two thermo-
stats, but some models may only have
one. If your water heater has only one
thermostat, it is located behind the
lower access panel.
• Fold the insulation back in place and
replace the access panels.
WARNING! Be sure panels are
secured to reduce the risk of fi re and
electric shock.
2Turn the electric power back
on.
3Wait for the water to heat up.
It may take several hours for a
tank of cold water to heat up.
If you have no hot water a er two
hours, refer to “TROUBLESHOOTING”
Section on page 17.
WARNING! If you have increased
the temperature se ng and the
Thermosta c Mixing Valves are not
set properly (or not installed) you
could scald yourself while checking the
temperature.
4Check water temperature at
several points of use in your
home (for example, bathtub
faucet, shower, or lavatory sink) and
adjust the Thermosta c Mixing Valves
as needed. If you aren’t sure how to
adjust the Thermosta c Mixing Valve
se ngs, or aren’t sure if you have
Thermosta c Mixing Valves, contact a
qualifi ed person.
7
INSTALLATION
Loading ...
Loading ...
Loading ...