Loading ...
Loading ...
Loading ...
7
Make ten (10) pulls in the left slot of Stage 1 and then check for a burr along the back of the
blade. (The burr created in Stage 1 will be small but easily felt as shown in Figure 4). Make
certain the burr is present along the entire length of the edge. If there is no burr or only a partial
burr, continue to make additional pulls all in the left slot about five (5) at a time and check for a
burr after each group of five (5) pulls. Probably 20-30 total pulls in the left slot will be adequate
to raise a burr; it is unlikely to take more than 50 left slot pulls to create the burr. When a burr is
confirmed, proceed to Step 3.
Step 3 – formIng the fInal edge (rIght handed blade)
a. Make five (5) regular pulls in the left slot of Stage 2.
b. Make one (1) regular pull in right slot of Stage 2 to create a small microbevel along the back side of
the edge.
c. Make several pairs of fast pulls (one (1) second each) in Stage 2 alternating in the left and right slots
of Stage 2. The fast pulls with ultrafine diamonds polish the facet on the front side of the blade as well
as the rear microfacet to create an extremely sharp edge.
d. Check the blade carefully for sharpness using a thin sheet of paper. The blade should be razor sharp.
If not razor sharp repeat 3c. above and retest the blade for sharpness.
reSharpenIng the tradItIonal JapaneSe blade (rIght handed)
In general you will be able to resharpen quickly by making 3 or 4 pairs of fast pulls alternating in
the left and right slots of Stage 2. Repeat this if necessary to obtain a razor sharp edge.
When resharpening only in Stage 2 becomes too slow to develop a sharp edge or if the edge has
been damaged you will need to re-hone the edge in Stage 1. Use only the left slot of
Stage 1. Generally you will find that about five (5) re-honing pulls will be sufficient in Stage 1 to
speed the resharpening in Stage 2. After re-honing return to Stage 2 and make several pairs of
fast pulls alternating in the left and right slots to develop the final edge.
SharpenIng left handed tradItIonal bladeS
The procedure you must use with left handed blades is similar to that procedure for right handed
blades as detailed above – Except, in all cases the slots you must use are reversed. Where the
sharpening procedure for right handed blades calls for use of the left slot, you must use the right
slot when sharpening a left-handed blade. Likewise use the left slot where the right handed
instructions call for using the right slot.
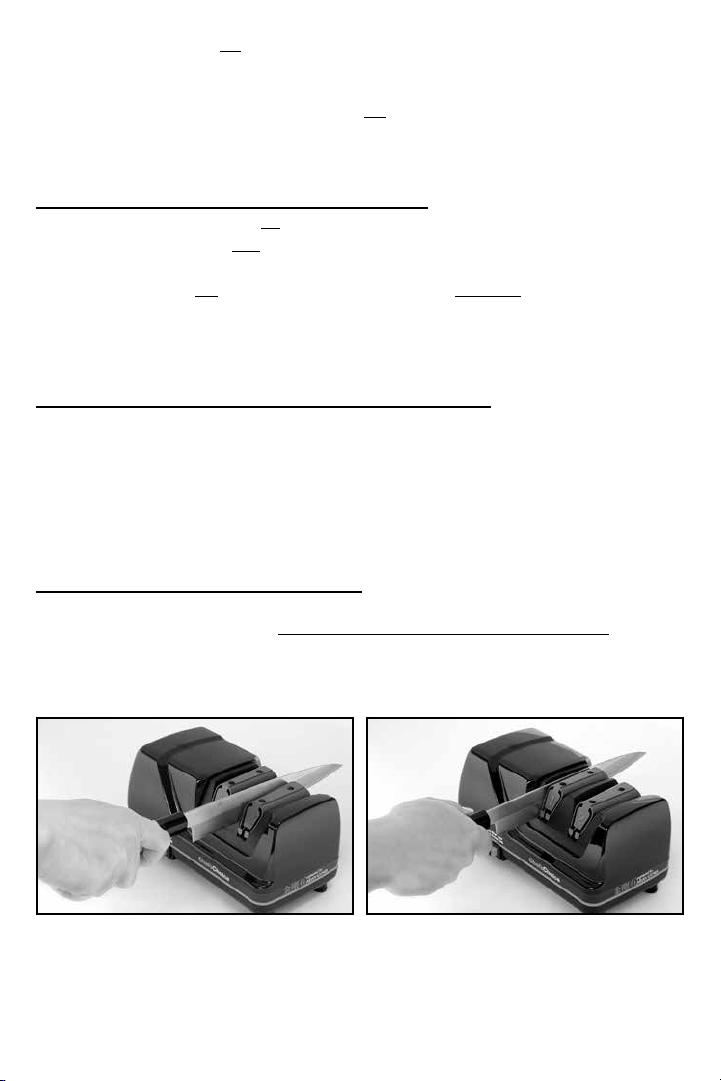
Figure 5. Traditional (sushimi) knife in left slot of Stage 2. Figure 6. Traditional (sushimi) knife in left slot of Stage 1.
Loading ...
Loading ...
Loading ...