Loading ...
Loading ...
Loading ...
54 EN54 EN
BI-DIRECTIONAL DUBBING
Note for VCR to DVD duplication
• After starting VCR to DVD duplication, the picture
may be distorted because of the auto tracking
function. This is not a malfunction. Be advised to play
back the tape until the picture is stabilized, then set
the starting point which you wish to start recording,
and start VCR to DVD duplication.
• This unit will automatically stop the duplication if
playback with no image is detected for more than 3
minutes during VCR to DVD duplication.
• Playback sound mode of the dubbed contents is
determined by the playback sound mode of the VCR
at the point of dubbing.
• This function is available for audio CD, but not with
MP3, Windows Media™ Audio or DivX® files.
4
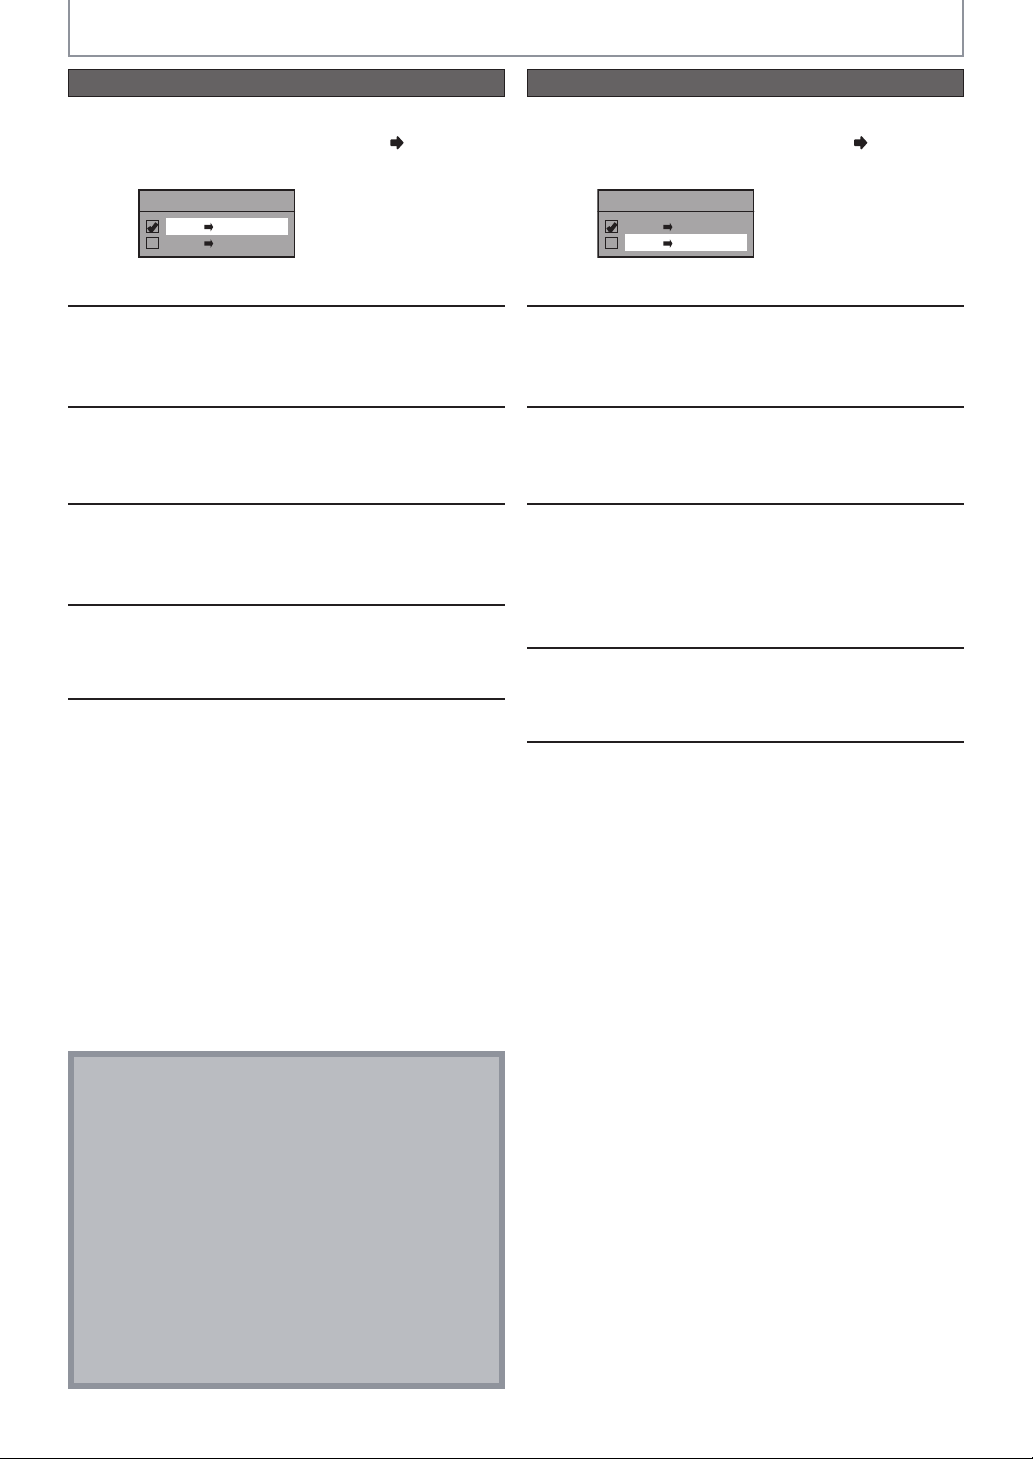
Use [K / L] to select “VCR DVD”,
then press [OK].
Dubbing Mode
VCR DVD
DVD VCR
Press [SETUP] to exit.
5
Press [VCR], then press [PLAY B] to
find the point where you wish to start
dubbing.
6
Press [PAUSE F] when you come to
the desired start point.
7
Press [DVD], then press [REC MODE]
repeatedly to select the desired
recording mode.
8
Press [DIRECT DUBBING].
VCR to DVD duplication will start.
9
Press [STOP C] to stop the dubbing.
4
Use [K / L] to select “DVD VCR”,
then press [OK].
Dubbing Mode
VCR DVD
DVD VCR
Press [SETUP] to exit.
5
Press [DVD], then press [PLAY B] to
find the point where you wish to start
dubbing.
6
Press [PAUSE F] when you come to
the desired start point.
7
Press [VCR], then press [REC MODE]
repeatedly to select the desired
recording mode.
Rewind or fast forward the tape to the point
where you want to start recording.
8
Press [DIRECT DUBBING].
DVD to VCR duplication will start.
9
Press [STOP C] to stop the dubbing.
VCR to DVD DVD to VCR
Loading ...
Loading ...
Loading ...