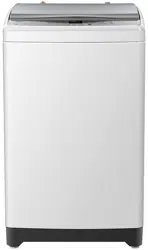
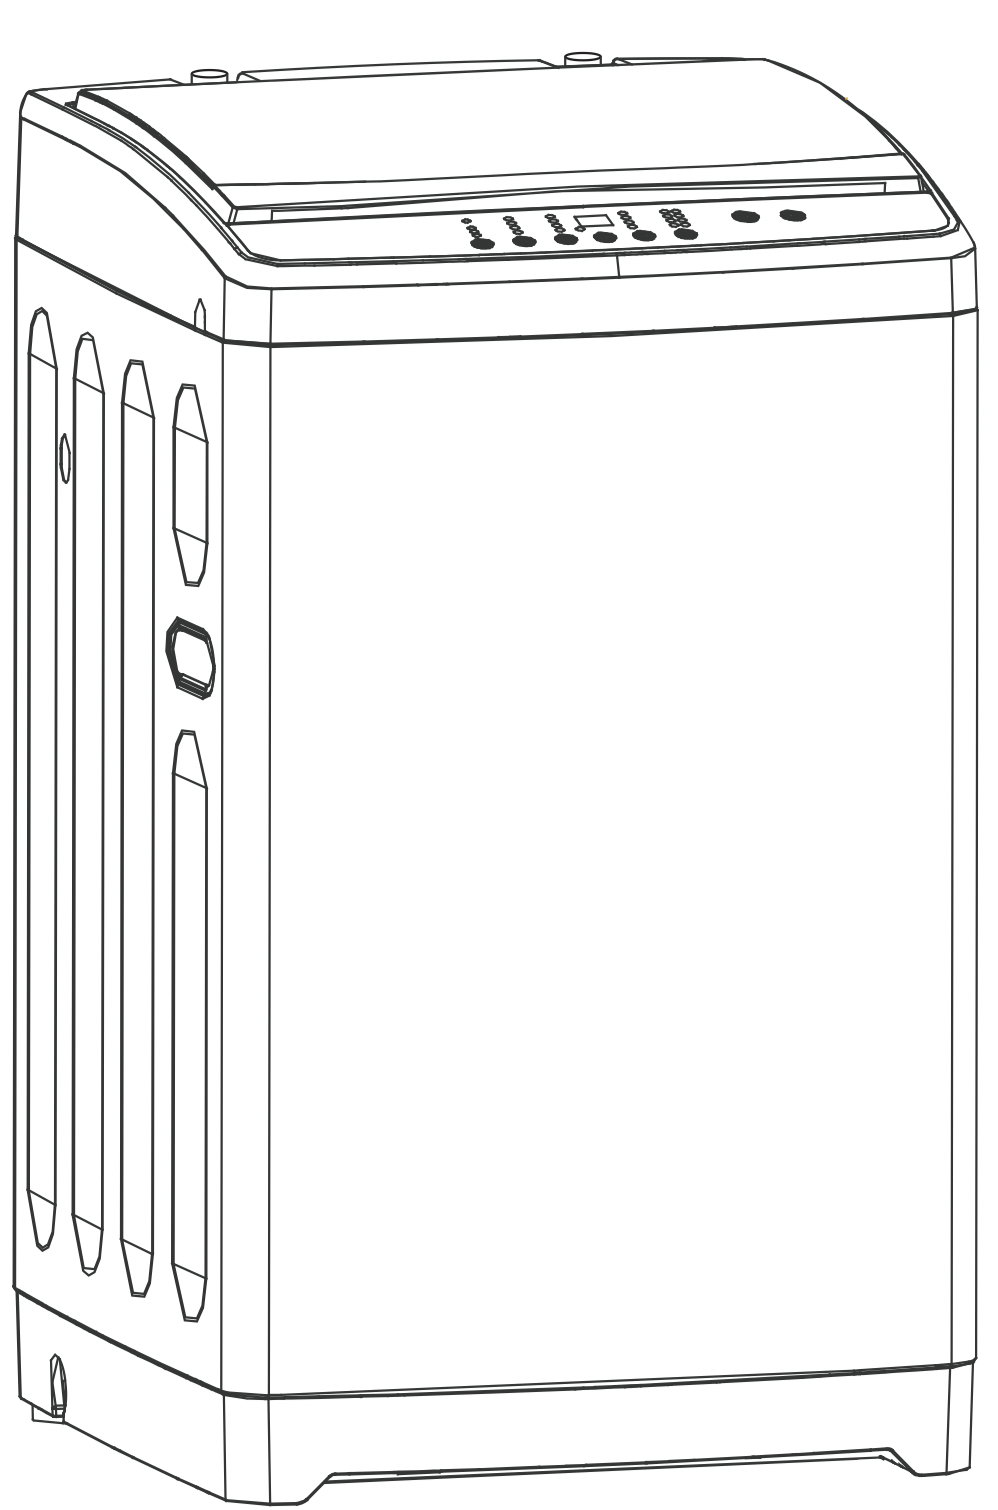
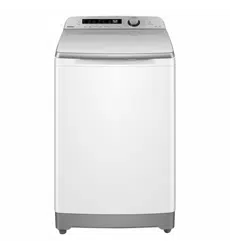
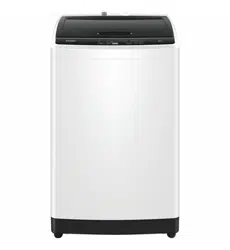
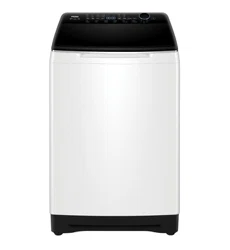
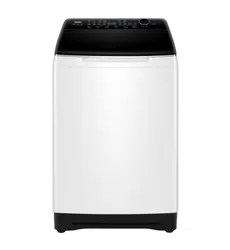
Documents: Go to donwload!
User Manual
- User Manual - (English)
- Specification Sheet - (English)
- Product Overview
- Before Washing
- Loading your laundry
- Operation & Wash Cycles
- Maintenance
- Troubleshooting
Table of contents
Owner's Guide Washer
Product Overview
Description of symbols
Before Washing
Preparation
- Ensure the water inlet hoses are correctly installed and faucets are turned on.
- Insert the power plug into the electrical socket.
- Ensure the drain hose is mounted at the correct height.
- Select a suitable location for the washer on a hard, even surface, away from direct sunlight or heat sources, e.g. radiators/heaters, cooking, appliances etc.
- Any floor unevenness may result in unstable working or abnormal noise. Please ensure the machine level.
Check the following before washing
Check if the laundry has any special washing instructions. |
Clear the pockets, and take out loose items such as coins, sand, hairpins etc. |
Tie any long straps or strings, fasten buttons and close zippers. |
The weight of the laundry shall not exceed the rated capacity of your machine, loosen the laundry before placing it evenly in the tub. |
When the machine is running, buttons may cause noise. To reduce the noise, turn clothes inside out or place them in a laundry bag. |
|
Loading your laundry
- The rated washing capacity refers to the largest dry weught of a load that can be washed.
- The thickness, size and type of clothes will influence the actual capacity.
- Do not select more than water Level "Mid" for clothes less than 1.0kg, to avoid splashing of water.
- It is recommended that Low suds/ high efficiency washing powder is used.
Detergent Usage Guide
How to use bleach/ whitener
- Always refer to the bleach/ whitener instructions prior to usage.
- Fill water to desired level.
- Dilute the bleach/ whitener in a container. Pour it slowly into the washing tub.
- Avoid using whitener on laundry with colour or patterns as they are prone lose colour.
- The bleach/ whitener should NOT br directly applied to laundry directly.
Adding washing powder
- It is suggested to dissolve detergent before adding to the tub, see as below:
- Prepare warm water (<35°C) in a container.
- Add washing powder, stirring to dissolve it completely.
- Adding washing powder Fuzzy Logic Programs.
Adding washing powder/ liquid into the detergent box directly for "Fuzzy logic" programs and "Dealy" program.
- Adding washing powder Normal Wash
It is recommended that washing powder/ liquid is dissolved with water and then directly emptied into the washing machine:
- Adding some water (select the "1" water level)
- Adding washing powder/ liquid. Run for about 30 seconds to fully dissolve the detergent. Then push the "Start/ Pause" button to pause the wash cycle.
- Load laundry. Select suitable water level. Push the "Start/ Pause" button again to recommence washing cycle.
- If you select "Quick" program, it is recommended to use liquid detergent instead of washing powder to ensure the most effictive wash results.
- Old or poor quality washing powder may causing caking in tub or detergent dispenser.
- Clean the detergent box periodically to ensure washing power is evenly distributed and remove any detergent build up.
NOTE: If a manufacture specifies only the use of a low-sudsing or high-efficiency type detergent, then detergent for drum type machines shall be used irrespective of the type of machine under test. Otherwise the detergent type to be used shall be chosen according to the type of clothes washing machine under test, as follows.
Operation & Wash Cycles
Button Operation and Descriptions
1. Press the "Power" button to switch power on/off.
2. Press the "Cycle" button to select automatic program.
When the power is switched on "Normal" cycle is automatically set. To select a different automatic cycle, rotary program knob till the corresponding indicator is on. Refer to the section on the "cycle" button above.
3. Press the "Progress" buttons to customise the preset options.
- Separate colour fast clothes before loading washing machine.
- During Rinse cycle, only SPIN times can be set, all other wash functions are locked.
- During Wool and Drum Dry cycles, these settings cannot be changed and buttons will not function, as machine will only follow pre-programmed settings.
4. Press the "Delay" button to select the delay wash program
The delay time program is automatically off, and wash cycles will start as soon as "Start/ Pause" button is pushed.
Confirm the operation of "Dealy" program.
- To set a delay time, first select the Cycle and options required and push the "Delay" button.
- The cycle indicator lights will go off the "Delay" (Hours) indicator light will be on.
- During the delay program, press the "Delay" button to display the time remaining. The delay time indicator shows the time remaining till the wash ends.
- To cancel the delay program, switch the power off and back on, then make a new selection.
- Delay start (2-24hr) option.
- Delay time is to the end of washing cycle.
5. Press the "Spin Time" button to change the spin time.
Set the spin time in accordance to the requirements of each load.
6. Press the "Water level" button to change the water level.
- For the "Synthetic" and "Memory" and "Sock Wash" cycles the machine will run a Fuzzy Logic program that automatically detects the type of laundry in the tub. After detection it will set the water level automatically.
- The water level can only changed once the machine has started by pushing the "Start/ Pause" button, then push the "Water Level" button to reset the water level. Press the "Start/ Pause" button to resume the wash cycle.
7. Press the "Temp" button to select the wash and rinse temperature.
Set the wash temperatures in accordance to the requirements of each load.
The suitable temperature between 35-65 °C.
8. Press the "Start/ Pause" button to start the cycle.
- If the top lid is opened while machine is in SPIN cycle, the machine will stop and an audible alarm will sound.
Maintenance
- Remove the power plug before carrying out any cleaning or maintenance.
- Clean the lint filter(s) and detergent box after each wash.
Remove and clean the detergent box, replace after cleaning. |
Lint filter:
|
The filter at the water inlet valve may become blocked by impurities in the water supply. Clean it with a plastic bristled brush every two months. |
If the cabinet is dirty, wipe it with a damp cloth.
|
- After washing cycle has finished, turn off the water faucet. (If needed, you can remove the water inlet hose).
- Do not store water in the washing machine for a long period without completing a wash cycle. Drain the water completely after each wash.
- Hang up the power cord and drain hose.
- Wipe up any drops of water on the surface of the machine and inside the tub. Leave the lid open for about 1 hour after each wash to evaporate any residual water.
Troubleshooting
Problem | Possible Causes | What to do | |
---|---|---|---|
The machine does not drain or drains slowly. The display shows E1. |
|
|
|
The machine stops running. The display shows E2. |
|
|
|
The machine does not spin. The display shows E3. |
|
|
|
The display shows E4. |
|
|
|
The display shows FA. |
|
|
|
The machine does not work. |
Will not wash |
|
|
Will not spin |
|
|
|
There are abnormal sounds inside the machine. |
|
|
|
The water tap leaks. |
|
|
See other models: XPB60-287S HWT12MW1 HWX8040DW1 HW80-BD1626 HW100-14829
Also, These documents are for others Haier models: HWT70AW1