Loading ...
Loading ...
Loading ...
ENGLISH
11
Make sure to use screws and wall mount bracket that meet the VESA
standard. Standard dimensions for the wall mount kits are described in
the following table.
Separate purchase (Wall mounting bracket)
Model
32/43LH57**
32/43LH59**
32/40/43LH60**
49LH57**
49LH59**
49/55LH60**
VESA (A x B) (mm) 200 x 200 300 x 300
Standard screw M6 M6
Number of screws 4 4
Wall mount bracket
LSW240B
MSW240
LSW350B
MSW240
Model
55LH57**
55LH59**
VESA (A x B) (mm) 400 x 400
Standard screw M6
Number of screws 4
Wall mount bracket
LSW440B
MSW240
A
B
CAUTION
• Remove the stand before installing the TV on a wall mount by
performing the stand attachment in reverse.
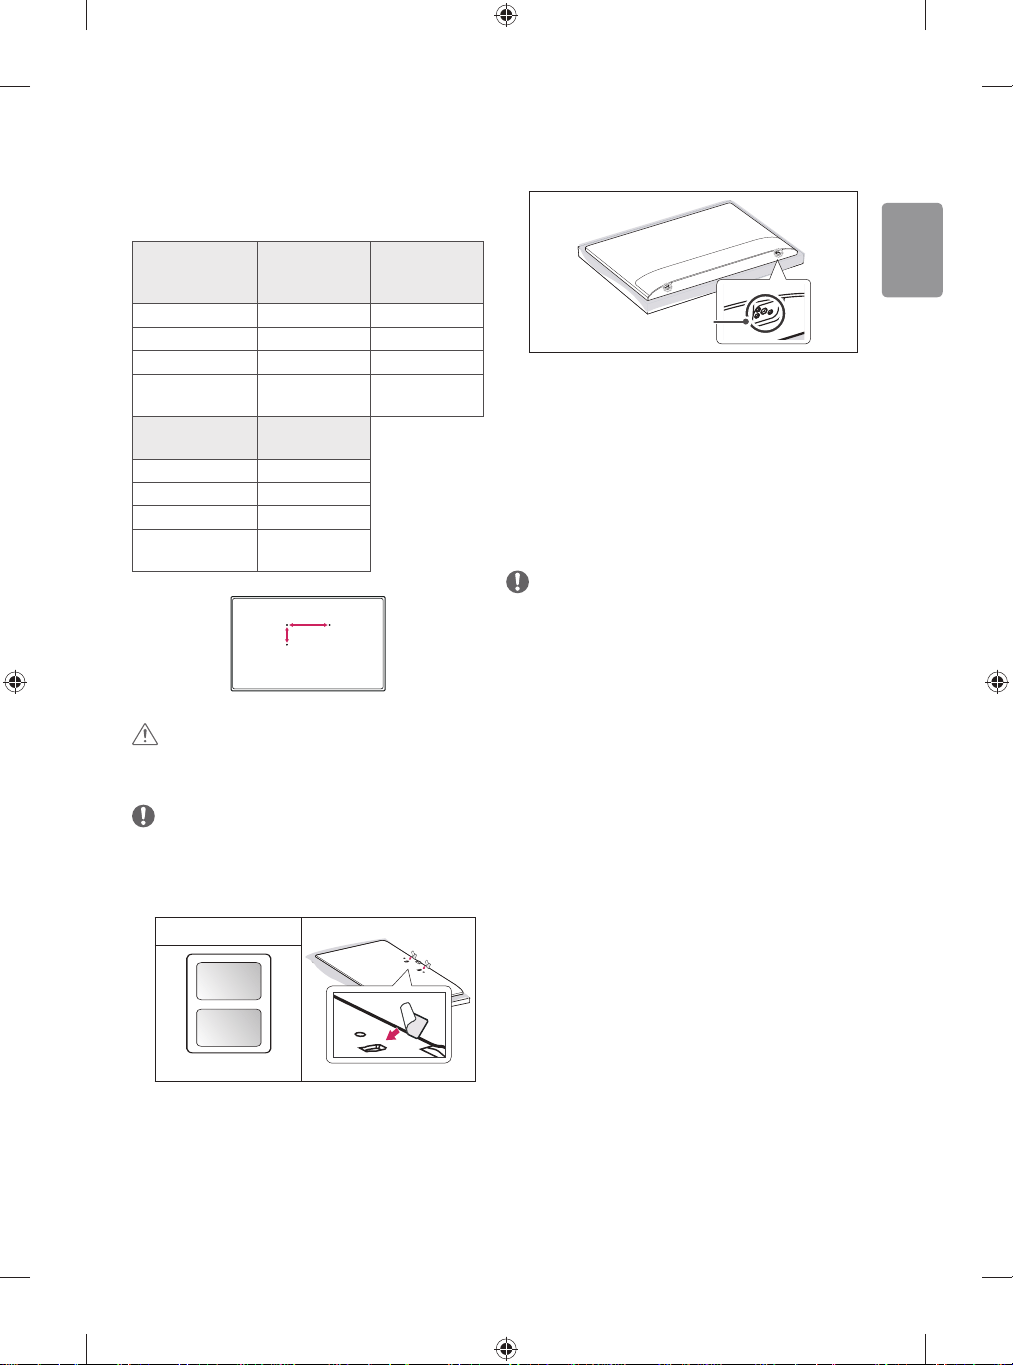
NOTE
• When installing the wall mounting bracket, use the adhesive
label provided. The adhesive label will protect the opening from
accumulating dust and dirt. (Only when the item of the following
form is provided)
Provided item
Adhesive label
• When installing the wall mounting bracket, it is recommended to
cover the stand hole using tape, in order to prevent the inux of
dust and insects. (Depending on model)
Stand hole
Connections (notications)
Connect various external devices to the TV and switch input modes to
select an external device. For more information of external device’s
connection, refer to the manual provided with each device.
Available external devices are: HD receivers, DVD players, VCRs, audio
systems, USB storage devices, PC, gaming devices, and other external
devices.
NOTE
• The external device connection may dier from the model.
• Connect external devices to the TV regardless of the order of the
TV port.
• If you record a TV program on a DVD recorder or VCR, make sure to
connect the TV signal input cable to the TV through a DVD recorder
or VCR. For more information of recording, refer to the manual
provided with the connected device.
• Refer to the external equipment’s manual for operating
instructions.
• If you connect a gaming device to the TV, use the cable supplied
with the gaming device.
• In PC mode, there may be noise associated with the resolution,
vertical pattern, contrast or brightness. If noise is present, change
the PC output to another resolution, change the refresh rate to
another rate or adjust the brightness and contrast on the PICTURE
menu until the picture is clear.
• In PC mode, some resolution settings may not work properly
depending on the graphics card.
Antenna connection
Connect the TV to a wall antenna socket with an RF cable (75 Ω).
• Use a signal splitter to use more than 2 TVs.
• If the image quality is poor, install a signal amplier properly to
improve the image quality.
• If the image quality is poor with an antenna connected, try to
realign the antenna in the correct direction.
• An antenna cable and converter are not supplied.
• Supported DTV Audio: MPEG, Dolby Digital, Dolby Digital Plus,
HE-AAC
Loading ...
Loading ...
Loading ...