Loading ...
Loading ...
Loading ...
10 11
OPERATING YOUR BREVILLE PRODUCT COOKING TABLES
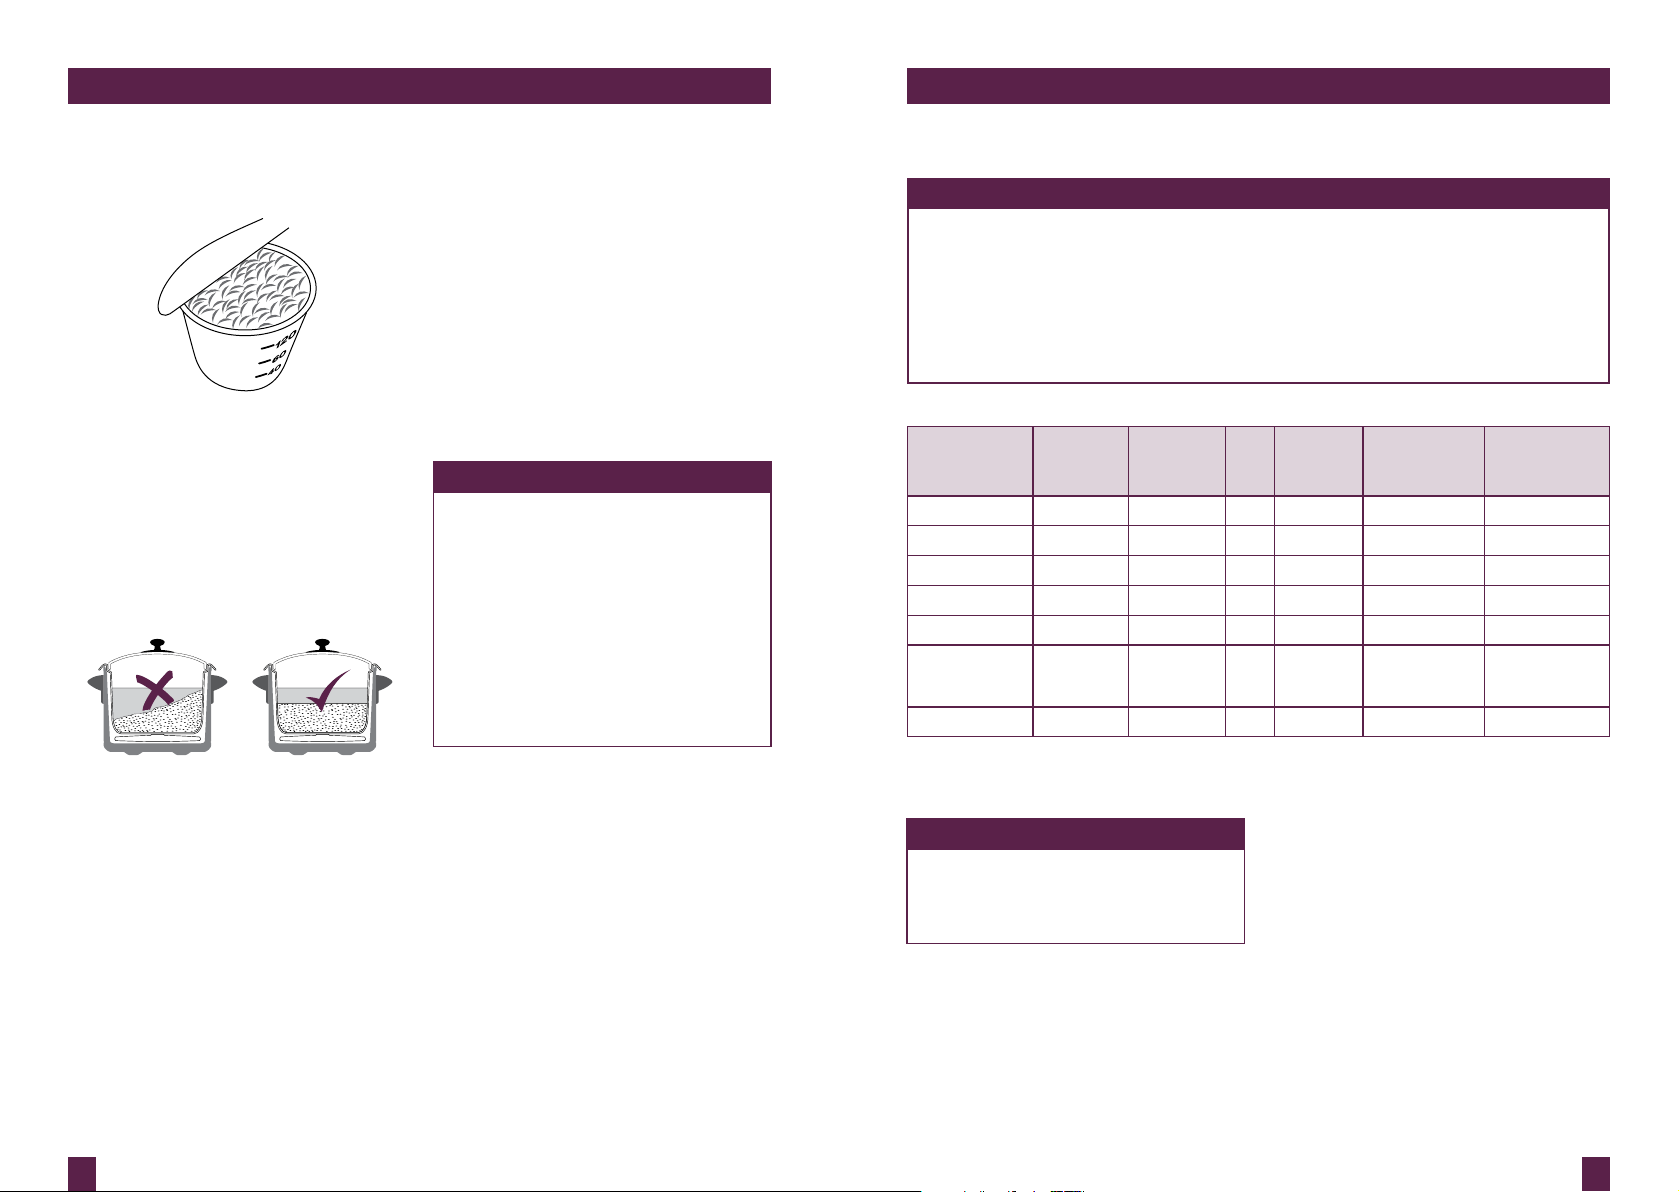
The rice scoop provided with your rice cooker is used in the following tables.
NOTE
The provided rice scoop is not a standard metric measuring cup.
1 rice scoop is equal to 150g of uncooked rice and 180ml of water.
(1 Australian standard metric measuring cup is equal to 200g of uncooked rice)
If your rice scoop is lost or misplaced, use another cup but maintain the same cooking
ratios and ensure you do not exceed the 10 scoop maximum line in the removable
cooking bowl:
White Rice = 1 scoop rice + 1 scoop water
Brown Rice = 1 scoop rice + 1½ scoops water
INGREDIENT WATER
RATIO
SETTING LID AUTO
SWITCH
OFF
MAX
QUANTITY
TO COOK
KEEP WARM
INITIATED
Rice 1 : 1 RICE ON YES Max 10 scoops YES
Brown rice 1 : 1.5 RICE ON YES Max 10 scoops YES
Risotto 1 : 3.5 RISOTTO ON YES Max 4 scoops YES, for 30 min
Oats 1 : 2 PORRIDGE OFF NO Max 4 scoops NO
Lentils, dry 1 : 3 LENTILS ON NO Max 3 scoops NO
Quinoa and
other grains*
Scoops =
Bowl Water
Level
QUINOA ON YES Max 4 scoops NO
Quinoa flakes 1 : 2 PORRIDGE ON NO Max 4 scoops NO
*Frekkeh, amaranth, buckwheat, millet
}
Using the provided rice scoop
NOTE
Due to the additional water needed
to cook brown rice, some starchy
water bubbles may rise to the lid
while cooking.
QUINOA SETTING
1. Follow assembly instructions on page 6.
Fig. 1
2. Use the rice scoop provided to measure
the required quantity of quinoa (refer
to cooking tables - page 17). Always
measure level scoops, not heaped (Fig 1).
3. Add the quinoa to the removable
cooking bowl, ensuring quinoa is spread
evenly across the bottom of the bowl and
not heaped to one side (Fig 2).
Fig. 2
4. Add water using the water level
markings inside the removable
cooking bowl. Match the water level
to the number of scoops for example
2 scoops of quinoa will require water to
be filled to level 2 inside the removable
cooking bowl.
5. Place glass lid into position.
6. Press the QUINOA button, the button
surround will illuminate white. Press
the START|CANCEL button to activate
the setting, the button surround
will illuminate red and cooking will
commence.
7. When cooking is complete, the
ready beeps will sound and the
START|CANCEL button surround will
illuminate white.
8. Serve immediately.
KEEP WARM SETTING
The rice cooker will automatically switch to
the KEEP WARM setting once the RICE and
RISOTTO settings have finished cooking. It
will keep KEEP WARM for up to 5 hours on
the RICE setting and up to 30 minutes on
the RISOTTO setting.
NOTE
There may be occasions when the rice
cooker switches to the KEEP WARM
setting or switches off before cooking
is complete. If this occurs, simply
press the desired cooking button,
then press the START|CANCEL
button. The START|CANCEL button
surround will illuminate red and the
selected setting will be activated.
This is a safety mechanism to prevent
overheating due to certain cooking
conditions.
Loading ...
Loading ...
Loading ...