Loading ...
Loading ...
Loading ...
ENGLISH
C
3 Clean the trimmer with the short-bristled
side of the brush supplied. Brush up and
down along the trimmer teeth.
4 Turn the trimmer ON and OFF. Repeat
step 3.
5 Lubricate trimmer teeth twice a year with
one drop of mineral oil.
C
6 Push the trimmer slide switch backward to
retract the trimmer.
Replacing Razor Head Assembly
◗ Replace the entire Razor Head Assembly once
a year for optimal shaving results.
◗ Replace damaged or worn Razor Head
Assembly with model RQ10 Philips Norelco
razor heads only.
◗ The individual shaving heads (cutters and
combs) are NOT removable/replaceable. Only
the one-piece Razor Head Assembly can be
replaced.
Replacement Razor Head Assembly
Indication
C
◗ The replacement head indicator symbol starts
blinking (model 1090X only, you will also hear
a beep) to remind you to check if it’s time to
26
ENGLISH
replace your Razor Head Assembly to obtain
optimal shaving results.
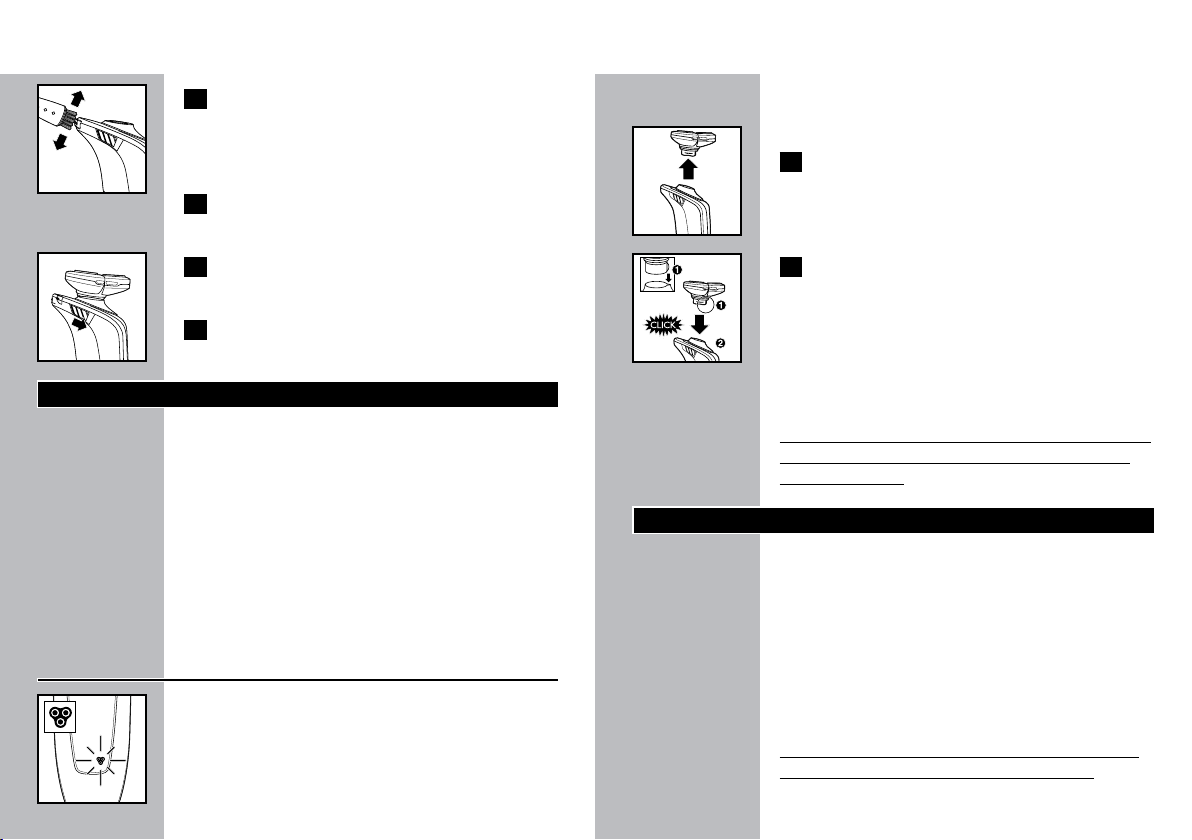
C
1 Remove the Razor Head Assembly from
the razor by pulling the Razor Head
Assembly straight up away from the razor.
C
2 Place new Razor Head Assembly back on
the razor and push down (you will hear a
click).
The Razor Head Assembly will only fit correctly
in one position on razor. Make sure to align the
raised notch on the Razor Head Assembly (1)
with the slot inside the top of razor (2).
This razor and charging stand/power pod have no
other user-serviceable parts. For assistance call
1-800-243-3050.
Maintenance
◗ Always remove razor from the charging stand/
power pod before cleaning appliance.
◗ Unplug the charging stand/power pod after
charging/recharging razor. The charging stand/
power pod and razor may be wiped clean using
a damp cloth.
◗ Water from the tap should be on a warm
setting to clean any washable parts.
Note: DO NOT place or clean any parts of the
charging stand/power pod in a dishwasher.
27
Loading ...
Loading ...