Loading ...
Loading ...
Loading ...
Installation
Preparation & installation
Ensure that there are no electric wires, gas or water pipes in the area where holes
are to be made.
Components of the appliance may have sharp edges. Wear protective gloves.
1. Ensure that that there is an electrical plug socket and gas supply within
adequate distance of the hob after it has been installed.
2. Cut out the aperture that measure 560mm by 490mm deep, in accordance
with the positioning instructions detailed on the previous page.
3. Remove the pan supports, burner lid, flame spreader and carefully turn the
appliance upside down and place it on a cushioned mat.
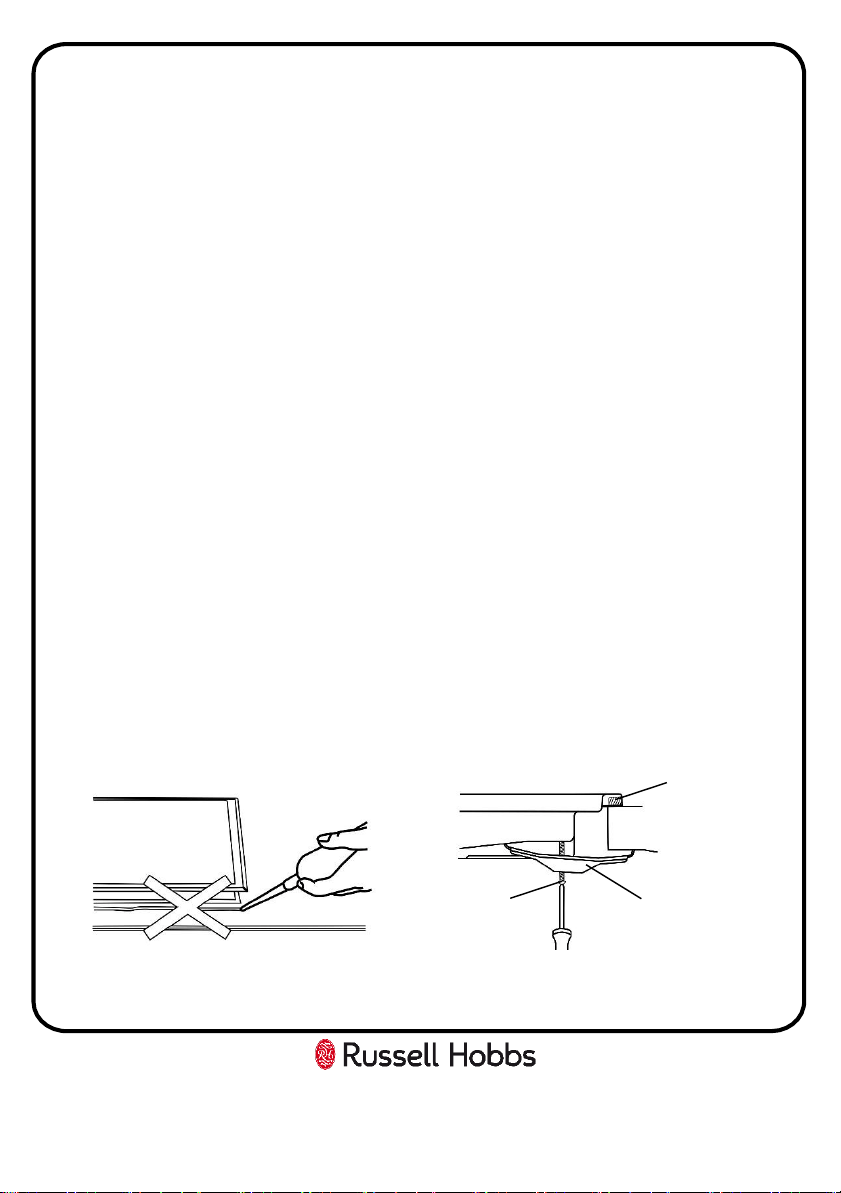
4. Apply the sponge provided around the edge of the appliance: the thickness of
the sponge is 1.5mm and width of it is 10mm.
5. Do not leave a gap in the sealing agent or overlap the thickness
6. Place the bracket over the holes in each corner of the hob that match the size
of the screws that have been provided.
7. Slightly tighten a screw through the bracket so that the bracket is attached to
the hob: you should still be able to adjust the position of the bracket.
8. Carefully turn the hob back over and gently lower it into the aperture hole that
you have cut out
9. On the underside of the hob, adjust the brackets into a position that is suitable
for your worktop.
10. Fully tighten the screws to secure the hob into position
Note: Do not use silicon sealant to seal the appliance against the aperture, as
this will make it difficult to remove the appliance in the future.
9
Bracket
Screw
Sealing strip
Loading ...
Loading ...
Loading ...