Loading ...
Loading ...
Loading ...
15
■ Do not store anything on top of the ice maker or in the ice
storage bin.
Water Dispenser
IMPORTANT:
■ After connecting the refrigerator to a water source or
replacing the water lter, ush the water system. Use a
sturdy container to depress and hold the water dispenser
lever for 5 seconds, then release it for 5 seconds. Repeat
until water begins to ow. Once water begins to ow,
continue depressing and releasing the dispenser lever (5
seconds on, 5 seconds off) until a total of 4 gal. (15 L) has
been dispensed. This will ush air from the lter and water
dispensing system, and prepare the water lter for use.
Additional ushing may be required in some households. As
air is cleared from the system, water may spurt out of the
dispenser.
NOTE: After 5 minutes of continuous dispensing, the
dispenser will stop dispensing water to avoid ooding. To
continue dispensing, press the dispenser button again.
■ Allow 24 hours for the refrigerator to cool down and chill
water. Dispense enough water every week to maintain a fresh
supply.
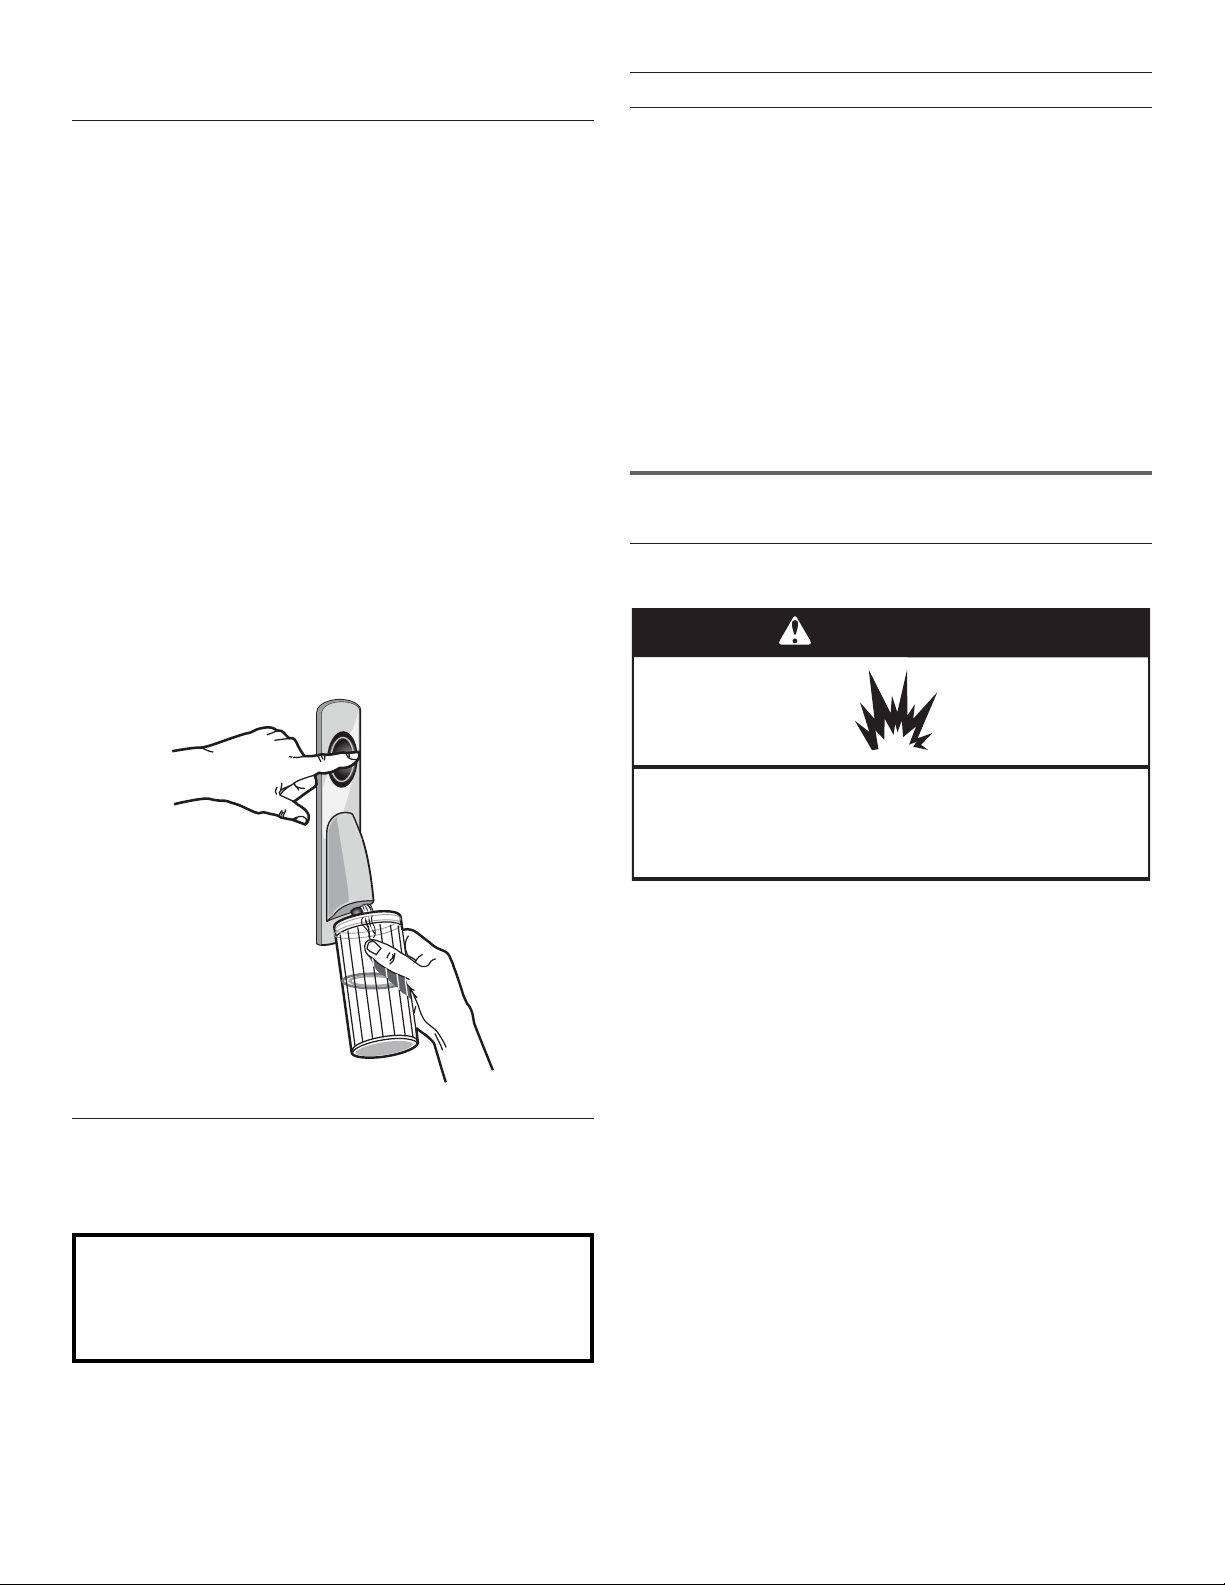
Dispensing Water
1. Hold a container under the dispenser while pressing the
button.
2. Release the button to stop dispensing.
Water Filtration System
The water lter is located in the upper right-hand corner of the
refrigerator compartment.
IMPORTANT: The disposable water lter should be replaced at
least every 6 months. If the water ow to the water dispenser or
ice maker decreases noticeably before 6 months have passed,
replace the water lter more often.
Replacing the Water Filter
To purchase replacement water lters, model UKF8001AXX-750
or model UKF8001AXX-200, contact your dealer or call
1-800-253-1301 U.S.A. or 1-800-807-6777 Canada.
IMPORTANT: Air trapped in the water system may cause water
and lter to eject. Always dispense water for at least 2 minutes
before removing the lter or blue bypass cap.
1. Turn lter counterclockwise to remove.
2. Remove sealing label from replacement lter and insert the
lter end into the lter head.
3. Turn the lter clockwise until it stops. Snap the lter cover
closed.
4. Flush the water system. See “Water and Ice Dispenser(s).”
NOTE: The dispenser feature may be used without a water lter
installed. Your water will not be ltered. If this option is chosen,
replace the lter with the blue bypass cap.
REFRIGERATOR CARE
Cleaning
Both the refrigerator and freezer sections defrost automatically.
However, clean both sections about once a month to avoid
buildup of odors. Wipe up spills immediately.
IMPORTANT:
■ Because air circulates between both sections, any odors
formed in one section will transfer to the other. You must
thoroughly clean both sections to eliminate odors. To avoid
odor transfer and drying out of food, wrap or cover foods
tightly.
■ For stainless steel models, stainless steel is corrosion-
resistant and not corrosion-proof. To help avoid corrosion of
your stainless steel, keep your surfaces clean by using the
following cleaning instructions.
To Clean Your Refrigerator:
NOTE: Do not use abrasive or harsh cleaners such as window
sprays, scouring cleansers, ammable uids, muriatic acid,
cleaning waxes, concentrated detergents, bleaches or cleansers
containing petroleum products on exterior surfaces (doors and
cabinet), plastic parts, interior and door liners or gaskets. Do not
use paper towels, scouring pads, or other harsh cleaning tools.
1. Unplug refrigerator or disconnect power.
2. Hand wash, rinse, and dry removable parts and interior
surfaces thoroughly. Use a clean sponge or soft cloth and a
mild detergent in warm water.
Do not use with water that is microbiologically unsafe or
of unknown quality without adequate disinfection before
or after the system. Systems certified for cyst reduction
may be used on disinfected waters that may contain
filterable cysts.
WARNING
Explosion Hazard
Use non-ammable cleaner.
Failure to do so can result in death, explosion, or re.
Loading ...
Loading ...
Loading ...