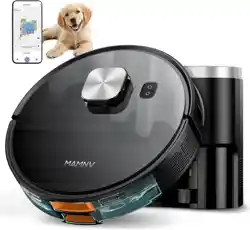
MAMNV D13S MAX Robot Vacuum and Mop, 11500 Pa Suction, 3-in-1 Robotic Vacuum with Smart LiDAR Navigation
Product's Documents
Below are documents related to this product, you can read online or download:
- User Manual - (English) Read Online | Download pdf