Loading ...
Loading ...
Loading ...
{iiiiiii:iiii"'!Ji iii! ;iO , !i:iiii! iJiC:iii!!l C:iii{iiiiii:!ii"{iiSiiit,:, :ii : iii!t{}0, 'Viiii:ii{!!ii.....
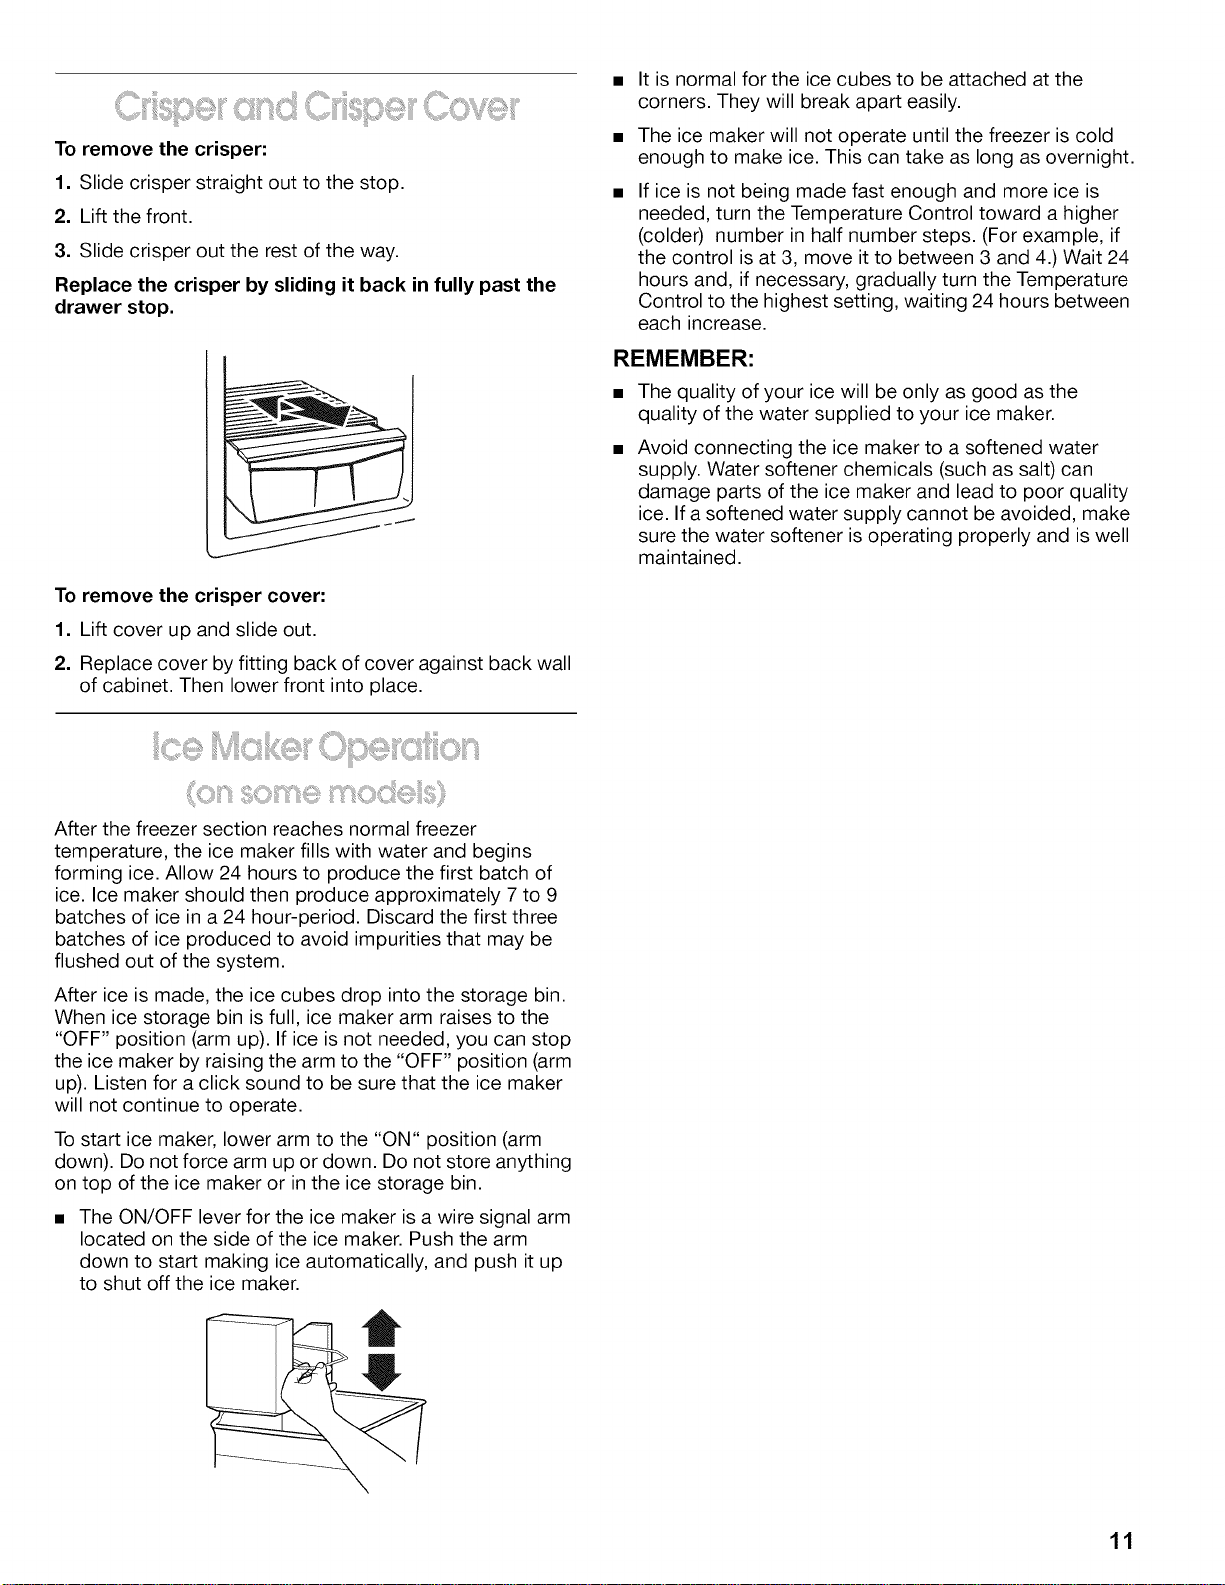
To remove the crisper:
1. Slide crisper straight out to the stop.
2. Lift the front.
3. Slide crisper out the rest of the way.
Replace the crisper by sliding it back in fully past the
drawer stop.
To remove the crisper cover:
1. Lift cover up and slide out.
2. Replace cover by fitting back of cover against back wall
of cabinet. Then lower front into place.
It is normal for the ice cubes to be attached at the
corners. They will break apart easily.
The ice maker will not operate until the freezer is cold
enough to make ice. This can take as long as overnight.
If ice is not being made fast enough and more ice is
needed, turn the Temperature Control toward a higher
(colder) number in half number steps. (For example, if
the control is at 3, move it to between 3 and 4.) Wait 24
hours and, if necessary, gradually turn the Temperature
Control to the highest setting, waiting 24 hours between
each increase.
REMEMBER:
The quality of your ice will be only as good as the
quality of the water supplied to your ice maker.
Avoid connecting the ice maker to a softened water
supply. Water softener chemicals (such as salt) can
damage parts of the ice maker and lead to poor quality
ice. If a softened water supply cannot be avoided, make
sure the water softener is operating properly and is well
maintained.
After the freezer section reaches normal freezer
temperature, the ice maker fills with water and begins
forming ice. Allow 24 hours to produce the first batch of
ice. Ice maker should then produce approximately 7 to 9
batches of ice in a 24 hour-period. Discard the first three
batches of ice produced to avoid impurities that may be
flushed out of the system.
After ice is made, the ice cubes drop into the storage bin.
When ice storage bin is full, ice maker arm raises to the
"OFF" position (arm up). If ice is not needed, you can stop
the ice maker by raising the arm to the "OFF" position (arm
up). Listen for a click sound to be sure that the ice maker
will not continue to operate.
To start ice maker, lower arm to the "ON" position (arm
down). Do not force arm up or down. Do not store anything
on top of the ice maker or in the ice storage bin.
The ON/OFF lever for the ice maker is a wire signal arm
located on the side of the ice maker. Push the arm
down to start making ice automatically, and push it up
to shut off the ice maker.
11
Loading ...
Loading ...
Loading ...