Loading ...
Loading ...
Loading ...
To Broil:
1. Push in and turn oven control knob to BROIL.
On some models, set the oven selector and oven temperature
control knob to BROIL. The OVEN ON indicator light will turn
on.
2. After broiling, turn the oven control knob to OFE
On some models, turn both the oven selector and oven
temperature control knob to OFE The OVEN ON indicator
light will turn off.
To Broil at a Lower Temperature:
Iffood is cooking too fast, turn the oven temperature control
knob counterclockwise until the OVEN ON indicator bight goes
off.
To broil food slower from the start of cook time, set the oven
temperature control knob between 170°F and 325°F (77°C and
163°C). These temperature settings let the broil elements cycle
and slow cooking results.
Broiling Chart
For best results, place food 3 in. (7 cm) or more from the broil
element. Times are guidelines only and may need to be adjusted
for individual foods and tastes. Recommended rack positions are
numbered from the bottom (1)to the top (5). For diagram, see the
"Positioning Racks and Bakeware" section.
COOK
RACK TIME
FOOD POSITION minutes
Side 1 Side 2
Steak
1 in. (2.5 cm) thick
medium rare 4 14-15 7-8
medium 4 15-16 8-9
well done 4 18-19 9-10
*Ground meat patties
% in. (2 cm) thick
well done 4 13-14 7-8
Pork chops
1 in. (2.5 cm) thick 4 20-22 10-11
Ham slice, precooked
V2in. (1.25 cm) thick 4 8-10 4-5
Frankfurters 4 5-7 3-4
Lamb chops
1 in. (2.5 cm) thick 4 14-17 8-9
Chicken
bone-in pieces 3 17-20 17-20
boneless breasts 4 11-16 11-16
Fish
Fillets V4-V2in. 4 8-10 4-5
(.6-1.25 cm) thick
Steaks 3/4- 1 in. 4 16-18 8-9
(2-2.5 cm) thick
* Place up to 9 patties, equally spaced, on broiler grid.
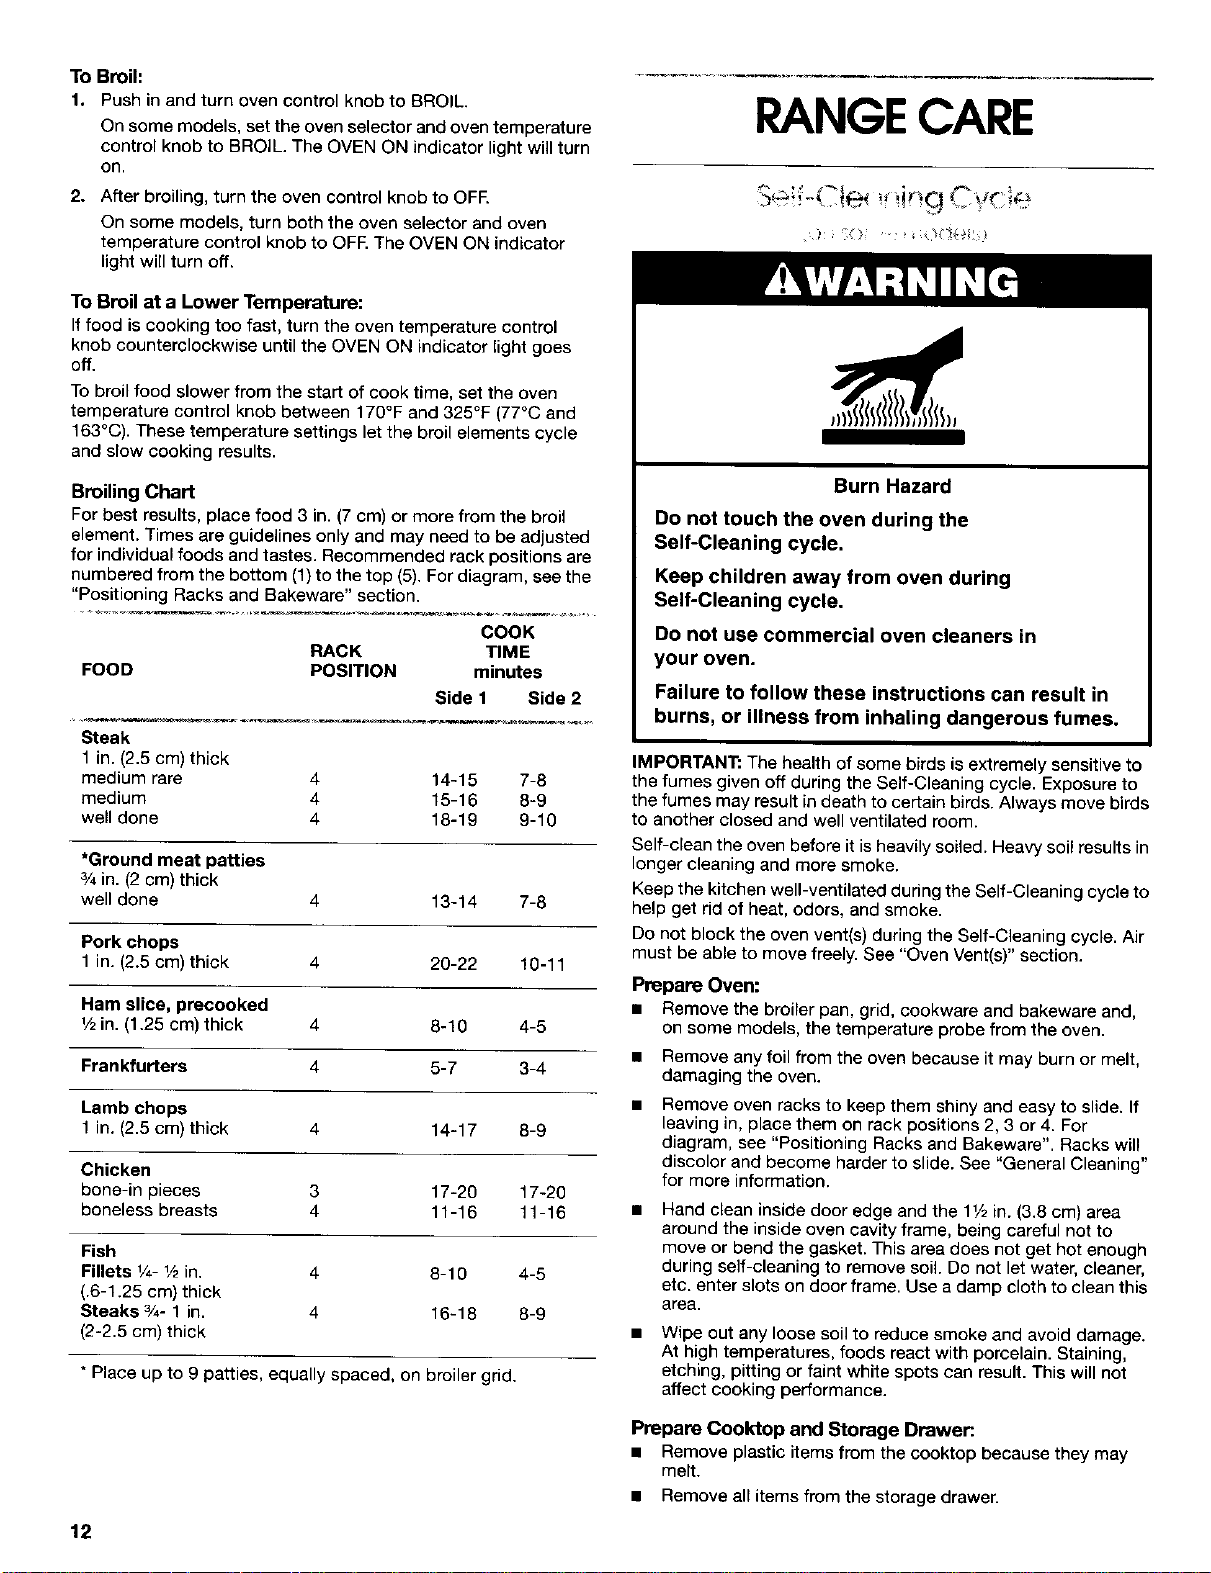
RANGECARE
Burn Hazard
Do not touch the oven during the
Self-Cleaning cycle.
Keep children away from oven during
Self-Cleaning cycle.
Do not use commercial oven cleaners in
your oven.
Failure to follow these instructions can result in
burns, or illness from inhaling dangerous fumes.
IMPORTANT: The health of some birds is extremely sensitive to
the fumes given off during the Self-Cleaning cycle. Exposure to
the fumes may result in death to certain birds. Always move birds
to another closed and well ventilated room.
Self-clean the oven before it is heavily soiled. Heavy soil results in
longer cleaning and more smoke.
Keep the kitchen well-ventilated during the Self-Cleaning cycle to
help get rid of heat, odors, and smoke.
Do not block the oven vent(s) during the Self-Cleaning cycle. Air
must be able to move freely. See "Oven Vent(s)" section.
Prepare Oven:
• Remove the broiler pan, grid, cookware and bakeware and,
on some models, the temperature probe from the oven.
Remove any foil from the oven because it may burn or melt,
damaging the even.
Remove oven racks to keep them shiny and easy to slide. If
leaving in, place them on rack positions 2, 3 or 4. For
diagram, see "Positioning Racks and Bakeware". Racks will
discolor and become harder to slide. See "General Cleaning"
for more information.
Hand clean inside door edge and the 1V=in. (3.8 cm) area
around the inside oven cavity frame, being careful not to
move or bend the gasket. This area does not get hot enough
during self-cleaning to remove soil. Do not let water, cleaner,
etc. enter slots on door frame. Use a damp cloth to clean this
area.
Wipe out any loose soil to reduce smoke and avoid damage.
At high temperatures, foods react with porcelain. Staining,
etching, pitting or faint white spots can result. This will not
affect cooking performance.
Prepare Cooktop and Storage Drawer:.
• Remove plastic items from the cooktop because they may
melt.
• Remove all items from the storage drawer.
12
Loading ...
Loading ...
Loading ...