Loading ...
Loading ...
Loading ...
BAKEWARE
To cook food evenly, hot air must be able to circulate. Allow
2" (5 cm) of space around bakeware and oven walls. Use the
following chart as a guide.
NUMBER POSITION ON RACK
OF PAN(S)
1 Center of rack.
2 Side by side or slightly staggered.
3 or 4 Opposite corners on each rack. Make sure that
no bakeware piece is directly over another.
The bakeware material affects cooking results. Follow
manufacturer's recommendations and use the bakeware size
recommended in the recipe. Use the following chart as a guide.
BAKEWARE/ RECOMMENDATIONS
RESULTS
Light colored • Use temperature and time
aluminum recommended in recipe.
• Light golden
crusts
• Even browning
Dark aluminum and •
other bakeware with
dark, dull and/or
nonstick finish •
• Brown, crisp •
crusts
May need to reduce baking
temperatures 25°F (15°C).
Use suggested baking time.
For pies, breads and casseroles,
use temperature recommended in
recipe.
• Place rack in center of oven.
Insulated cookie
sheets or baking
pans
• Little or no
bottom browning
• Place in the bottom third of oven.
• May need to increase baking time.
Stainless steel
• Light, golden
crusts
• Uneven browning
• May need to increase baking time.
Stoneware/Baking
stone
• Crisp crusts
• Follow manufacturer's
instructions.
Ovenproof
glassware, ceramic
glass or ceramic
• Brown, crisp
crusts
• May need to reduce baking
temperatures 25°F (15°C).
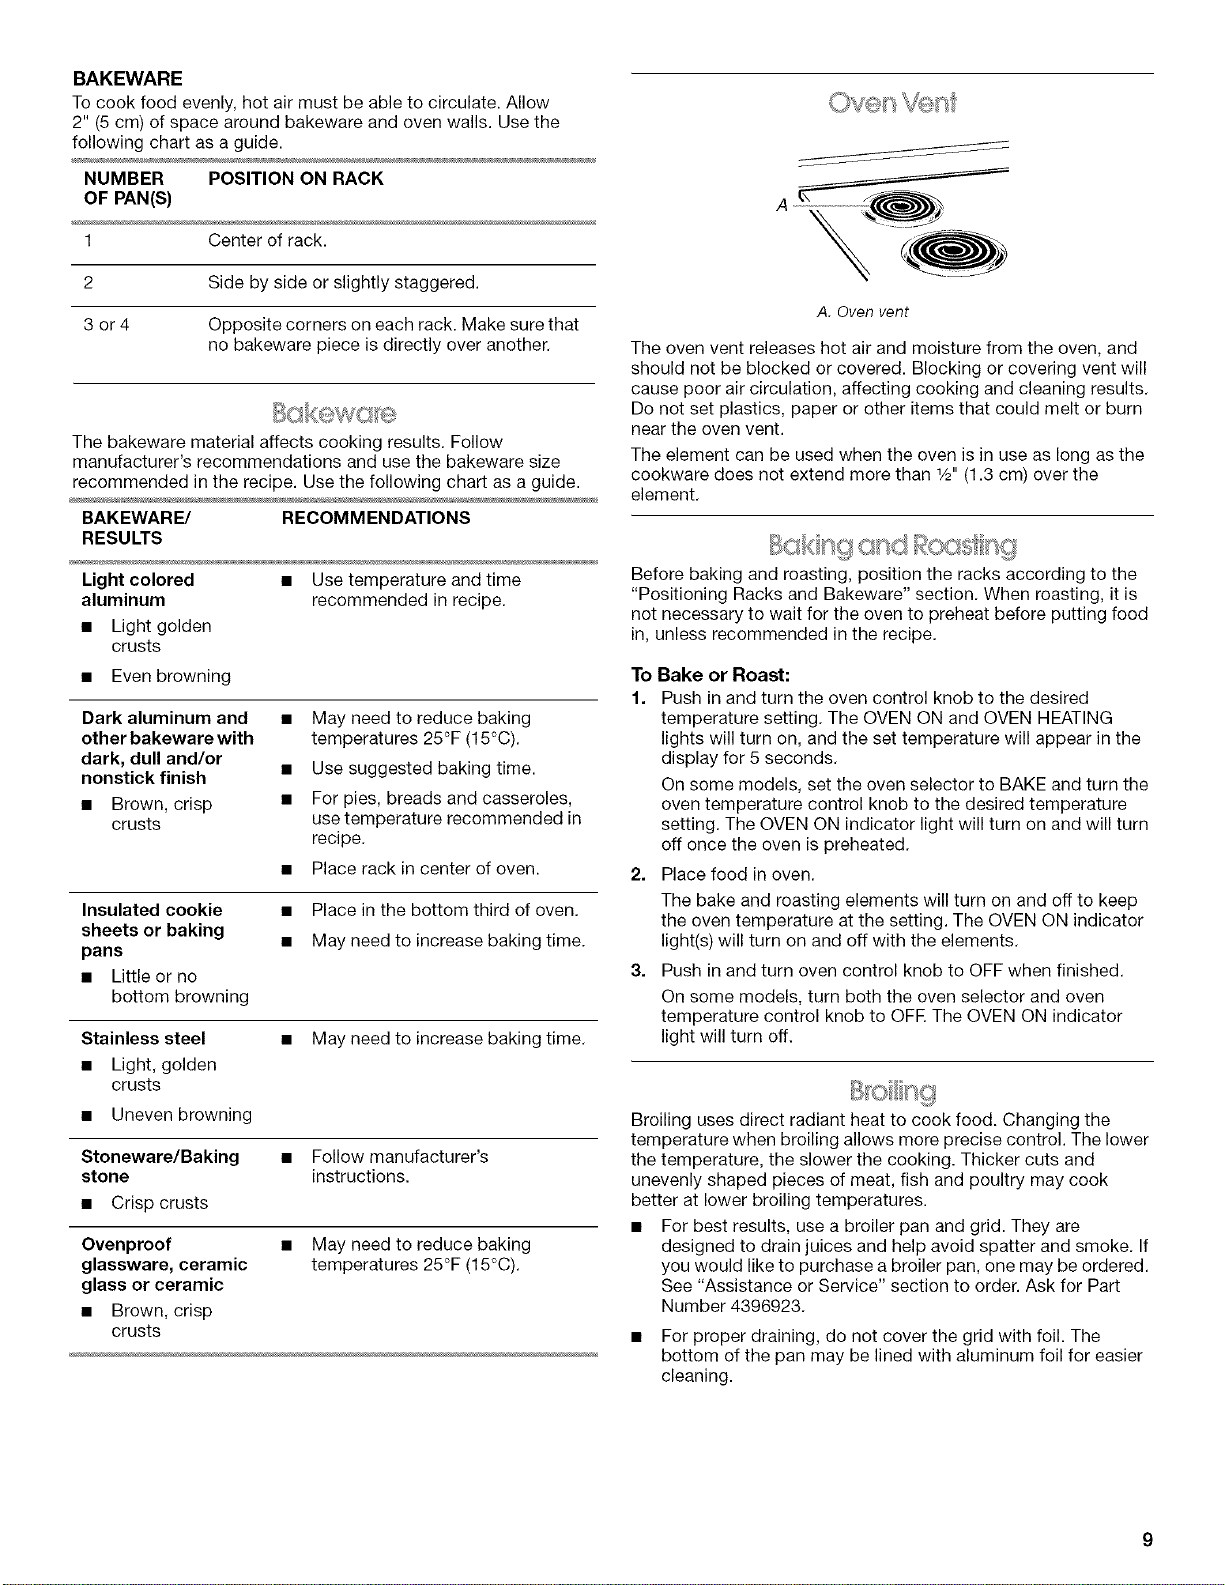
A. Oven vent
The oven vent releases hot air and moisture from the oven, and
should not be blocked or covered. Blocking or covering vent will
cause poor air circulation, affecting cooking and cleaning results.
Do not set plastics, paper or other items that could melt or burn
near the oven vent.
The element can be used when the oven is in use as long as the
cookware does not extend more than 1/2"(1.3 cm) over the
element.
Before baking and roasting, position the racks according to the
"Positioning Racks and Bakeware" section, When roasting, it is
not necessary to wait for the oven to preheat before putting food
in, unless recommended in the recipe.
To Bake or Roast:
1. Push in and turn the oven control knob to the desired
temperature setting. The OVEN ON and OVEN HEATING
lights will turn on, and the set temperature will appear in the
display for 5 seconds.
On some models, set the oven selector to BAKE and turn the
oven temperature control knob to the desired temperature
setting. The OVEN ON indicator light will turn on and will turn
off once the oven is preheated.
2= Place food in oven.
The bake and roasting elements will turn on and off to keep
the oven temperature at the setting. The OVEN ON indicator
light(s) will turn on and off with the elements.
3= Push in and turn oven control knob to OFF when finished.
On some models, turn both the oven selector and oven
temperature control knob to OrE The OVEN ON indicator
light will turn off.
Broiling uses direct radiant heat to cook food. Changing the
temperature when broiling allows more precise control. The lower
the temperature, the slower the cooking. Thicker cuts and
unevenly shaped pieces of meat, fish and poultry may cook
better at lower broiling temperatures.
• For best results, use a broiler pan and grid. They are
designed to drain juices and help avoid spatter and smoke. If
you would like to purchase a broiler pan, one may be ordered.
See "Assistance or Service" section to order. Ask for Part
Number 4396923.
• For proper draining, do not cover the grid with foil. The
bottom of the pan may be lined with aluminum foil for easier
cleaning.
Loading ...
Loading ...
Loading ...