Loading ...
Loading ...
Loading ...
DRYERUSE
Sta ng Your Dryer
Before using your dryer, wipe the dryer drum with a damp cloth to
remove dust from storing and shipping.
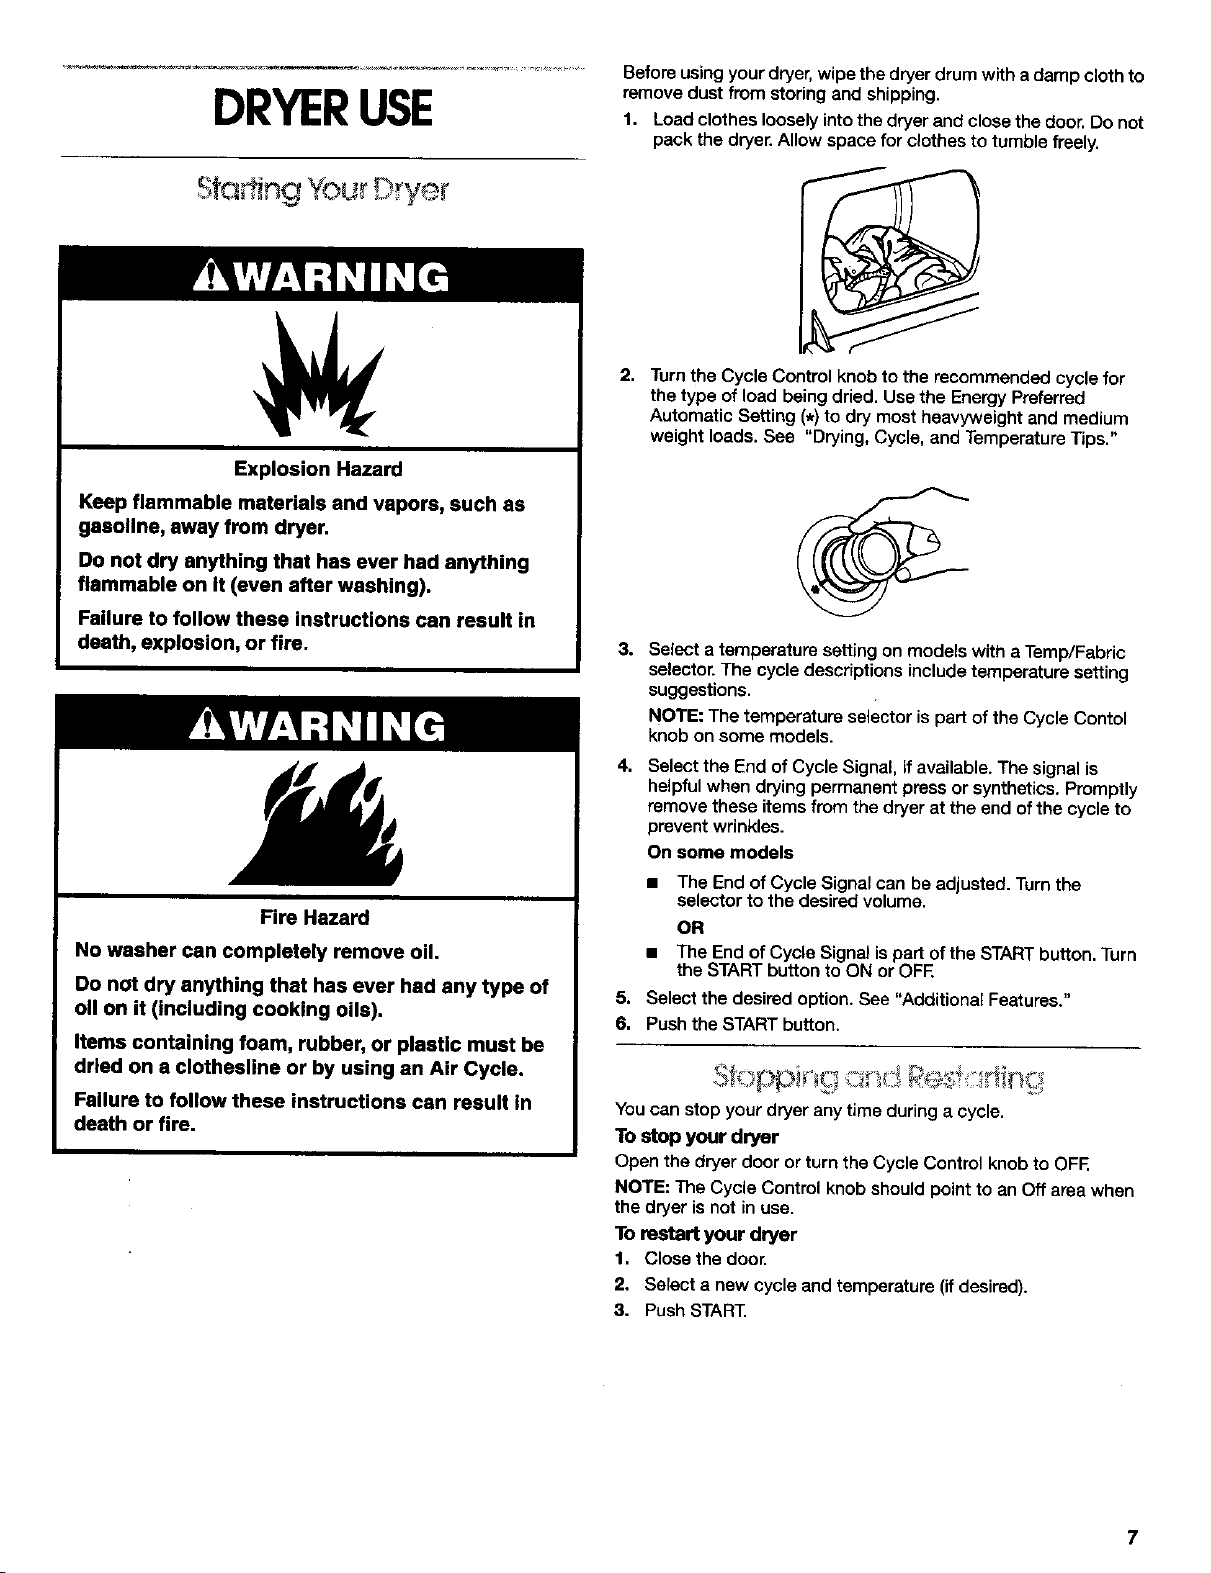
1. Load clothes loosely into the dryer and close the door. Do not
pack the dryer. Allow space for clothes to tumble freely.
Explosion Hazard
Keep flammable materials and vapors, such as
geaollne, away from dryer.
Do not dry anything that has ever had anything
flammable on it (even after washing).
Failure to follow these instructions can result in
death, explosion, or fire.
Fire Hazard
No washer can completely remove oil.
Do not dry anything that has ever had any type of
oll on it (including cooking oils).
Items containing foam, rubber, or plastic must be
dried on a clothesline or by using an Air Cycle.
Failure to follow these instructions can result In
death or fire.
2. Turn the Cycle Control knob to the recommended cycle for
the type of load being dried. Use the Energy Preferred
Automatic Setting (*) to dry most heavyweight and medium
weight loads. See "Drying, Cycle, and Temperature Tips."
3.
4,
5,
6,
Select a temperature setting on models with aTemp/Fabric
selector. The cycle descriptions include temperature setting
suggestions.
NOTE: The temperature selector is part of the Cycle Contol
knob on some models.
Select the End of Cycle Signal, if available. The signal is
helpful when drying permanent press or synthetics. Promptly
remove these items from the dryer at the end of the cycle to
prevent wrinkles.
On some models
• The End of Cycle Signal can be adjusted. Turn the
selector to the desired volume.
OR
•The End of Cycle Signal is part of the START button. Turn
the START button to ON or OFE
Select the desired option. See "Additional Features."
Push the START button.
You can stop your dryer any time during a cycle.
To stop your dryer
Open the dryer door or turn the Cycle Control knob to OFF.
NOTE: The Cycle Control knob should point to an Off area when
the dryer is not in use.
To restart your dryer
1, Close the door,
2. Select anew cycle and temperature (if desired).
3. Push START
7
Loading ...
Loading ...
Loading ...